

Electromechanical Diagnostics: Understanding Standing Desk Error Signals
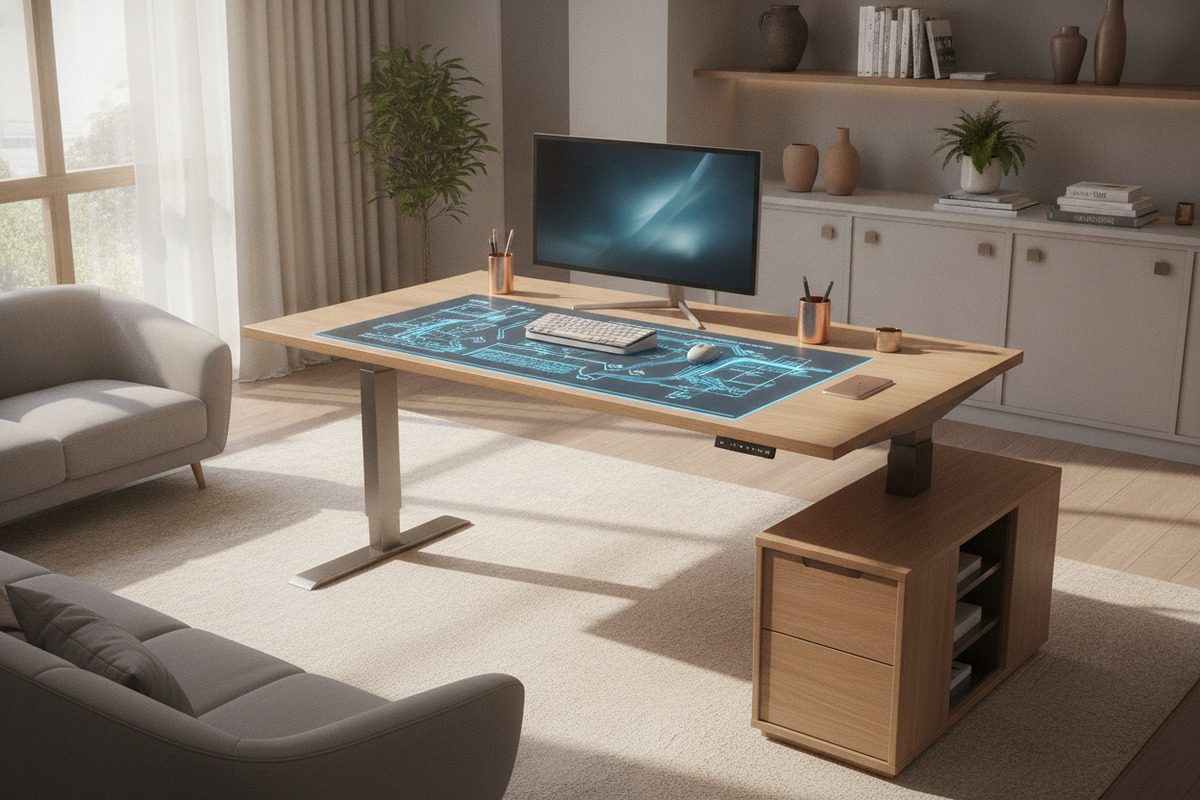
Motorized height-adjustable workstations rely on synchronized electromechanical systems where a central control box continuously monitors speed, motor resistance, and electrical pulse signals across lifting columns. When dual-motor or single-motor systems encounter resistance discrepancies, communication drops, or mechanical misalignment, the digital handset registers a specific error code. High-capacity workstations, such as an expanded standing desk product, depend on synchronized electric lift systems to elevate multi-monitor setups without straining individual drive motors.
Understanding these error messages prevents unnecessary component replacements and ensures safe desk operation. Most digital displays communicate faults through alphanumeric sequences, alerting the user to underlying connection interruptions, thermal protective states, anti-collision triggers, or positional desynchronization between motorized legs.
Diagnostic Hierarchy for Lift Faults: E07, E08, and E04 Error Profiles
While exact error designations can vary slightly between electronic controller manufacturers, modern electric standing desks generally categorize operational issues into distinct diagnostic profiles:
- E07 Diagnostic Profile: Typically indicates a motor communication dropout or pulse signal failure in one of the lifting columns. When the controller cannot verify the position of a specific leg, it halts movement to prevent dangerous desk tilt.
- E08 Diagnostic Profile: Frequently associated with leg height desynchronization, severe uneven resistance, or an anti-collision sensor lockout. It signals that one leg is working harder or lagging behind its counterpart.
- E04 Diagnostic Profile: Often corresponds to handset communication anomalies, control box over-current protection, or primary power input fluctuations requiring a dedicated system reset.
Recognizing these patterns helps isolate whether the issue originates from a loose physical connector, an uneven mechanical load, or a temporary software state within the central processor.
Step-by-Step Physical Inspection: Cable Continuity and Mechanical Impedance
Before initiating software recalibrations, complete a systematic mechanical and electrical continuity check. When inspecting heavy-duty frames or upgrading to a spacious standing desk product with dual-motor stability, verifying that motor harness cables remain slack throughout travel prevents communication dropouts.
- Inspect Power and Motor Cables: Ensure the main power cord, handset connection line, and motorized leg extension leads are firmly seated in their respective control box ports. Disconnect and re-seat each quick-connect clip to resolve intermittent contact.
- Verify Cable Slack: Check that cables do not stretch taut or pinch against frame mounting brackets when the desk reaches its maximum or minimum travel points.
- Check for Mechanical Obstructions: Inspect the telescoping lifting columns for debris, foreign objects, or physical contact with nearby walls, shelving units, or under-desk power strips.
- Assess Fastener Tightness: Verify that desktop mounting screws and crossbar bolts are uniformly secured, as loose frame joints can cause kinetic binding during elevation changes.
The Calibration Reset Protocol: Re-Synchronizing Dual Lifting Columns
When physical connections are secure, executing a manual calibration reset restores baseline alignment between lifting legs. A modern standing desk product with responsive digital memory handsets enables users to run precise recalibration routines whenever motor leveling errors occur.
To perform a standard calibration sequence across most motorized desk systems:
- Clear the Area: Remove sensitive electronics or tall items situated beneath or directly above the work surface to provide an unobstructed travel path.
- Lower to Mechanical Baseline: Press and hold the down button until the desk reaches its lowest possible elevation point.
- Engage Reset Command: Release and immediately press and hold the down button again (or the designated reset button combination, such as holding the up and down keys simultaneously) for several seconds.
- Confirm Visual Notification: The display will typically flash "ASr", "rES", or the numerical minimum height baseline, accompanied by a slight mechanical dip and rebound.
- Test Uniform Elevation: Once the reset sequence finishes, raise the desk across several height intervals to ensure smooth, simultaneous extension of both columns.
Surface Load Distribution and Workspace Storage Balancing
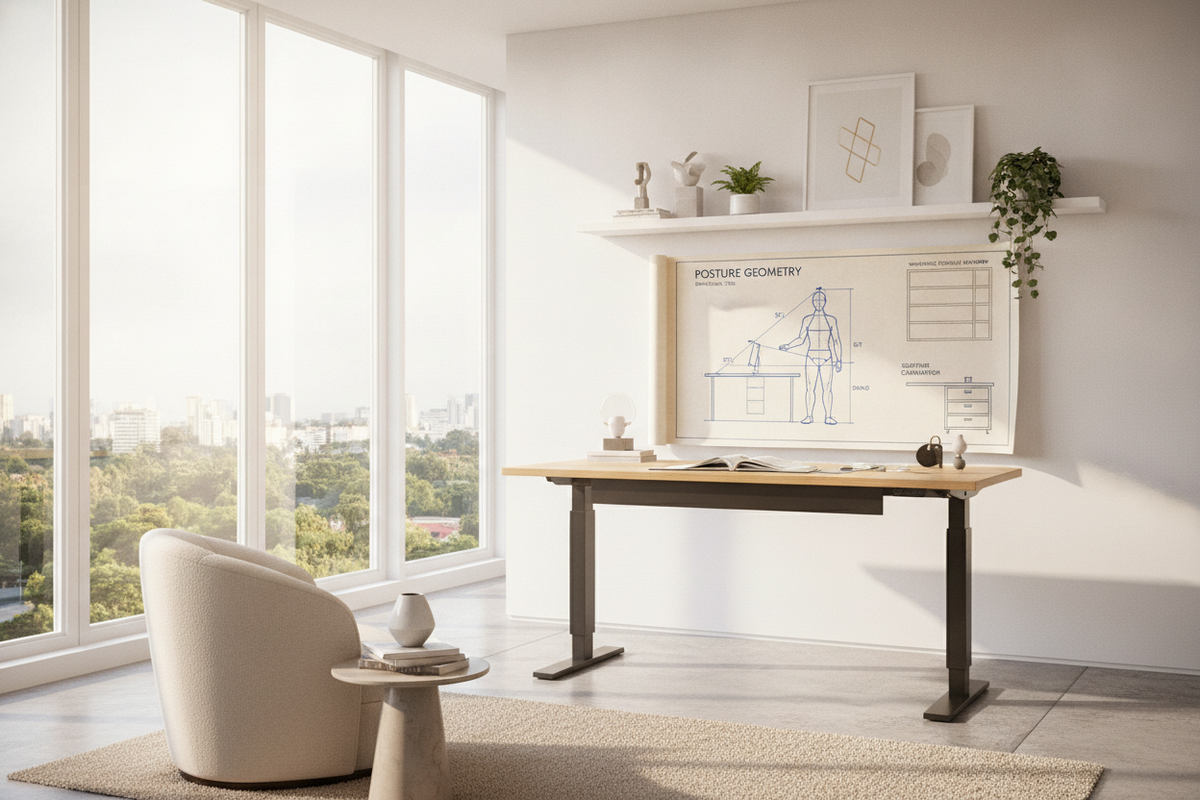
Mechanical strain and recurrent leveling codes often stem from unbalanced surface weight. For aesthetic and ergonomic harmony, consulting a comprehensive standing desk guide helps arrange desktop peripherals cleanly without overloading one side of the frame.
When heavy computer towers, multi-screen monitor arms, or dense filing components sit entirely on one side of a desk, the corresponding motor experiences disproportionate torque. Over time, this imbalance causes one column to draw higher electrical current, tripping safety limits such as E07 or E08. To prevent uneven mechanical wear:
- Centralize Clamped Mounts: Position heavy dual-monitor or triple-monitor desk mounts near the center crossbar rather than the extreme outer edge.
- Balance Peripheral Accessories: Balance the placement of desktop organizers, task lighting, and auxiliary storage boxes evenly across the surface.
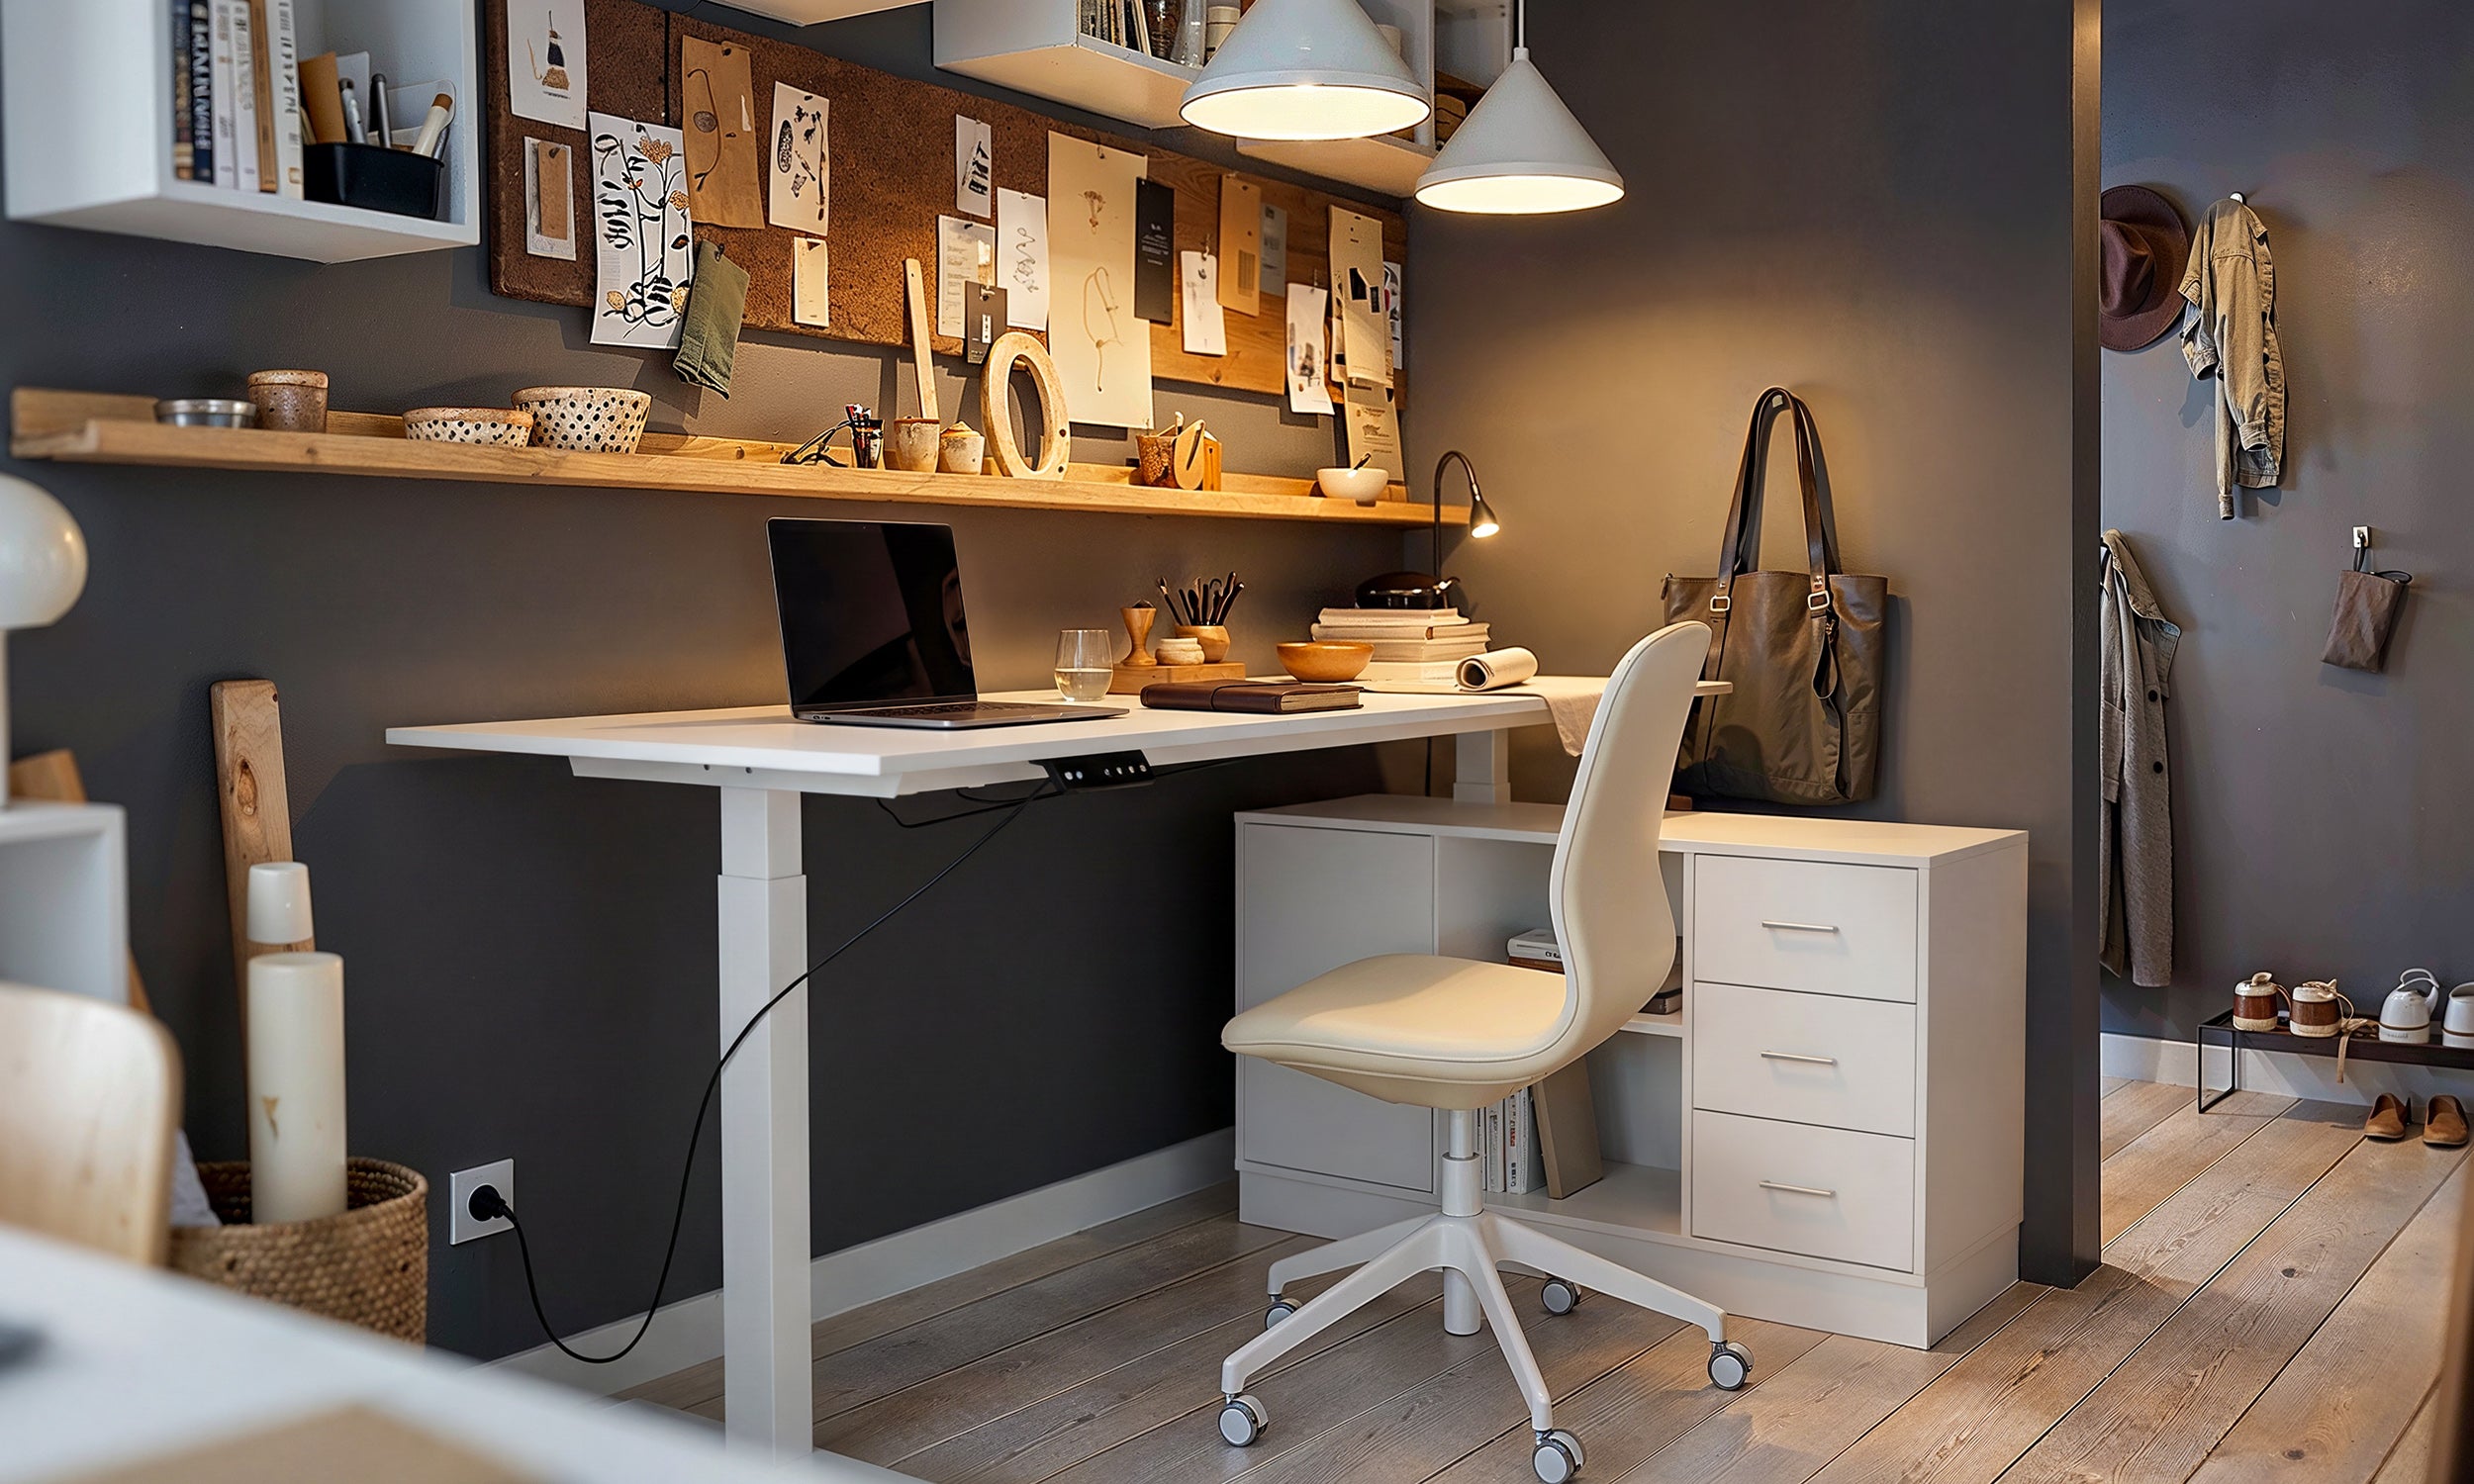
- Decouple Bulk Storage: Utilize freestanding credenzas, mobile pedestals, or under-desk rolling carts that sit directly on the floor rather than mounting heavy storage cabinets directly to moving desktop sections.
Preventative Maintenance: Dynamic Cable Routing and Kinetic Clearance Zones
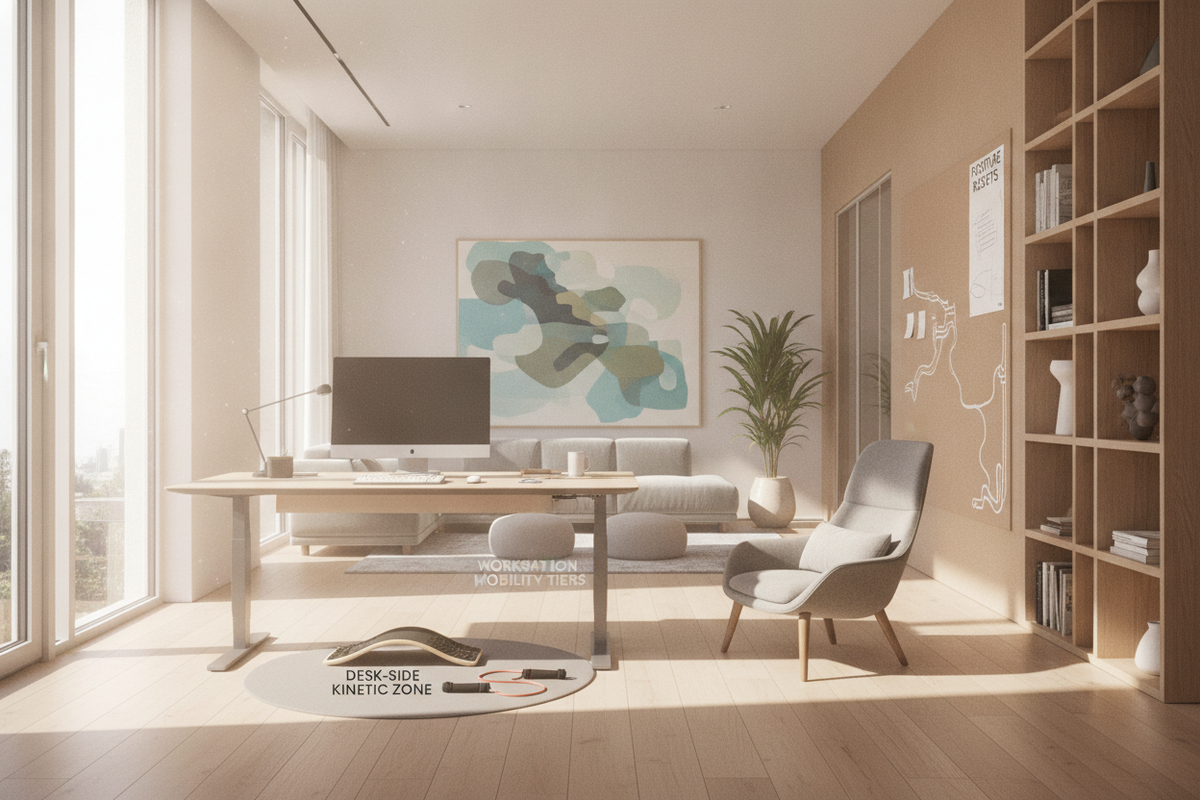
Sustaining consistent motorized performance involves thoughtful wire management and spatial planning. Integrating functional perimeter clearances alongside ideas from a standing desk guide ensures height adjustments never collide with wall shelving or mobile filing cabinets.
Incorporate flexible, articulated cable management spines to safely house power cords and display cables. This configuration prevents snagging and tension spikes during upward transitions. Regularly verify that perimeter pathways remain open, allowing the workstation to articulate smoothly across its full range of movement without mechanical friction or unexpected control box safety trips.

Laisser un commentaire
Ce site est protégé par hCaptcha, et la Politique de confidentialité et les Conditions de service de hCaptcha s’appliquent.