



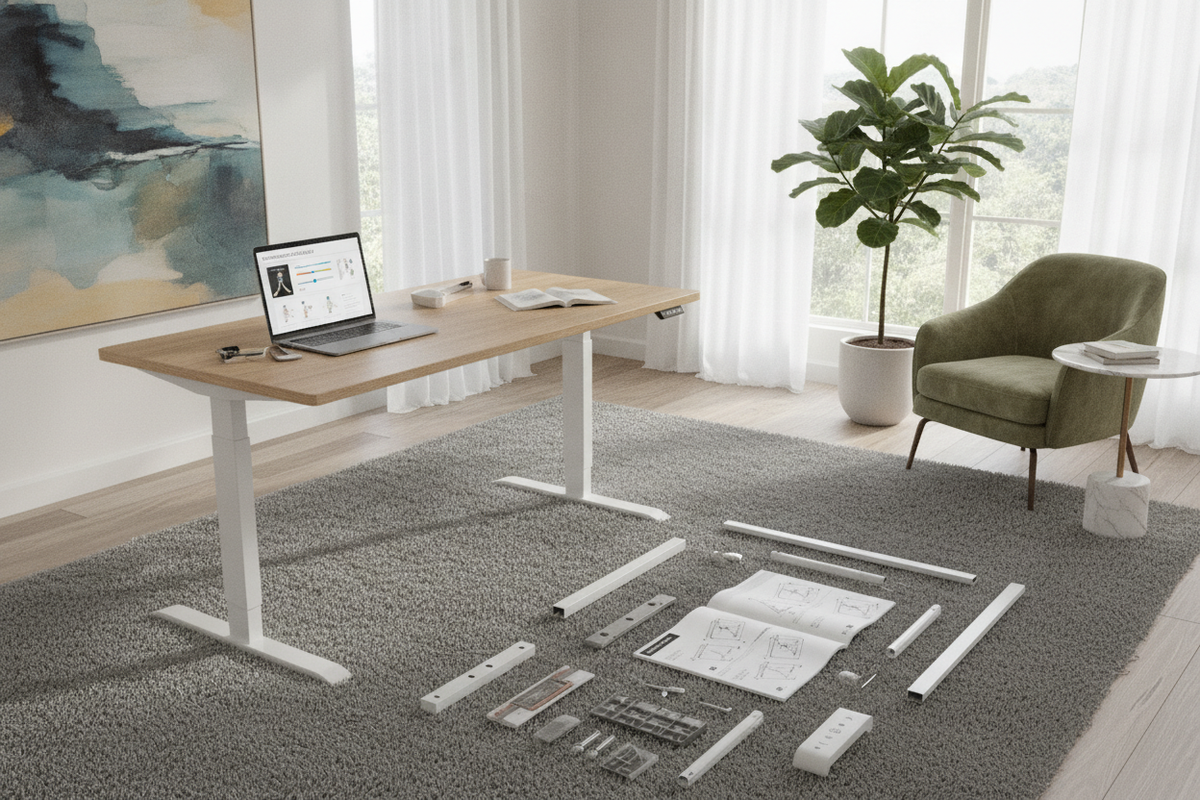
A well-planned workstation begins with methodical assembly and clear operational controls. Whether you are unboxing a brand-new frame or recalibrating an existing setup, following a structured maidesite electric standing desk manual ensures smooth mechanical transitions, reliable motor synchronization, and lasting stability. Electric height-adjustable frames combine dual or single-motor mechanisms with precision electronic controllers, making orderly installation vital to daily performance.
1. Unboxing and Pre-Assembly Preparation
Before fastening any hardware, organize a clean, padded workspace to protect both your desktop surface and the powder-coated steel frame components. Lay down a blanket, cardboard, or foam packaging to prevent accidental scratches during initial positioning.
When working through standard maidesite electric standing desk instructions, sort the boxed contents systematically:
- Central telescoping crossbeam assemblies
- Motorized lifting columns
- Desktop side support brackets
- Lower foot stabilizers
- Electronic control box, power cables, and handset
- Hardware fastener bags with hex wrenches
Confirm that all components match the hardware checklist before beginning assembly. Keeping fasteners separated in distinct trays avoids cross-threading errors and saves time throughout the installation sequence.
2. Step-by-Step Frame Assembly Sequence
Proper frame construction guarantees structural rigidity during vertical transitions. For those exploring comprehensive architectural layouts across a standing desk resource, proper alignment during initial bolting eliminates motor strain and frame wobble.
Telescopic Beam Adjustment and Alignment
Begin by loosening the set bolts along the central telescoping crossbeam. Expand the crossbeam symmetrically to match the mounting span of your chosen desktop. Centering the beam relative to the outer brackets ensures uniform weight distribution across both lifting columns. Once aligned with the pre-drilled points or desired tabletop boundary, secure the set screws loosely until the remaining frame pieces are connected.
Mounting the Lifting Columns and Foot Bases
Attach the side brackets to the top ends of the lifting columns using the designated machine screws. Next, align the lower foot stabilizers with the column bases. Tighten bolts gradually using an alternating pattern across opposite corners rather than torquing one fastener completely before starting the next. This cross-tightening technique pulls structural flanges evenly against one another, preventing slight misalignments that could cause mechanical friction during height adjustments.
3. Desktop Attachment and Motor Transmission Setup
With the metal chassis assembled, invert the frame over the underside of your desktop. If your desktop features pre-installed threaded inserts or pilot holes, align the side brackets and crossbeam directly over these points. For blank desktops, measure from the outer edges to confirm that the frame sits centered along both width and depth axes.
Insert rubber vibration-damping grommets between the steel frame brackets and the underside of the wood tabletop. These washers absorb minor operational vibrations and protect the tabletop finish. Fasten the wood screws firmly into place without over-torquing, which could strip the wood fibers. If your specific model utilizes a central hex drive rod for single-motor synchronization, ensure the rod ends are seated fully within both gearboxes before locking the collar nuts.
4. Control Box Wiring and Cable Management Architecture
The electronic control system orchestrates leg synchronization, motor limits, and user commands. Mount the central control box securely to the desktop underside, ideally near the primary motor connection to minimize cord strain.
- Connect the motor extension cables into the control box ports until the locking tabs click securely.
- Insert the digital handset cable into the designated interface jack.
- Plug the primary power cord into the module, leaving the wall outlet disconnected until all wiring is mounted.
Careless wire routing can cause snagging during elevation changes. As emphasized in our comprehensive standing desk guide, always route cables with adequate slack loop geometry. Secure loose cords using adhesive wire clips or an under-desk cable tray so that power leads can flex freely from minimum sitting height to full standing elevation without pulling on electronic ports.
5. Digital Handset Programming and Height Presets
Modern height-adjustable workstations feature digital touchpads or multi-button controllers with memory presets. Configuring these settings simplifies transitions between ergonomic postures throughout your routine. Desks equipped with comprehensive storage and accessory architecture, such as an integrated electric standing desk product, benefit greatly from precisely defined preset heights that prevent desktop items from shifting unexpectedly.
To program standard memory height positions:
- Use the Up or Down directional buttons to elevate the desk to your preferred seated posture.
- Press the memory button (often labeled with an 'M' or 'S') until the digital readout flashes.
- Press your selected numeric key to save the current height profile.
- Repeat the sequence at an optimal standing height using a secondary numeric preset.
Most control interfaces confirm preset storage with an audible chime or a momentary screen blink, enabling one-touch height adjustments during regular work sessions.
6. Initialization, Reset Procedures, and Basic Troubleshooting
Before regular operation, an initial reset cycle is necessary to calibrate the control box with the column stroke limits. A reset is also the standard first step whenever the desk displays an error prompt or experiences an uneven leg position after a power interruption.
To perform a standard calibration reset:
- Ensure all cables are plugged in firmly and clear the area underneath the desktop of all obstructions.
- Press and hold the Down directional button until the desk travels to its absolute lowest mechanical stop.
- Release the button momentarily, then press and hold the Down button again for several seconds.
- The desk will typically drop a slight fraction, rebound upward slightly, and emit a soft beep as the display updates to the base numeric reading.
- Release the button; the system is now synchronized and ready for daily use.
If the desk stops unexpectedly during travel, inspect all terminal connections. Loose motor leads frequently interrupt the synchronization signal, prompting the control box to pause motion as an internal safeguard.
7. Workspace Flow, Movement Clearance, and Complementary Storage
Once mechanical installation and electronic calibration are complete, evaluate the desk within your broader home office layout. Avoid placing the tabletop flush against walls or tall bookcases; maintaining a small perimeter gap prevents scuffing on baseboards and drywall during height travel. Consulting an aesthetic standing desk guide can help you integrate monitor arms, task lamps, and desktop accessories harmoniously.
Consider spatial movement when configuring under-desk organization. Mobile pedestal cabinets or modular shelving should be positioned with adequate vertical clearance beneath the crossbeam. When choosing between standard rectangular designs or expanded workstations, such as an L-shaped electric standing desk product, plan your cord routes and corner clearances carefully so moving panels never collide with stationary storage modules.



Laisser un commentaire
Ce site est protégé par hCaptcha, et la Politique de confidentialité et les Conditions de service de hCaptcha s’appliquent.