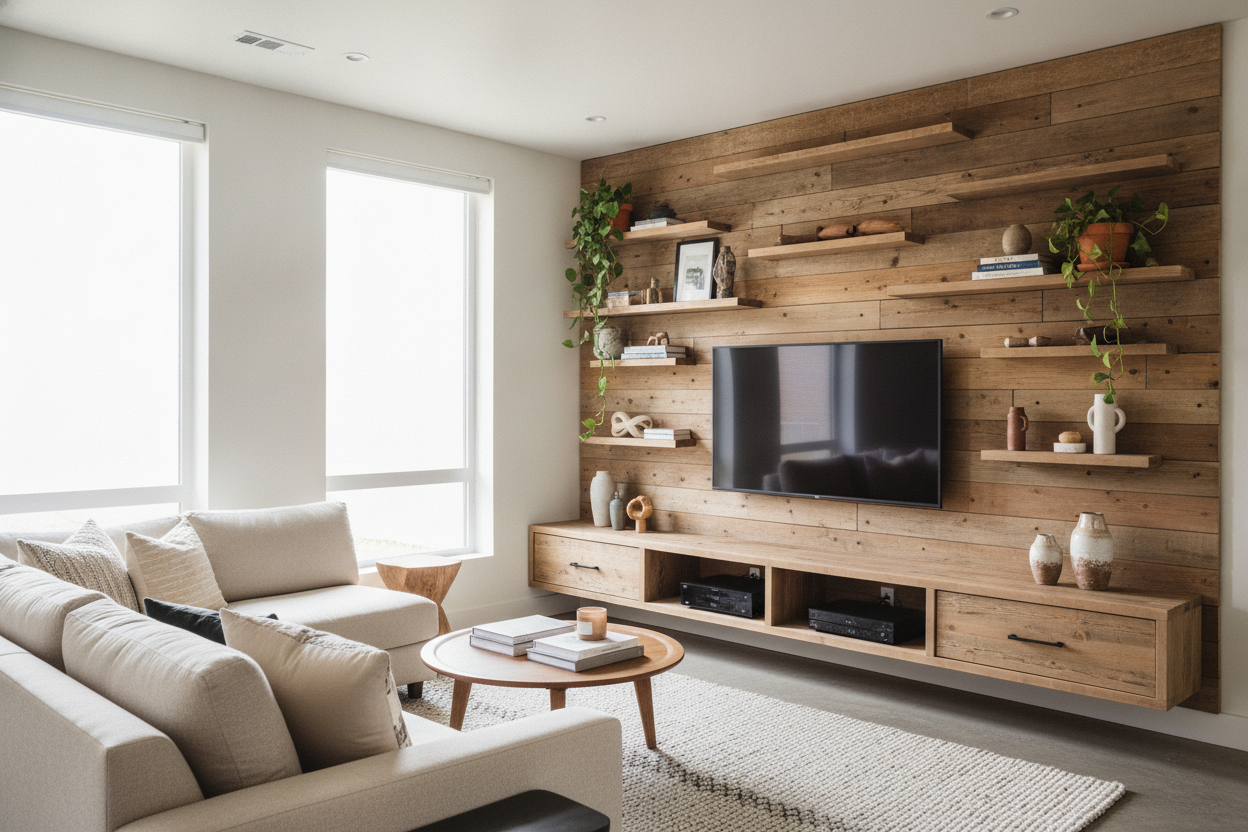
I spent three weeks staring at a mess of tangled HDMI cables and a bulky, dated media cabinet that ate up half my living room floor. I wanted that clean, minimalist look you see in high-end lofts, so I decided to tackle diy tv wall shelves myself. I figured it would be a quick Saturday project. I was wrong.
After three trips to the hardware store and one very close call with a sagging shelf, I realized that building a functional, safe floating unit is about 20% aesthetic and 80% physics. If you are tired of your current setup, here is what actually happens when you trade your floor unit for a wall-mounted one.
Quick Takeaways
- Never trust plastic drywall anchors; always hit at least two studs.
- Depth matters—most AV receivers need at least 14 to 16 inches of clearance.
- Cut your cable management holes before you mount anything to the wall.
- Budget for tools; if you do not own a pocket hole jig and a level, your costs will double.
Why I Decided to Build Instead of Buy
The initial spark came from sticker shock. I found a gorgeous walnut unit online, but it was $1,200 plus shipping. I figured I could replicate that vibe for $200 in lumber. I started scouring the internet for can a simple floating shelf for TV actually replace your media console to see if I could get away with something ultra-minimal.
I realized quickly that my specific wall dimensions didn't play nice with standard retail sizes. I needed a 74-inch span to center the TV properly between two windows. Most floating media console plans I found were for 60-inch units. I realized I needed a custom fit, which led me down the rabbit hole of creating my own diy floating media console plans to accommodate my specific tech stack and wall space.
The Pinterest Lie: What the Tutorials Don't Tell You
Those 60-second Reels make how to build a floating tv shelf look like a breeze. They show a person effortlessly sliding a wooden box onto a bracket, and suddenly it is a diy floating tv wall unit. They rarely show the two hours spent sweating with a stud finder that keeps giving false positives because of the metal plates protecting your electrical lines.
The reality is that a floating media shelf diy project is a battle against gravity. If your wall isn't perfectly flat—and trust me, no wall is—your shelf will have a gap at the top or bottom that will drive you crazy. You also have to figure out how to hide the power strip. Most tutorials gloss over the fact that a 'floating' shelf looks a lot less magical when a black power cord is dangling down to the baseboard.
My Material List (And What I Actually Used)
For a sturdy diy wall mounted media console, I used 3/4-inch birch plywood for the box and 2x4s for the internal cleat. I also bought heavy-duty steel brackets because I didn't trust my own joinery to hold a 50-pound receiver and a soundbar. I ended up returning the standard screws and buying 3-inch GRK structural screws. Do not skimp here; the weight of the shelf plus your gear creates a massive amount of leverage on those wall connections.
The 3 Big Mistakes I Made During Installation
I’d love to say it went perfectly, but my living room looked like a construction zone for four days because I rushed the planning phase.
Mistake 1: Trusting Cheap Drywall Anchors
When I first started mocking up my diy hanging tv stand, I thought I could use those heavy-duty plastic anchors for the ends where there wasn't a stud. Within an hour of putting my books on it, the shelf developed a terrifying 5-degree tilt. I had to rip it down and start over. If you aren't hitting a stud, use 1/4-inch toggle bolts. They are a pain to install, but they won't pull through your drywall when you put a heavy amplifier on the shelf.
Mistake 2: Forgetting About Component Depth
This was my biggest facepalm moment. I built the unit 12 inches deep because it looked proportional. Then I tried to plug in my older Denon receiver. Between the knobs on the front and the HDMI cables sticking out the back, I needed 15 inches. I ended up having to cut a hole in the back of the unit just to let the cables pass through into the wall cavity. If you want a diy floating tv entertainment center that actually fits your gear, measure your deepest component and add 2 inches for cable bend radius. If you're worried about future-proofing, look into adjustable shelf storage options within your build to accommodate different tech sizes over time.
Mistake 3: The Cable Management Afterthought
I was so proud of the finish—three coats of satin poly, perfectly smooth. Then I mounted it and realized I had no way to get the TV power cord inside the shelf. I had to use a 2-inch hole saw on my freshly finished wood while it was already on the wall. It was awkward, messy, and I almost hit a bracket. Cut your grommet holes while the pieces are still on your sawhorses.
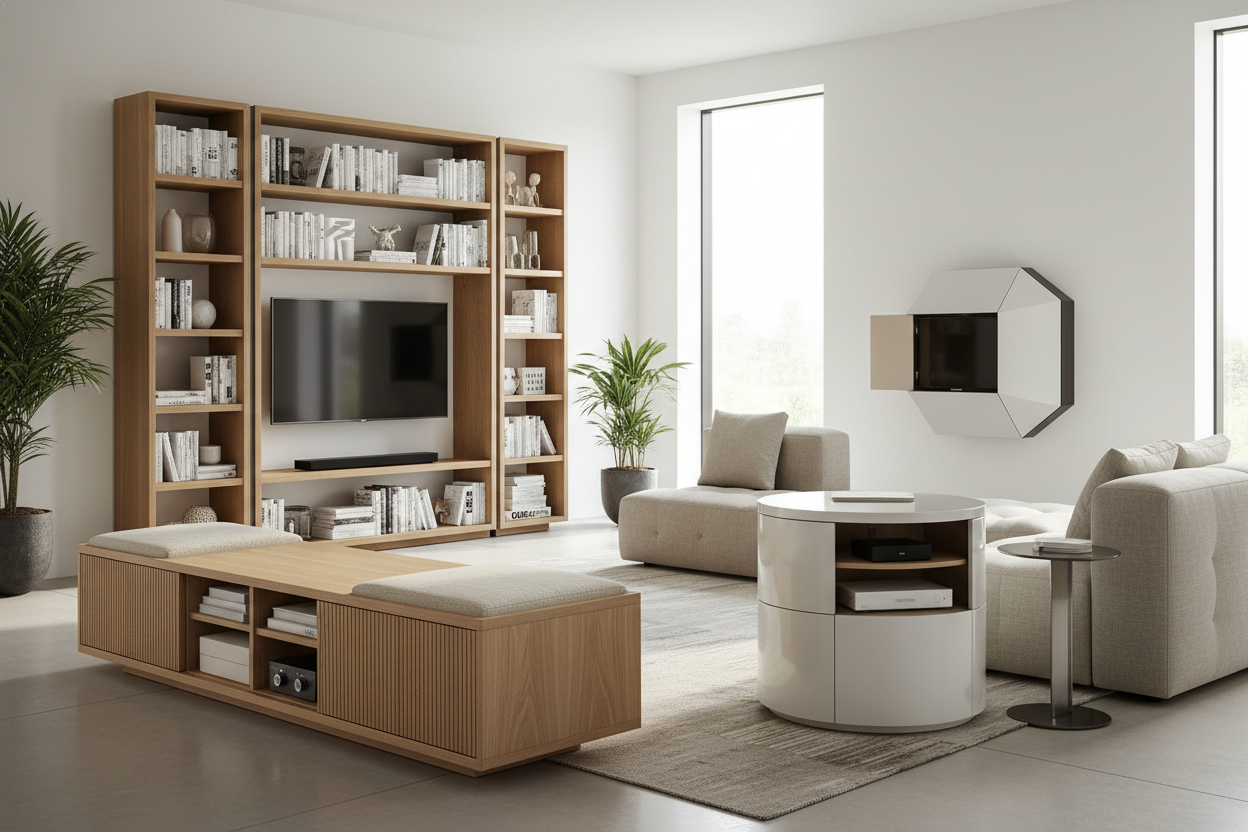
Not Handy? When to Just Buy One Instead
By the time I bought the plywood, the edge banding, the stain, the structural screws, and a new Forstner bit, I had spent about $350. That doesn't count the 15 hours of labor. If you enjoy the process of sawdust and sanding, go for it. But if you just want the look without the weekend-long headache, buying a pre-made wall mounted media console entertainment center is honestly a better move for 90% of people. You get a factory finish and engineered mounting hardware that is often way more secure than a DIY cleat.
FAQ
How much weight can a DIY floating shelf hold?
If you mount into at least two studs with structural screws, a well-built plywood box can easily hold 50-75 pounds. If you are just using drywall anchors, I wouldn't trust it with more than a remote and a plant.
What is the best wood for a TV shelf?
Birch or Maple plywood is the gold standard. It is stable, takes stain well, and won't warp like solid pine boards from the big box store often do.
How high should I mount my floating media console?
Aim for 10 to 12 inches off the floor. This leaves enough room for a vacuum (or a Roomba) to get underneath while keeping the TV at a comfortable eye level.
Laisser un commentaire
Ce site est protégé par hCaptcha, et la Politique de confidentialité et les Conditions de service de hCaptcha s’appliquent.