
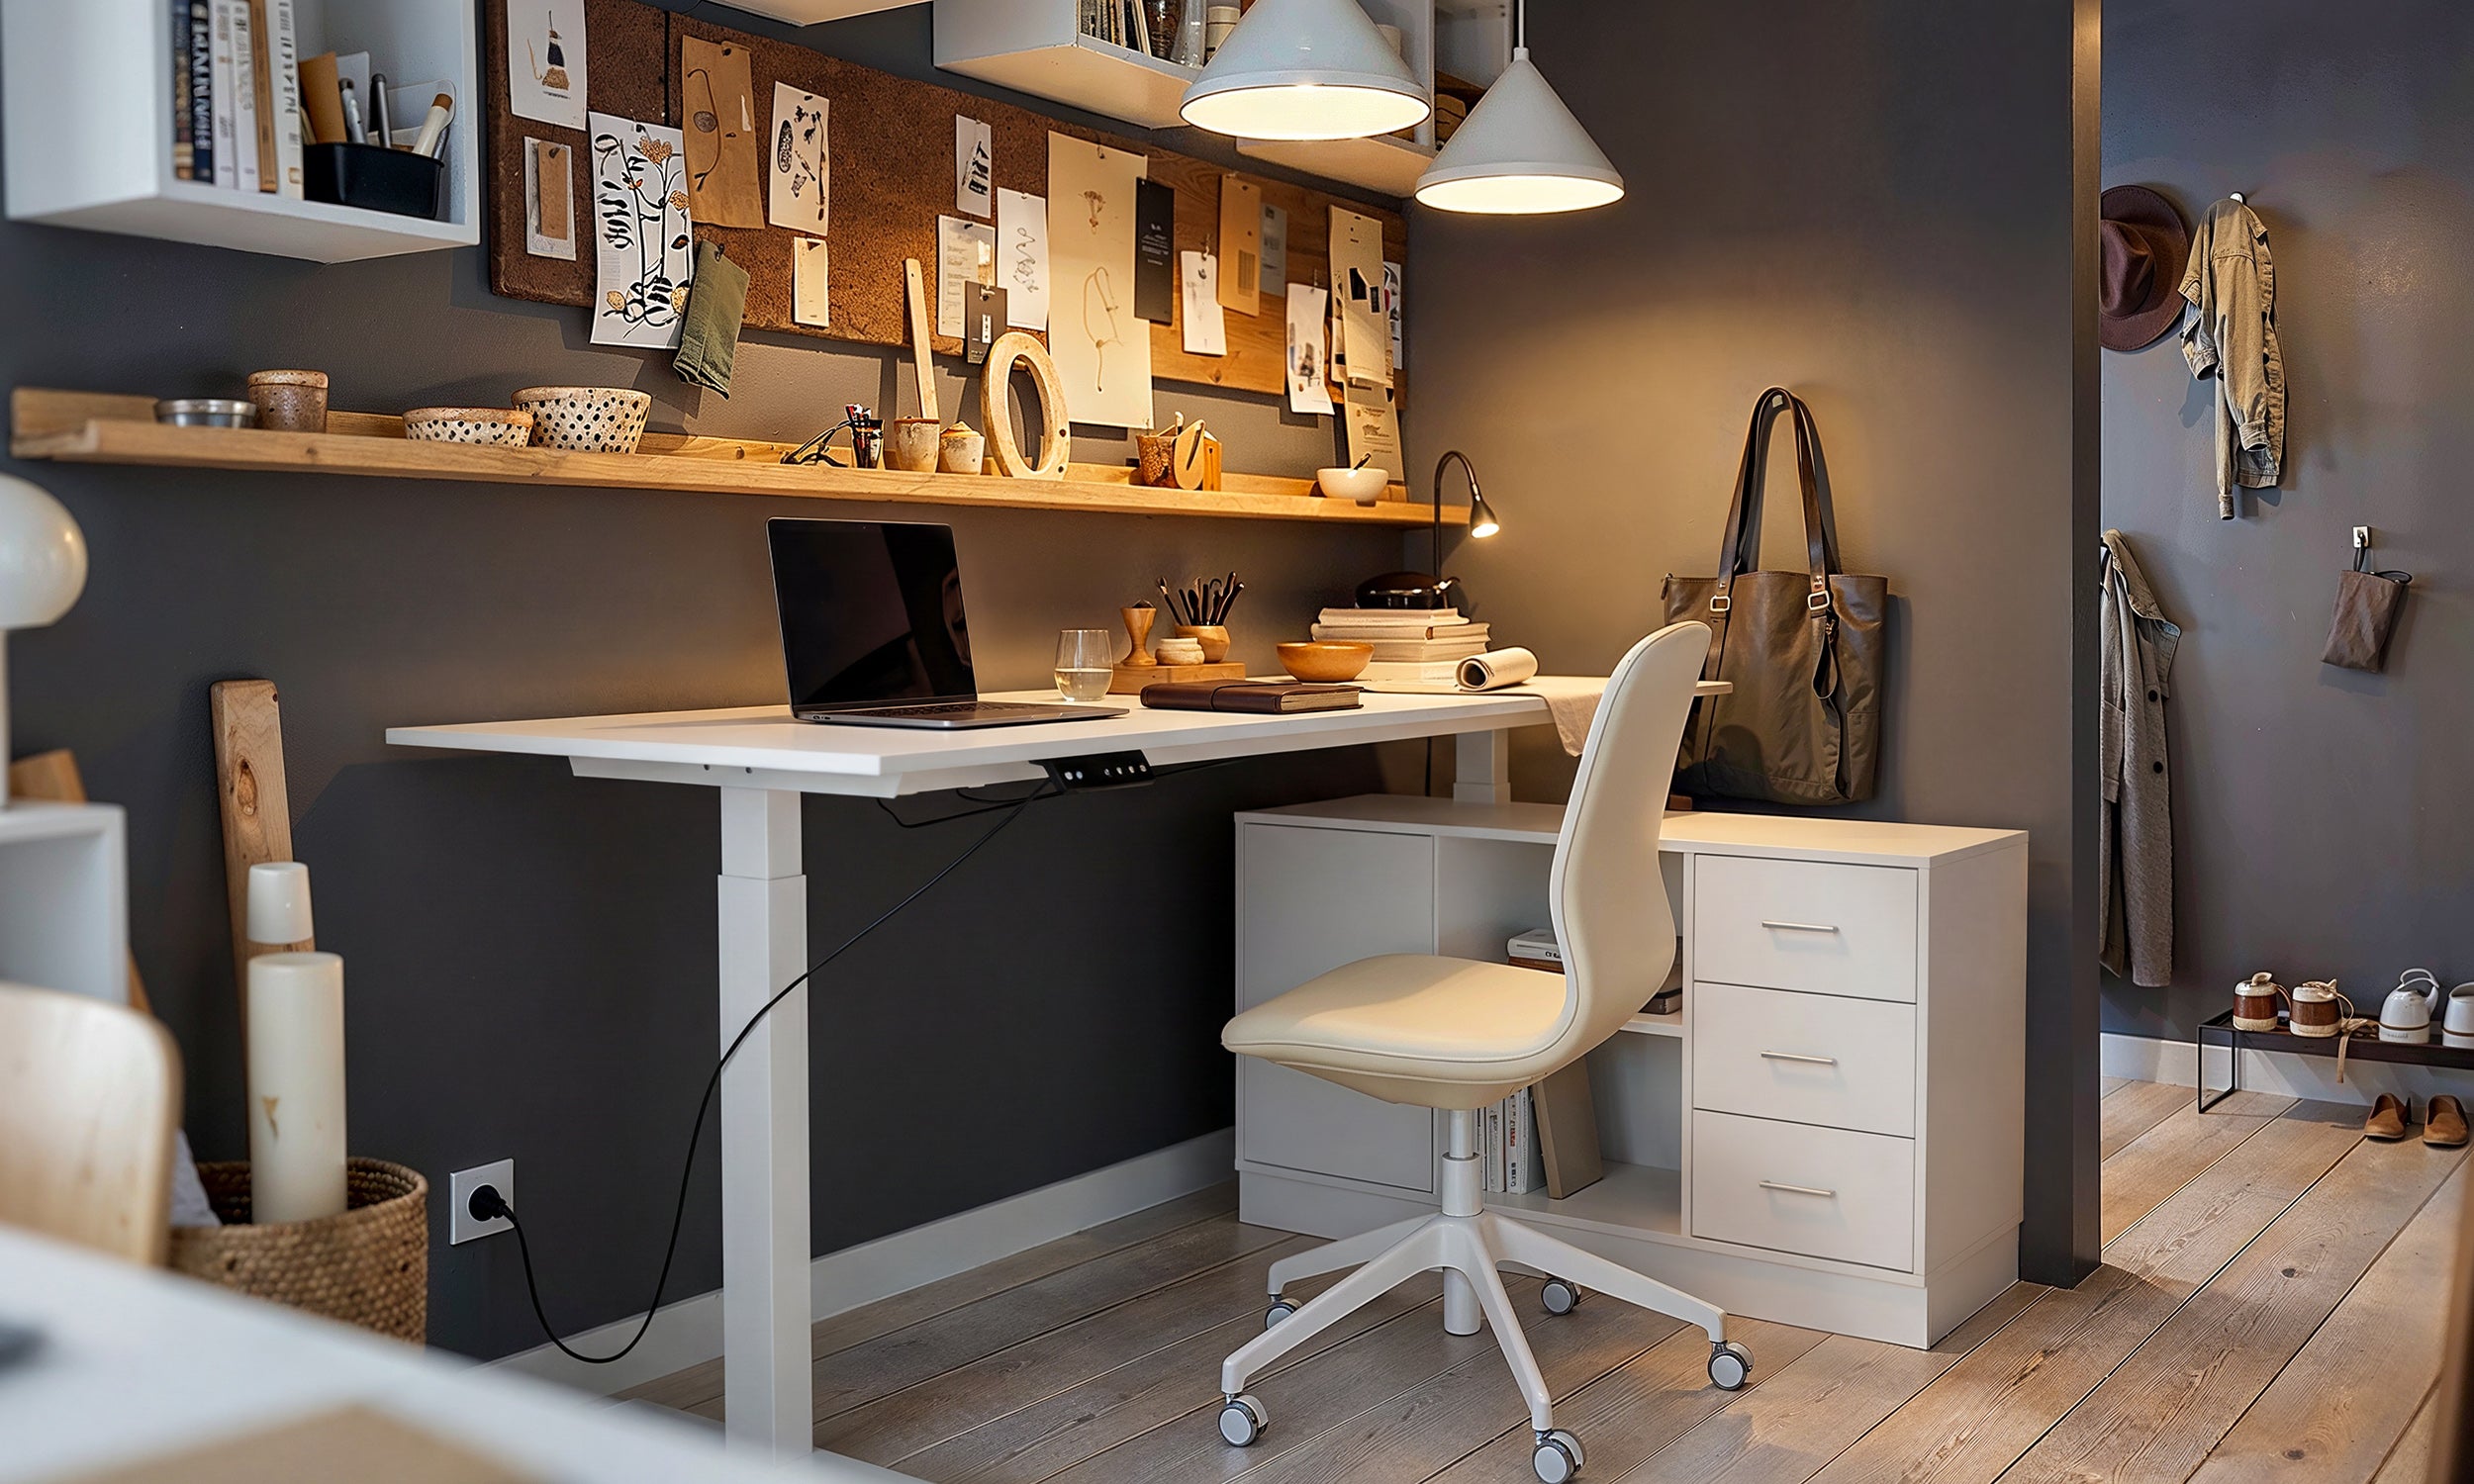
I spent three nights scrolling through TikTok convinced I was a genius. I figured I could dodge the 'office furniture tax' by building a ikea standing desk hack for half the price of a professional model. I had the aesthetics pictured: a clean white top, minimalist legs, and the smug satisfaction of outsmarting the system.
The reality was a mess of stripped screws and a desk that vibrated like a cheap motel bed every time I typed an email. If you are hovering over a 'Buy Now' button for a motorized frame and a cheap particleboard top, let me tell you why my stand up desk hack ended up being a very expensive lesson in structural engineering.
Quick Takeaways
- Particleboard and motorized vibrations are a recipe for sagging and instability.
- The cost of shipping, specialized hardware, and tools often exceeds the price of a pre-built desk.
- Standard IKEA tops are not designed to hold heavy monitor arms on a moving base.
- A factory-integrated desk offers a warranty that your DIY build won't.
The Illusion of the Cheap DIY Setup
The lure of the diy ikea standing desk is strong. You see those minimalist setups on Pinterest and think it is as simple as slapping a Lagkapten top onto a motorized frame. I fell for it because I wanted a specific look that I couldn't find in my budget. I thought I was being savvy by sourcing parts separately.
What the photos don't show is the 'wobble factor.' When you raise a desk to 45 inches, every tiny imperfection in the build is magnified. A desk that feels solid at sitting height becomes a bobblehead at standing height. I spent weeks trying to stabilize a setup that was fundamentally flawed from the start.
Where the Math Went Horribly Wrong
Let's talk numbers. I bought a standalone motorized frame for $280. Then I grabbed a $60 IKEA top. Sounds like a win, right? Wrong. I soon realized that standard wood screws rip right out of IKEA's honeycomb paper filler. I had to buy threaded inserts, specialized bolts, and a heavy-duty drill bit, adding another $40.
By the time I added a cable management tray and paid for shipping on two separate heavy boxes, I was $450 deep. For that exact price, I could have just purchased a fully warrantied adjustable height desk with memory presets. I didn't save money; I paid a premium for the privilege of assembling a desk that felt less secure than the one I could have bought pre-made.
The Particleboard Problem (Why My Desk Kept Sagging)
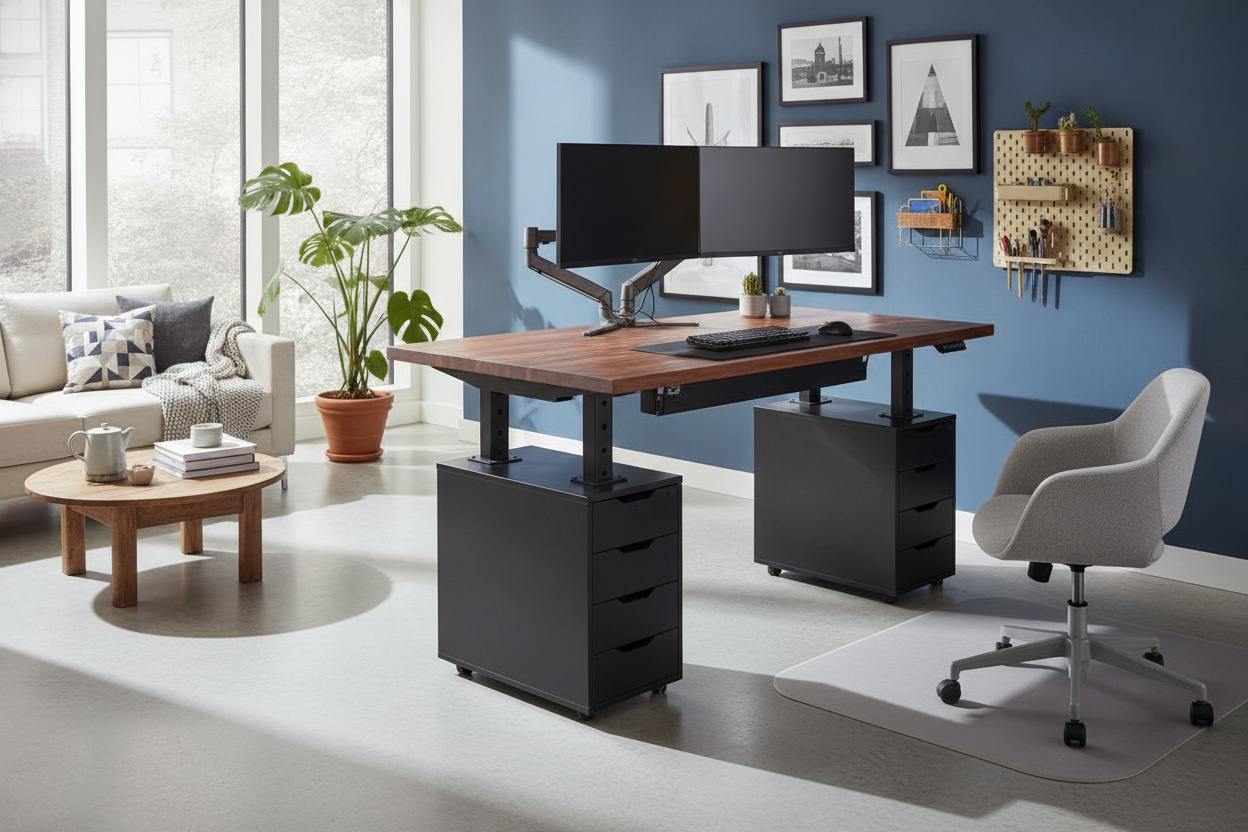
Most affordable IKEA tops are 'hollow'—they are literally paper inside a thin veneer. When you use a standing desk diy ikea approach with these materials, you run into the sag problem. Within two weeks, my dual-monitor mount started to tilt forward because the particleboard was compressing under the clamp.
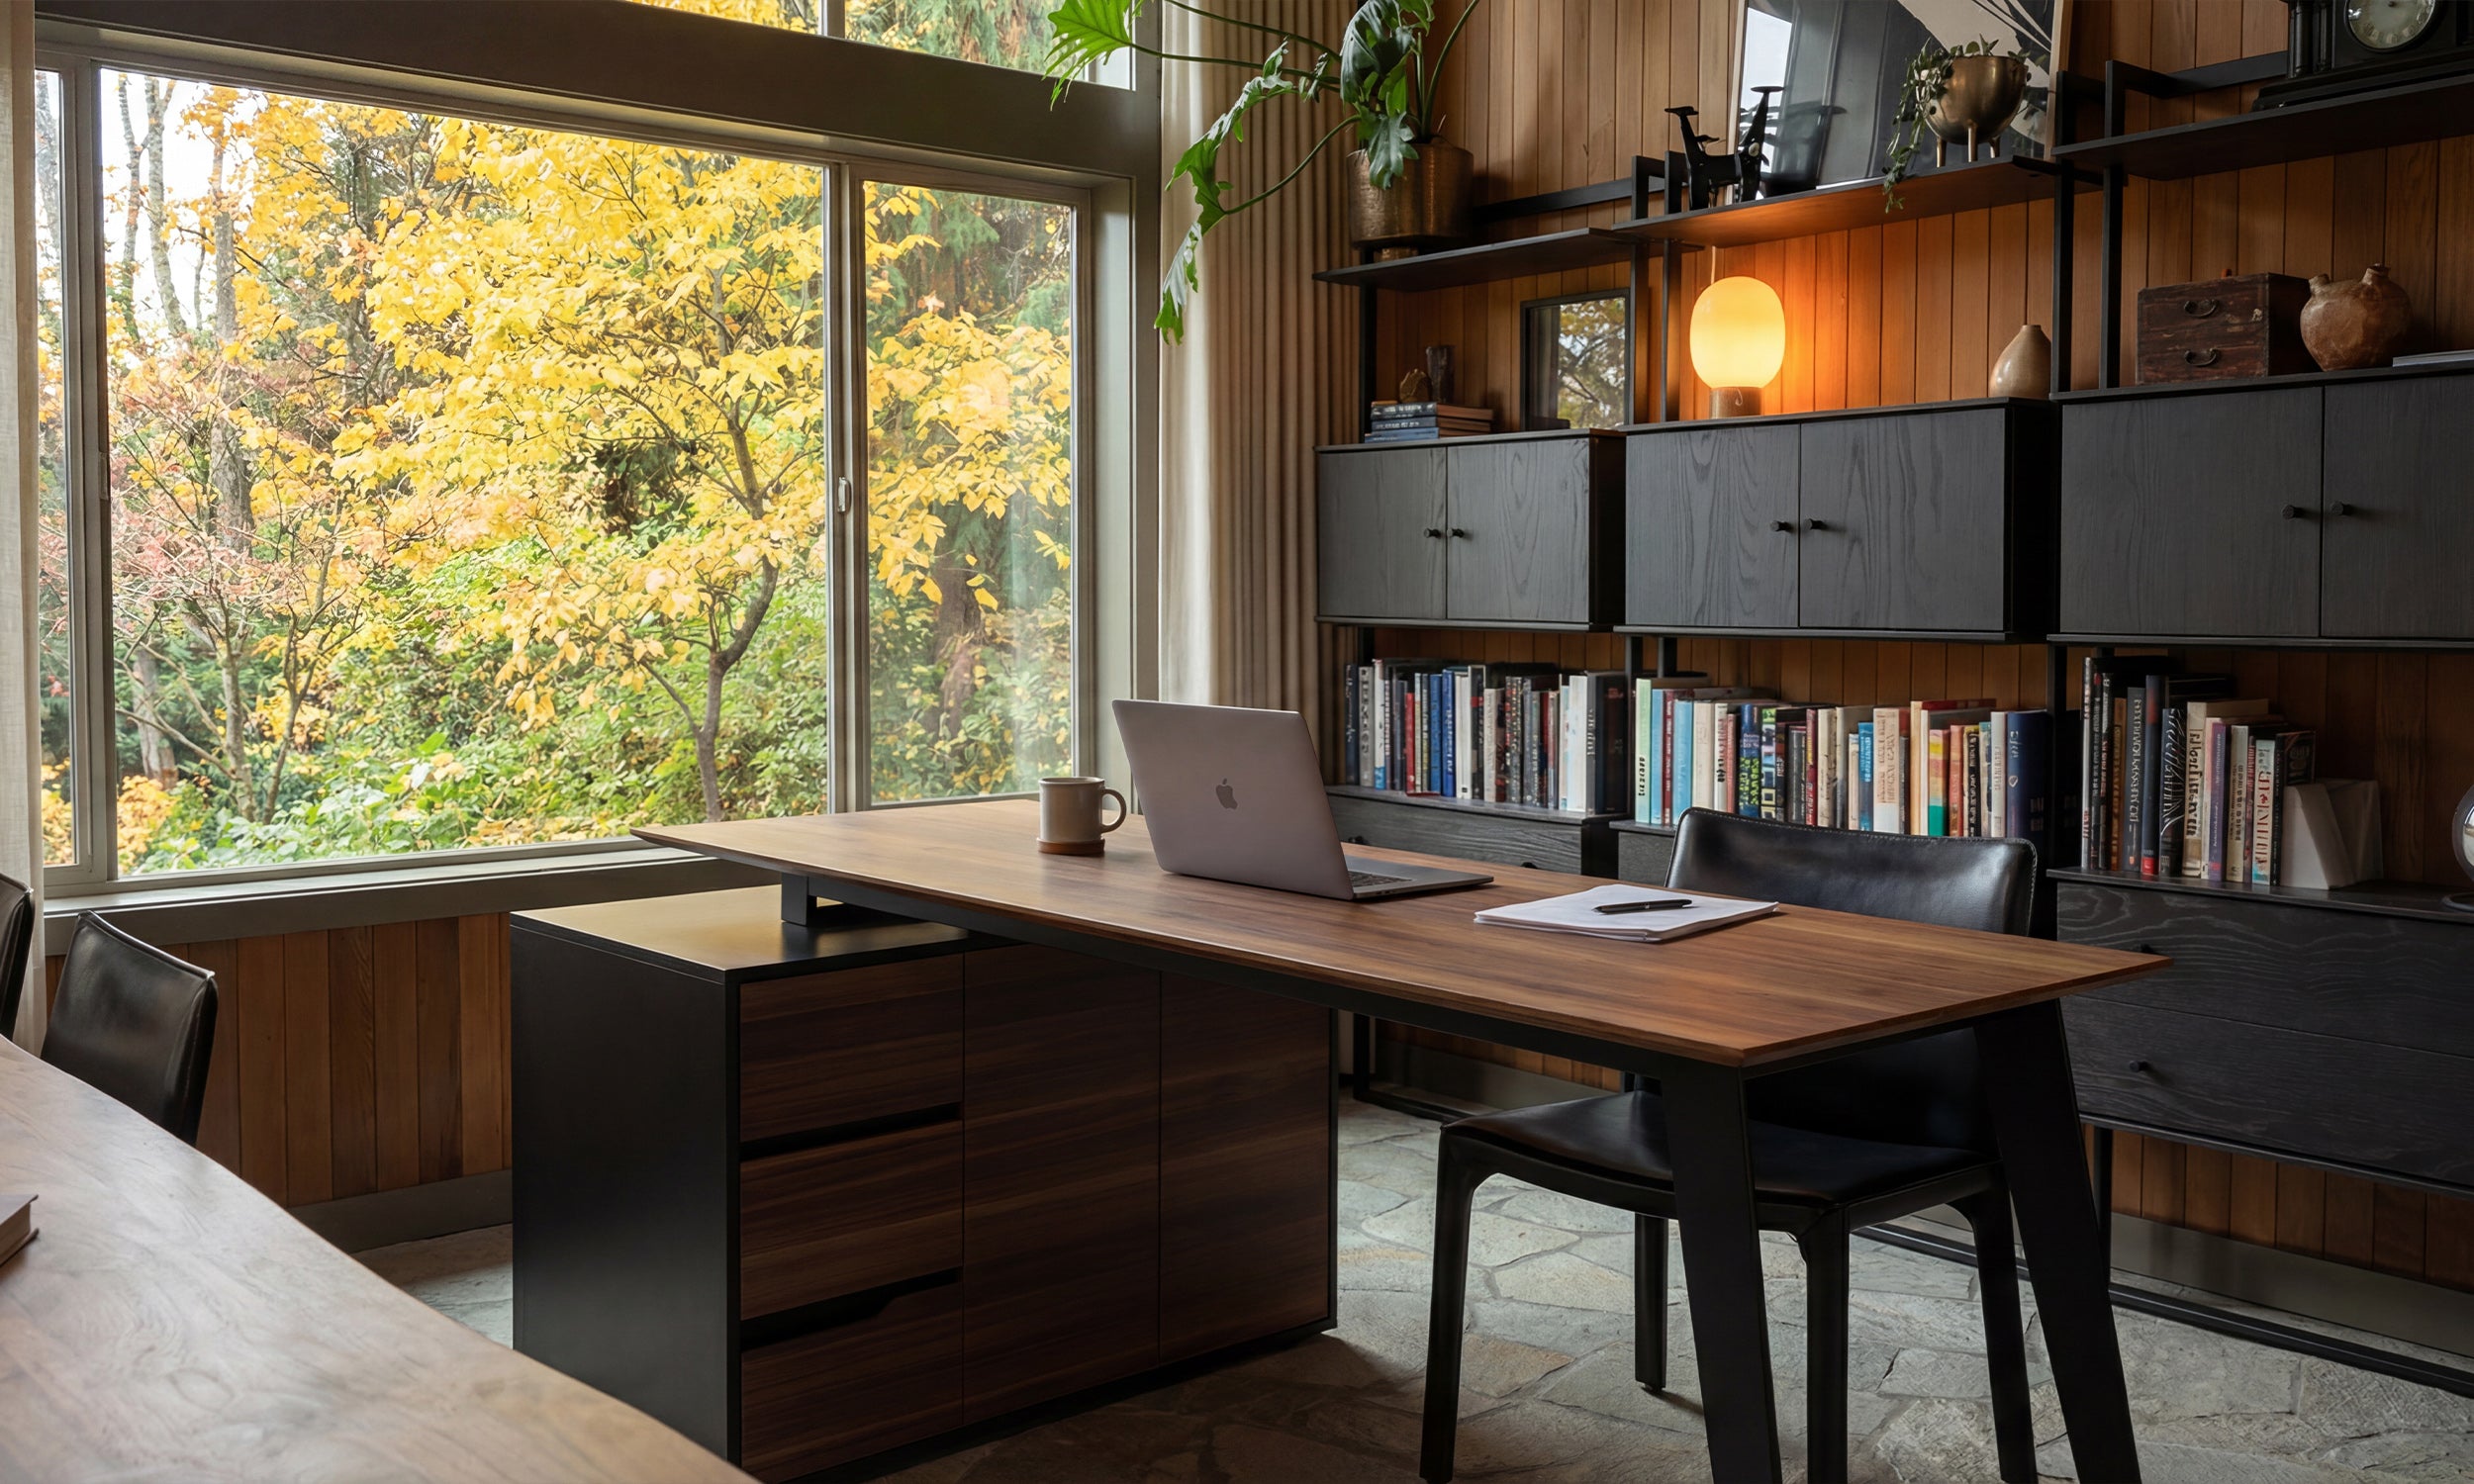
I eventually had to scrap the cheap top. If you are serious about a standing desk hack, you have to go solid. I ended up looking at the viral Reddit DIY standing desk which uses a heavy butcher block. It is the only way to prevent the desk from bowing in the middle, but it also doubles the weight and the cost of the project.
3 Standing Desk Hacks That Actually Work
If you are dead-set on a standing desk hack, learn from my mistakes. First, use a solid wood top like a Karlby or a Gerton. Second, upgrade your hardware—use bolts and inserts, not just the screws that came with the frame. Third, ensure your frame is wide enough to support the span of the desk without a middle support leg.
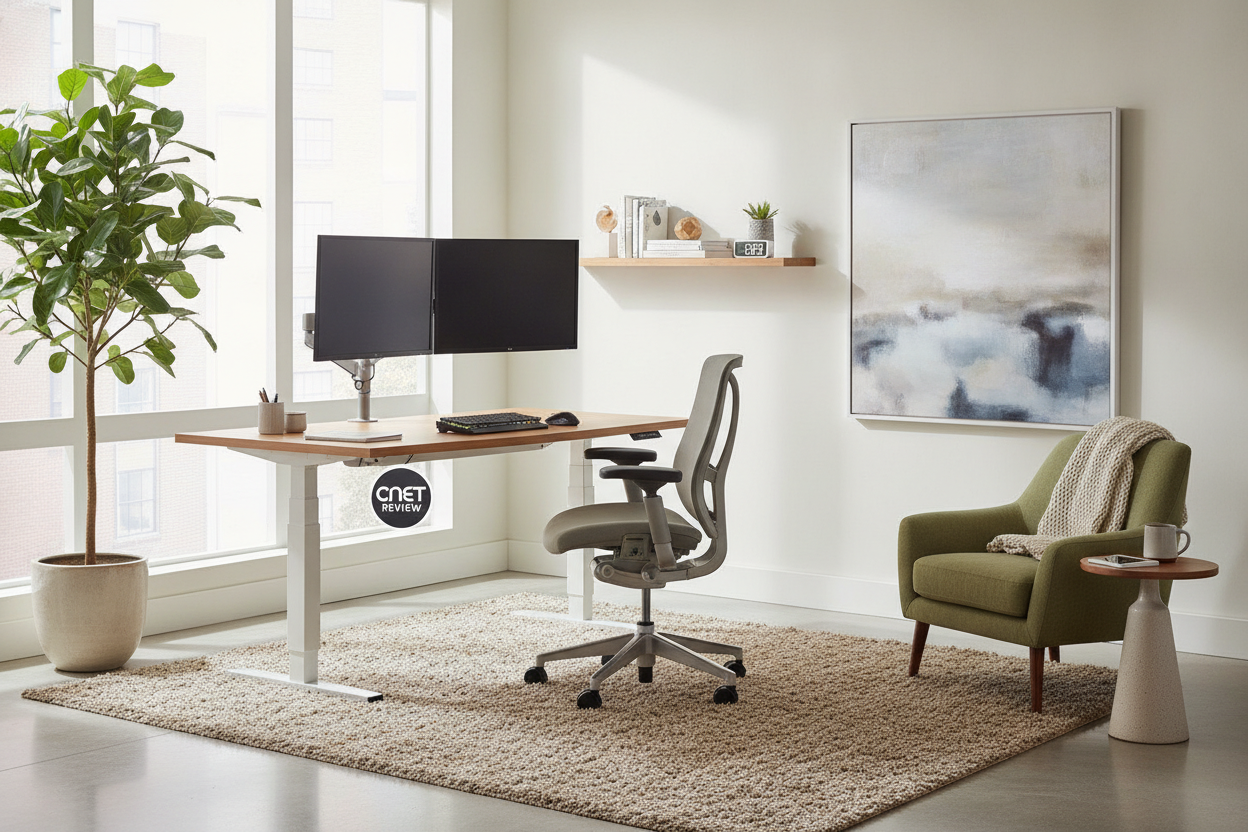
If you are trying to cover a massive 70-inch span, don't hack it with two smaller IKEA tops. It will never be level. It is significantly safer and more stable to buy a 71-inch height adjustable standing desk that was engineered to handle that specific weight and width. Your monitors (and your sanity) will thank you.
When to Hack vs. When to Buy
The bottom line? Hacking is only worth it if you already own a premium tabletop and just need a base. If you are buying everything from scratch, the 'hack' is a myth. You'll spend more on shipping and hardware than you'll save on the desk itself. I ended up spending $500 on a DIY project that I eventually replaced with a $400 professional model.
If you are truly on a shoestring budget and working in a tight corner, skip the motorized frame entirely. A DIY wall mounted standing desk is a much better use of $100 and won't give you the dreaded monitor shake. Otherwise, just buy the real thing and spend your weekend doing something other than drilling into cardboard.
FAQ
Is an IKEA standing desk hack stable?
Rarely. Because most IKEA tops are lightweight particleboard, they don't provide the ballast needed to stop a motorized frame from wobbling when extended to standing height.
Can I use a monitor arm with an IKEA Linnmon top?
I wouldn't recommend it. The Linnmon is filled with paper, and a heavy monitor arm will eventually crush the surface or rip the mounting plate right through the desk.
How long does it take to assemble a DIY standing desk?
Between sourcing parts, drilling pilot holes, and installing threaded inserts, expect to spend 3-5 hours. A pre-built standing desk usually takes about 45 minutes.


Laisser un commentaire
Ce site est protégé par hCaptcha, et la Politique de confidentialité et les Conditions de service de hCaptcha s’appliquent.