
A motorized height-adjustable workstation provides substantial versatility across daily work routines, but achieving a stable, reliable structure begins with deliberate preparation. Approaching an uplift desk assembly with organized staging, careful frame alignment, and methodical wire routing ensures your desk operates smoothly through every height transition while protecting both your components and surrounding flooring.
1. Preparing for UPLIFT Desk Assembly: Tools, Space, and Staging
Before unpacking heavy steel components or opening hardware packs, establishing a clean, spacious staging zone is essential. Motorized desk frames incorporate substantial structural weight, making adequate clearance necessary for safe handling and rotation.
- Clear adequate floor space: Provide ample perimeter clearance around your planned workspace footprint so you can pivot and flip the completed desk without bumping into walls or door frames.
- Protect finished surfaces: Lay down a soft moving blanket, durable rug, or the desktop packaging carton across the floor to prevent scuffs on both your new desktop and the room flooring.
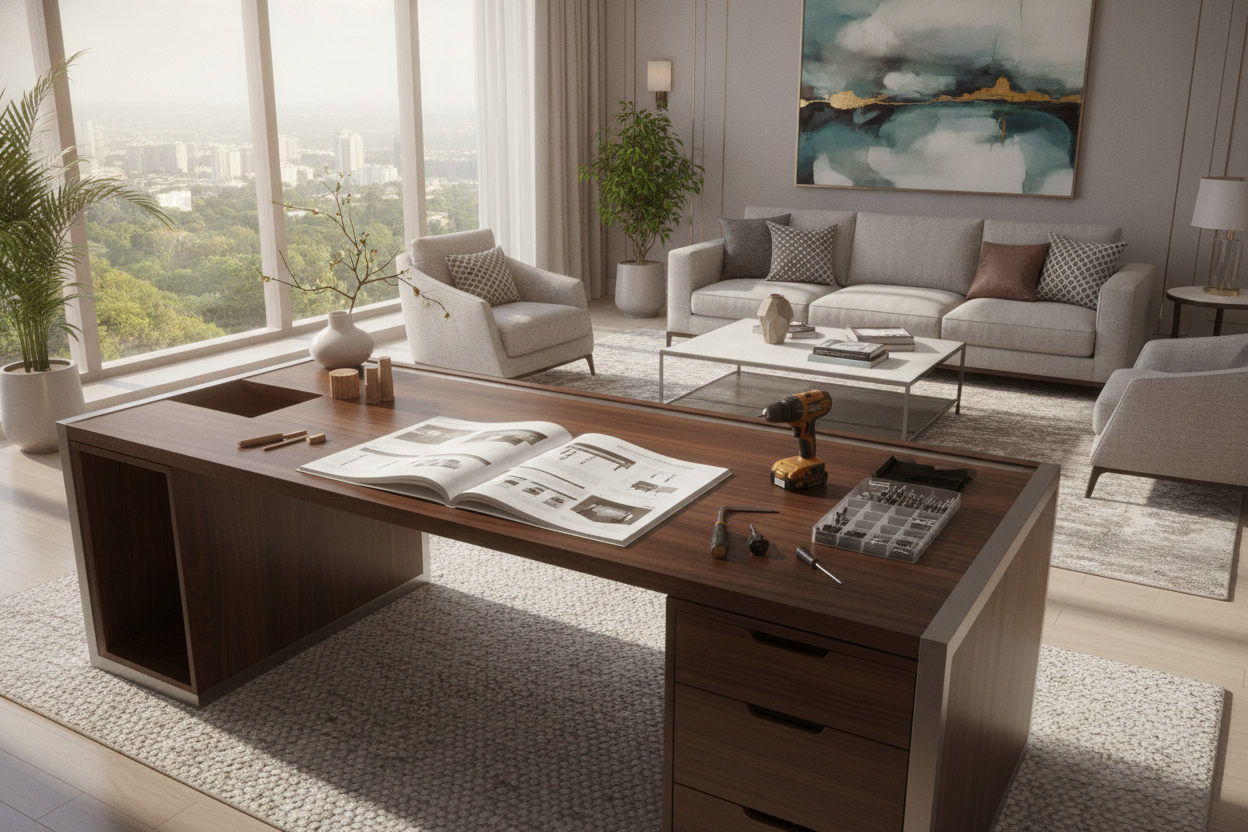
- Verify hardware and documentation: Unpack the frame boxes and organize the fasteners according to the included uplift desk instructions or digital uplift desk manual. Confirming bolt sizes before driving them into threaded inserts prevents accidental cross-threading.
- Gather standard tools: While motorized desk packages typically include hex keys, having a comfortable handle Allen wrench and a standard Phillips screwdriver nearby will speed up the build process.
2. Step-by-Step Frame Assembly and Desktop Mounting
Executing an orderly physical build minimizes mechanical racking and ensures the motorized lifting columns remain parallel throughout vertical travel.
Begin by resting your desktop upside down on your protective surface. Place the crossbar center rails between the two main side brackets, extending the telescoping framework to match the pre-drilled threaded inserts on the underside of your chosen surface. Aligning the frame symmetrically keeps the center of mass balanced.
Next, slide the motorized lifting columns into the crossbar ends. Fasten the structural bolts loosely at first, allowing minor shifting while you ensure all mounting holes line up with the desktop inserts. Once the side brackets and crossbar ends are positioned over the pre-drilled points, hand-tighten the frame-to-desktop screws before securing the crossbar locking bolts. Completing this sequence prevents binding along the telescoping track.
Attach the heavy steel foot plates to the bottom of the lifting columns using the designated machine screws. Tighten these firmly in an alternating cross pattern to seat the plates flush against the column bases. Before rotating the assembled structure upright, enlist a second person to assist with the lift, pivoting the desk on its feet rather than placing lateral shear strain on the lifting columns.
3. Electronics Integration, Cable Routing, and Initial Handset Calibration
Proper electrical connections and intentional slack management are critical elements of any reliable uplift desk setup.
Mount the central control box to the underside of the desktop using the dedicated mounting holes. Connect the motor extension cables from each lifting column into the designated motor ports on the control box, listening for a firm click to verify that internal retaining clips engage. Plug the digital keypad into the control interface and connect the main AC power cord.
Cable management requires special attention on sit-stand workstations. Route your motor wiring and power leads through under-desk adhesive clips or cable channels, ensuring sufficient slack near the lifting columns so cords are not pulled taut when the frame extends to maximum height. Keep power cords separated from sensitive data lines where possible to maintain clean wire runs.
Once connected to a power outlet, the motorized system requires an initial reset cycle to synchronize both lifting legs:
- Press and hold the down arrow on the handset until the desk lowers to its lowest physical stopping point.
- Release the button momentarily, then press and hold the down arrow again.
- Hold until the display flashes a reset indicator or the frame performs a subtle downward and upward calibration pulse.
- Release the button. The desk is now synchronized and ready for standard height presets.
4. Troubleshooting Common Assembly and Leveling Issues
If you encounter unexpected resistance or display prompts during your assemble uplift desk project, common issues can typically be resolved with simple mechanical or electrical checks.
- Uneven leg heights: If one column appears slightly higher than the other after initial powering, run the manual reset procedure to allow the control box to find zero on both motor encoders simultaneously.
- Error codes on the digital keypad: Error readings often indicate a loose motor cable or a brief power interruption. Disconnect the main power plug, firmly reseat both motor cables at the control box, reconnect power, and perform the reset sequence.
- Frame wobble or rocking: Inspect the adjustable leveling glides under each foot plate. Turn the threaded glides by hand until all contact points rest firmly against the floor, compensating for uneven flooring or thick carpet padding.
- Unusual motor strain or stopping: Ensure that under-desk accessories, power strips, or storage units are not making contact with the frame or triggering built-in anti-collision sensors.
5. Coordinating Your Standing Desk Setup with Adjacent Storage and Lighting
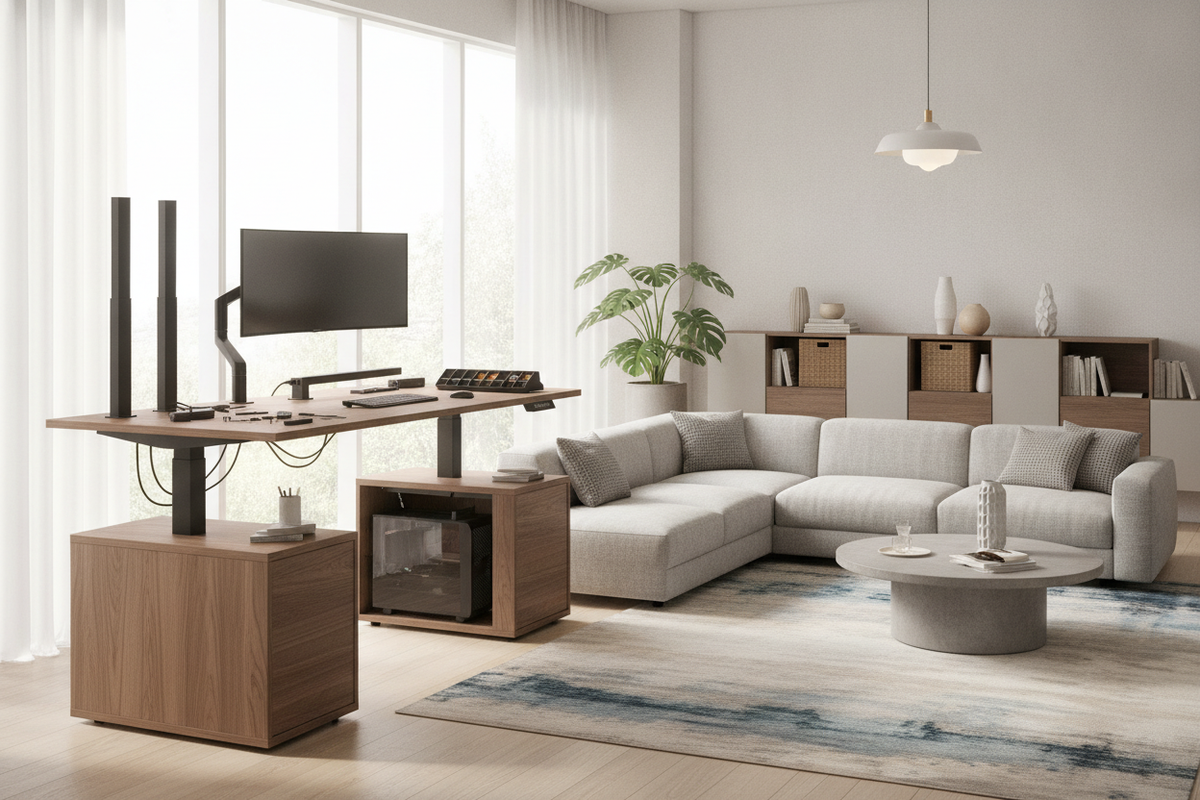
A completed motorized desk works best when integrated smoothly with the rest of your office layout. Because dynamic workstations move vertically throughout the day, surrounding furniture must be positioned to avoid mechanical interference.
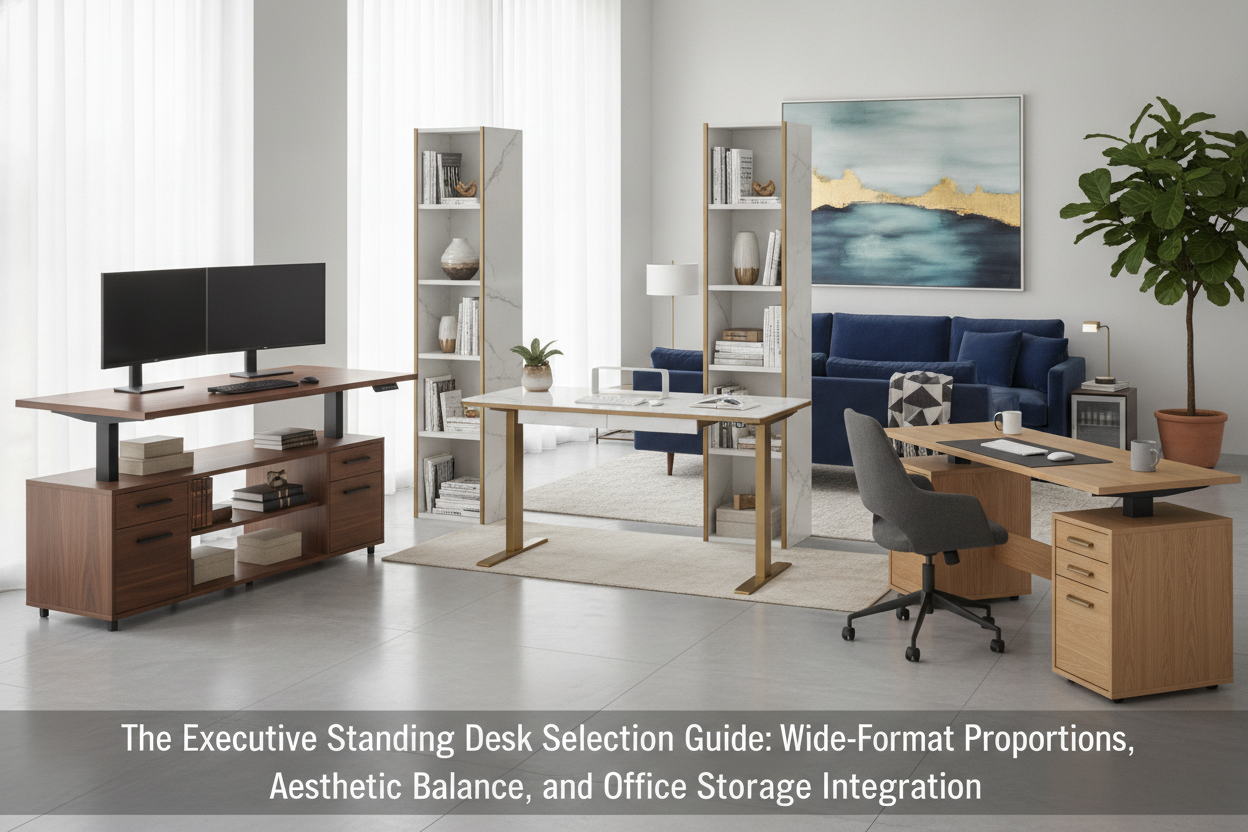
Maintain several inches of perimeter clearance between the edges of your desktop and nearby walls, bookshelves, or stationary filing cabinets. If you utilize tall storage pieces or mobile drawer units beneath the work surface, measure their heights carefully to confirm the desk can lower to your seated baseline without making contact. For comprehensive layout ideas on pairing functional cabinetry with active workstations, explore our setup desk guide to maximize vertical utility without cluttering your floor plan.
Lighting also requires tailored placement in an active office environment. Desk lamps with articulated arms or clamp-on mounts travel smoothly alongside the desktop, preserving consistent illumination angles across both sitting and standing postures. Reviewing our dedicated desk setup guide can help you balance task lighting with ambient fixtures for a cohesive, comfortable workspace.

Laisser un commentaire
Ce site est protégé par hCaptcha, et la Politique de confidentialité et les Conditions de service de hCaptcha s’appliquent.