
I stood in my living room with a local carpenter who looked at my 12-foot wall and casually quoted me $5,200 for a white oak built-in. I nearly choked on my coffee. For that price, I could buy a used car or three weeks in Italy. I knew I wanted that floor-to-ceiling look, but my bank account said 'flat-pack only.' That is when I realized I did not need a designer to build it from scratch; I just needed to get creative with media units furniture.
- Buy units with the same depth: Consistency is the key to making separate pieces look like a single unit.
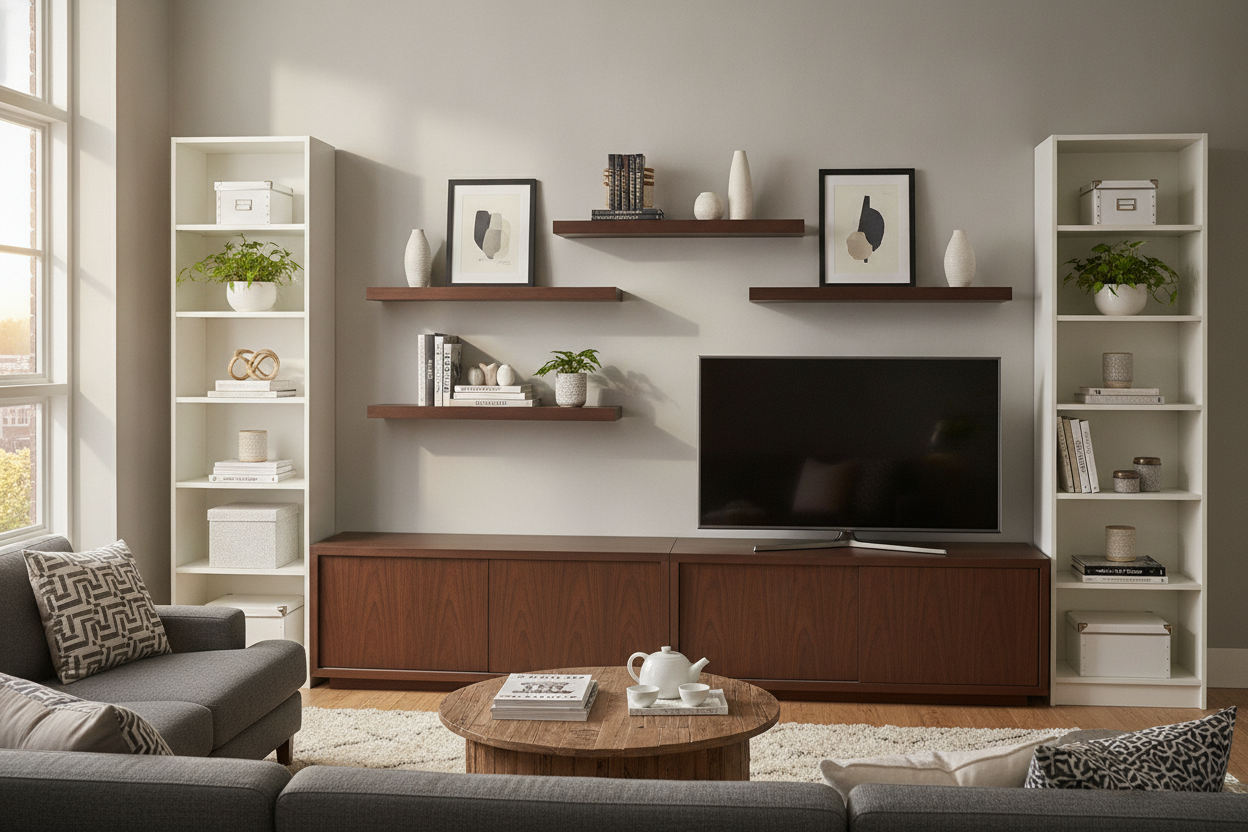
- Go vertical: Flank your TV with tall bookcases to create an architectural 'U' shape.
- Swap the hardware: Custom knobs and pulls make a $300 cabinet look like a $2,000 one.
- Bolt them together: Use mending plates to eliminate the gaps between units that scream 'freestanding.'
The $5,000 Quote That Crushed My Built-In Dreams
There is a specific kind of heartbreak that happens when your Pinterest board meets your actual budget. I had spent months pinning photos of wall-to-wall library shelving with a nested TV nook. It looked intentional, permanent, and expensive. When the quote for the custom millwork came back at five grand—and that did not even include the paint—I realized my dream was essentially a down payment on a house.
I spent a week staring at that blank wall. The problem with most freestanding units is that they look like they are just sitting there. They do not feel like part of the room. But I have assembled enough furniture to know that most of it is just boxes. If I could find the right boxes and line them up perfectly, I could trick the eye into seeing a designer entertainment center without the custom price tag. It just required a shift in how I looked at the assembly instructions.
Why Good Media Units Furniture Is the Ultimate Cheat Code
The secret is that the gap between 'cheap' and 'custom' has closed significantly. We used to be stuck with clunky, deep cabinets that stuck out like sore thumbs. Now, you can find modern entertainment units that do more than just sit under a screen—they act as architectural anchors. They are slimmer, sleeker, and designed to be modular.
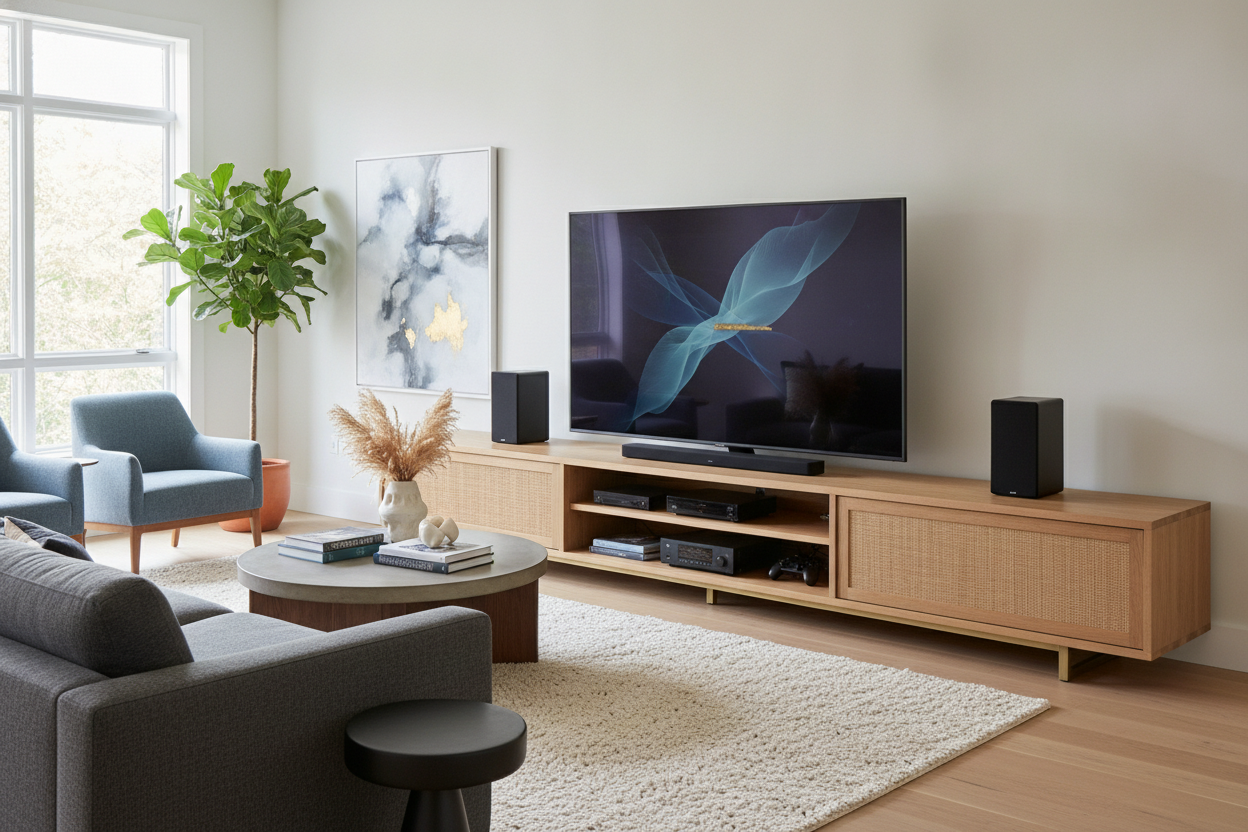
Modular furniture is the real MVP here. Instead of one massive, heavy piece that is a nightmare to move, you are looking for units that share the same height and depth. When you align three or four pieces of the same collection, the vertical lines start to look like intentional seams in custom cabinetry. I opted for a mix of closed storage on the bottom to hide the router and messy cables, and open shelving on top to mimic that classic library vibe. It is about creating a footprint that spans the wall rather than just a lonely island in the middle of it.
My 3-Step Formula for Faking the Custom Look
You do not need a degree in interior design to pull this off. You just need a level, a drill, and a refusal to accept gaps. Here is the exact process I used to turn three separate boxes into one cohesive wall unit.
Step 1: Start With a Floating Base
If you want it to look custom, get it off the floor. Legs are a dead giveaway that a piece of furniture is freestanding. By using a wall-mounted media console entertainment center as your anchor, you create a continuous line of flooring underneath. This makes the room feel larger and the furniture feel like it was built into the studs. It also makes vacuuming infinitely easier, which is a win in my book.
I learned the hard way: check your wall type first. If you are drilling into drywall without hitting studs, that console is going to end up on the floor. I spent two hours with a stud finder making sure my base was rock solid. Once it was up, the built-in illusion was 50% complete. The floating look suggests that the piece was designed specifically for that wall, rather than just being shoved against it.
Step 2: Flank It With Symmetrical Storage
To get that entertainment unit designer look, you need height. I bought two tall, narrow bookcases from the same furniture line as my base. By placing them on either side of the floating console, I created a 'U' shape that framed the TV. This symmetry is what signals 'expensive' to our brains. It turns a TV stand into a full-scale entertainment cabinet design.
Make sure the bookcases are the exact same depth as your console. Even a half-inch difference will ruin the effect. I actually had to return my first set of towers because they were 14 inches deep while the console was 16. It looked messy. Once I matched the depths, the wall started looking like a single, massive architectural feature. It is about the silhouette, not the price tag.
Step 3: The 'No Gaps' Hardware Rule
This is where the magic happens. I bolted the bookcases to the wall and then used small metal mending plates to pull the bookcases flush against the sides of the floating console. No gaps, no light passing through. If your units have a slight gap due to uneven floors, use shims. I also swapped out the generic plastic knobs for heavy brass pulls I found online. Having the same hardware across all three pieces is the ultimate 'tell' that they belong together. It unifies the disparate pieces into one story.
Pieces That Actually Look Custom (Without the Wait)
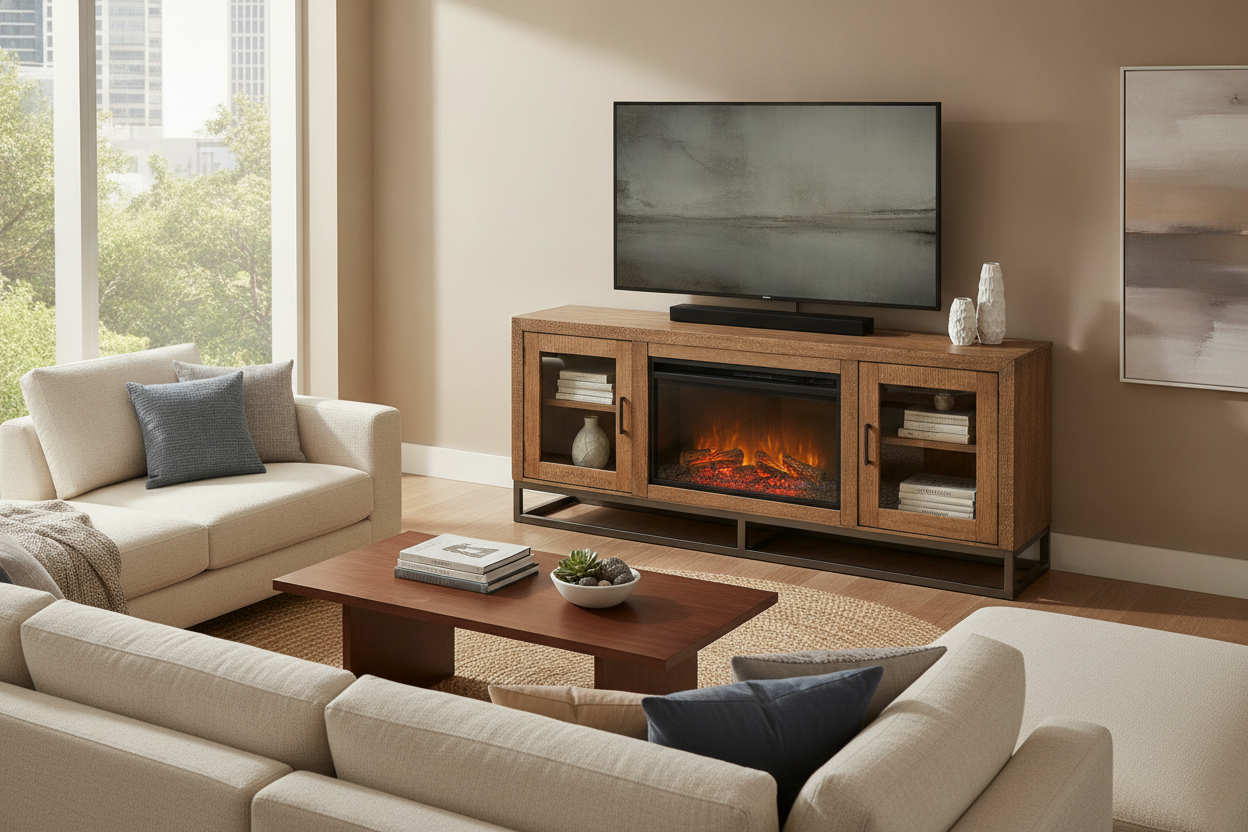
If you are starting from scratch, I highly recommend looking for pieces with clean lines and matte finishes. A stylish black TV stand with ample storage is a fantastic starting point because dark colors hide the seams between units much better than white or light oak. The shadows just disappear into the finish, making the three pieces look like one solid block of wood.
Don't be afraid to mix and match within a single brand's ecosystem. You can shop a dedicated entertainment center and then add extra shelving units to fill the entire width of your wall. My 'custom' wall ended up costing me about $1,100 total—including the new hardware and the level I had to buy. That is nearly $4,000 saved, and honestly? Nobody who walks into my house can tell the difference. They just ask me who did the millwork.
Can I do this in a rental?
Yes, but skip the floating base. Use a console with a recessed plinth base instead. It still looks custom but does not require drilling massive holes into the wall. Just make sure to use furniture straps for the tall pieces so they do not tip!
How do I hide the cables?
I used a 2-inch hole saw to cut ports into the back of the bookcases. All my cables run horizontally behind the units and down to a single power strip. If you cannot see the wires, the built-in look is much more convincing. Messy cords are the enemy of high-end design.
What if my floors are uneven?
Shims are your best friend. I had to stick two plastic shims under the left bookcase to get it to sit perfectly flush with the center unit. You can hide the shims with a tiny bit of baseboard trim or just paint them to match the floor so they disappear.

Laisser un commentaire
Ce site est protégé par hCaptcha, et la Politique de confidentialité et les Conditions de service de hCaptcha s’appliquent.