
Pre-Assembly Staging: Workspace Preparation, Fastener Sorting, and Component Inventory
Setting up an adjustable sit-stand workstation begins long before tightening the first bolt. To create a smooth building experience, clear a wide, level area in your room and lay down a soft blanket, felt moving pad, or flattened shipping carton. This barrier protects both your flooring and the finished veneer of multi-piece desktop sections from accidental scuffs during construction. Taking time to stage your space aligns directly with broader ergonomic planning outlined in our comprehensive standing desk guide.
Open all packaging carefully and organize the hardware before beginning assembly:
- Fastener Categorization: Separate machine screws, wood tapping screws, connecting dowels, and rubber dampening washers into distinct bins or trays.
- Structural Identification: Identify left and right lifting columns, telescoping crossbeam rails, support brackets, and foot assemblies.
- Electronic Check: Locate the central control module, digital handset, motor power leads, and primary power supply cord.
Mechanical Frame Assembly: Crossbeam Expansion, Leg Columns, and Side Brackets
The foundation of any motorized desk rests upon its central telescoping frame. Begin by loosening the adjustment bolts on the central crossbeam sleeves, allowing the inner rails to slide smoothly to accommodate the width of your desktop. Similar to the structural engineering found in a modern height standing desk product, precise framing ensures structural balance and minimizes lateral sway during vertical travel.
Fasten the dual-stage or three-stage lifting columns to each end of the crossbeam assembly using the designated machine bolts. Tighten each bolt incrementally in a diagonal pattern rather than torquing down one side completely, which keeps the columns square and plumb. Next, attach the heavy steel side support brackets to the top outer edges of the lifting columns. Finally, bolt the elongated bottom feet onto the columns, securing the pre-installed leveling glides firmly in place.
L-Shaped Frame & Drive Rod Synchronization: Reversible Wing Alignment and Transmission Couplers
For corner and L-shaped configurations, proper mechanical synchronization is critical. Most multi-segment models offer a reversible architecture, allowing you to mount the extension return on either the left or right side depending on room constraints. Determine your preferred return orientation before fastening the secondary frame extensions and corner tie-plates.
When configuring a single-motor or synchronized multi-column system with a central transmission rod, follow these key alignment steps:
- Hex Shaft Insertion: Slide the hexagonal drive rod completely into the motorized gearbox hub until it seats securely.
- Opposing Leg Coupler Engagement: Insert the opposite end of the transmission rod into the driven column receiver, ensuring full engagement without tilting.
- Locking Collar Tightening: Fasten the central locking collar screws firmly while keeping both columns resting flat at their lowest mechanical baseline, preventing uneven lifting speeds or canted work surfaces.
- Corner Plate Reinforcement: Secure the angled junction brackets linking the main desk frame to the return extension frame to provide steady perimeter reinforcement.
Multi-Piece Desktop Connection: Seam Alignment, Splice Plates, and Undermount Fastening
Many modern standing desks utilize sectional tabletop panels to streamline shipping and handling. To achieve a smooth, unified working plane, place all desktop sections upside down on your protective floor matting, pushing the connecting edges firmly together. For expansive workspaces comparable to an extended height standing desk product, taking extra care during seam alignment prevents visual gaps and surface ridges.
Insert the supplied wooden alignment dowels between the adjacent panel edges, then place the steel splicing plates across the seams. Fasten the connector plates using short wood screws, drawing the panels tightly against one another. Carefully position the assembled metal frame upside down over the inverted desktop, lining up the pre-drilled pilot holes. Secure the frame and side brackets to the underside of the boards using the recommended fasteners and vibration-absorbing rubber washers, taking care not to over-torque wood screws into composite panel cores.
Electronic Integration and Calibration: Cabling, Control Box, and Reset Protocol
Once the mechanical chassis is secured to the desktop, route all electrical connections before flipping the desk upright. Mount the central control box in its designated undermount position, typically near the primary motor. Connect the motor power leads, keypad ribbon cable, and main power cord firmly into their corresponding ports until locking tabs engage.
With assistance, rotate the entire desk into its upright position by gripping the steel frame rather than pulling upward solely on the wooden desktop wings. Plug the power cord into a wall outlet to perform the mandatory initial reset sequence:
- Press and hold the Down button on the digital handset continuously.
- Keep holding until the desk reaches its lowest mechanical point, makes a brief downward dip, and rebounds slightly.
- Release the button once the digital display shows a standard baseline reading or emits a confirmation beep. This step synchronizes the motor encoders and clears factory calibration faults.
Digital Handset Operation: Setting Height Limits and Memory Preset Customization
Modern digital controllers offer intuitive ways to personalize dynamic posture intervals throughout the day. Coordinating these adjustments with intentional workstation habits, as explored in our companion standing desk guide, helps foster an active and productive daily rhythm.
To program your custom standing and seated elevations:
- Elevation Adjustment: Use the manual Up and Down keys to position the desktop at your ideal seated elbow height.
- Storing Seated Height: Press the Memory / Set button (often labeled 'M' or 'S'), followed immediately by numeric key 1.
- Storing Standing Height: Raise the desk to your natural standing posture, press the Memory / Set button again, and tap numeric key 2.
- Safety Lock Activation: On supported controllers, holding the lock combination prevents unintended vertical adjustments caused by accidental bumps or child contact.
Workspace Layout Synergy: Dynamic Clearances, Cable Slack, and Modular Storage Integration
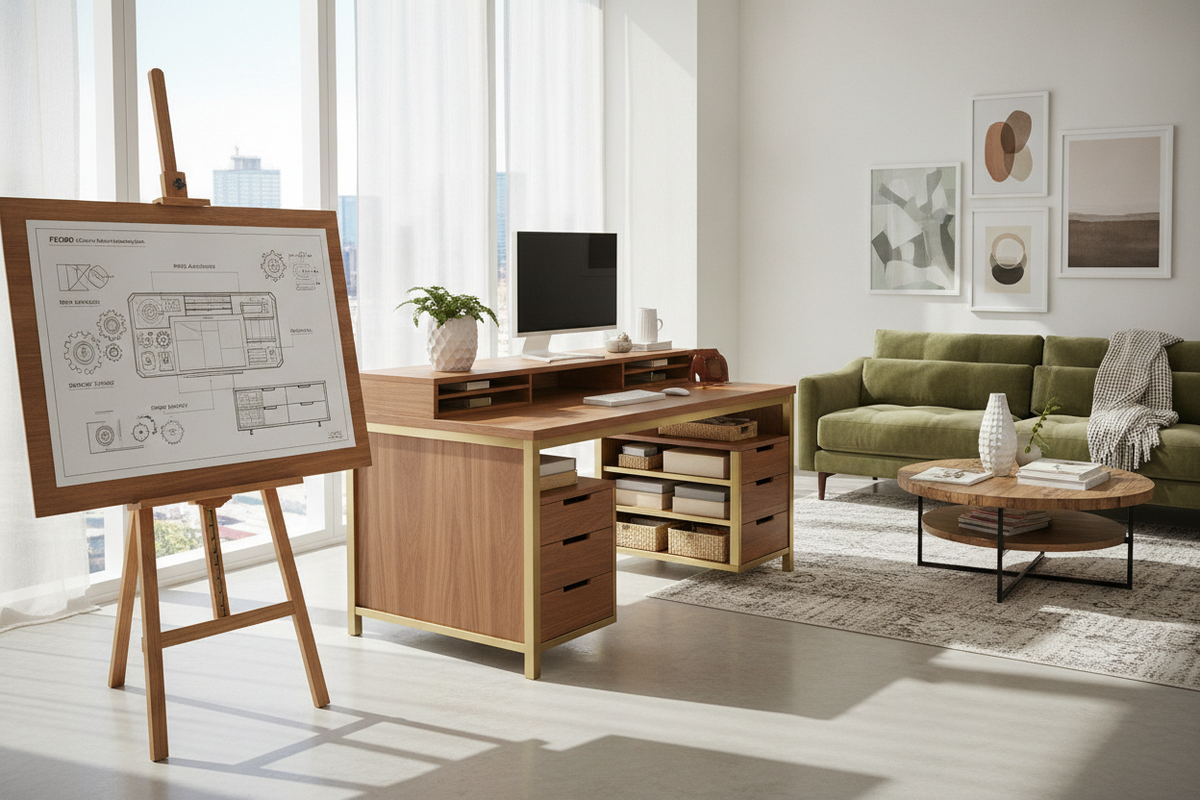
An adjustable workstation must function seamlessly within the broader architectural layout of your room. Position the desk so that it maintains several inches of clearance from surrounding drywall, window sills, and floating wall shelves to prevent contact during height transitions. In multi-functional open-concept rooms featuring modular living spaces alongside an executive zone equipped with an L-shaped shaped memory product, intentional spatial buffer zones maintain visual harmony and ease of movement.
Ensure monitor cables, surge protector cords, and peripheral lines have sufficient slack when the desk is fully elevated. Bundle loose cords into an under-desk cable management spine or tray to keep wiring organized. Finally, pair your standing workstation with low-profile mobile pedestals, credenzas, or lateral file cabinets that slide conveniently underneath during seated hours, delivering clean organization and a balanced home office aesthetic.

Laisser un commentaire
Ce site est protégé par hCaptcha, et la Politique de confidentialité et les Conditions de service de hCaptcha s’appliquent.