

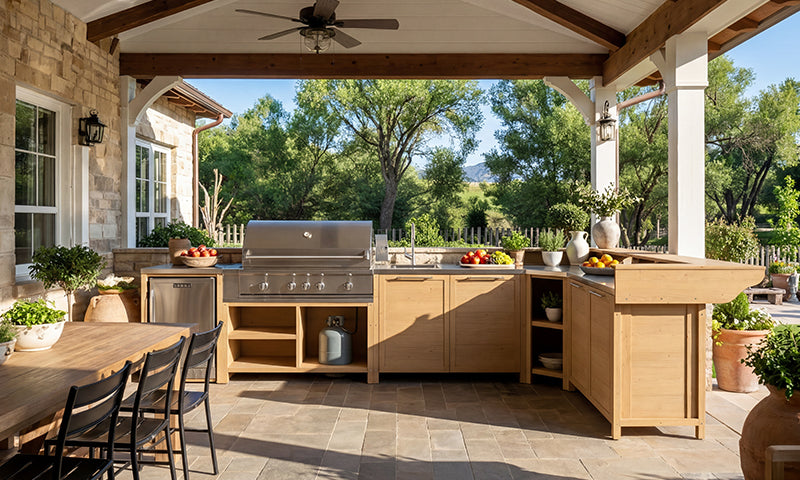
I used to think my kitchen was just fine until I tried to dice a shallot at 6 PM on a rainy Tuesday. I was hunched over the cutting board, squinting through a massive shadow cast by my own head. My fancy recessed ceiling lights were doing exactly nothing for my knife skills. Adding lighting under shelves wasn't just a decor choice; it was a safety intervention for my fingers.
- Stop the 'body shadow' by placing light between you and the blade.
- Aim for 3000K to 4000K color temperature for prep work.
- Plug-in strips are great for renters, but diffusers are what make them look expensive.
- Hardwiring is a weekend project, not a five-minute fix.
The 'Body Shadow' Problem (Why Overhead Lights Fail You)
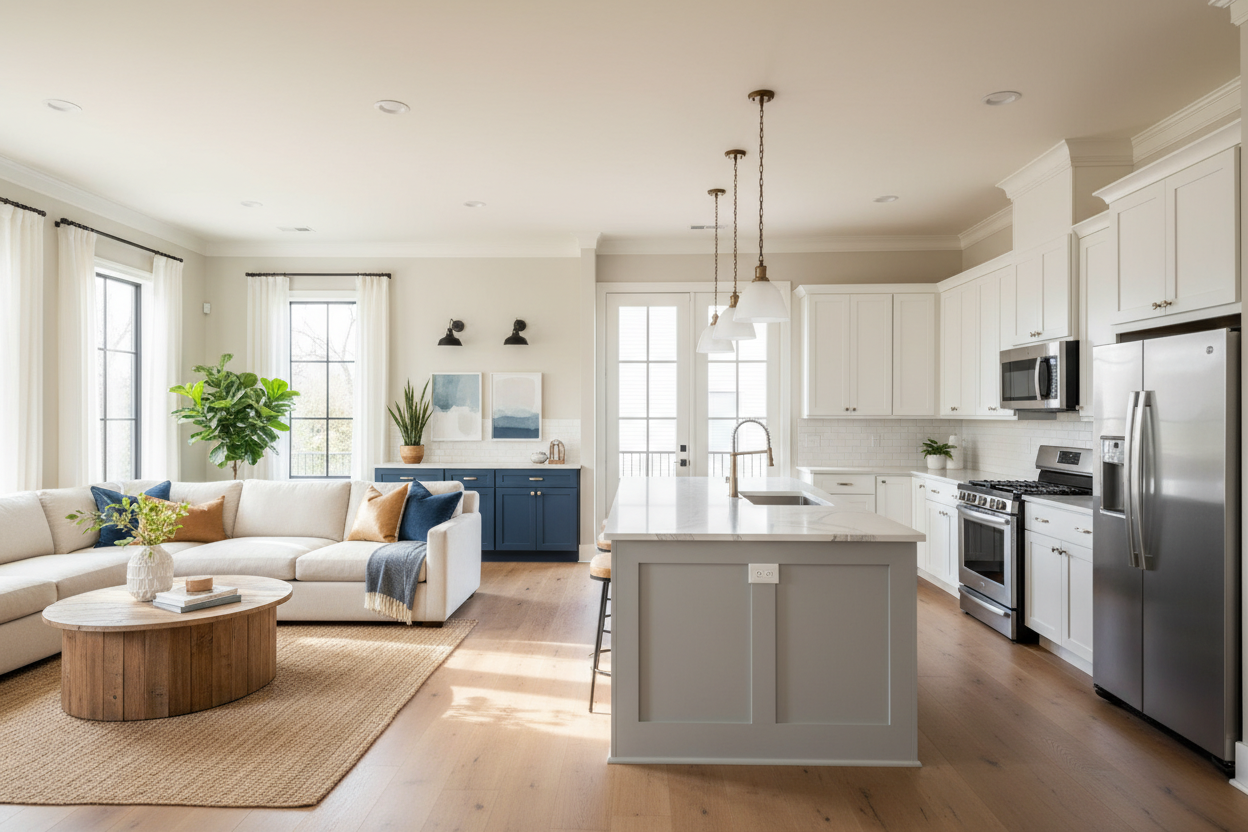
Overhead lights are great for finding a dropped earring, but they're terrible for cooking. Most of us have ceiling fixtures positioned behind us when we stand at the counter. The result? You become a human eclipse, casting a dark shadow over your cutting board. It's frustrating, and frankly, it's how accidents happen.
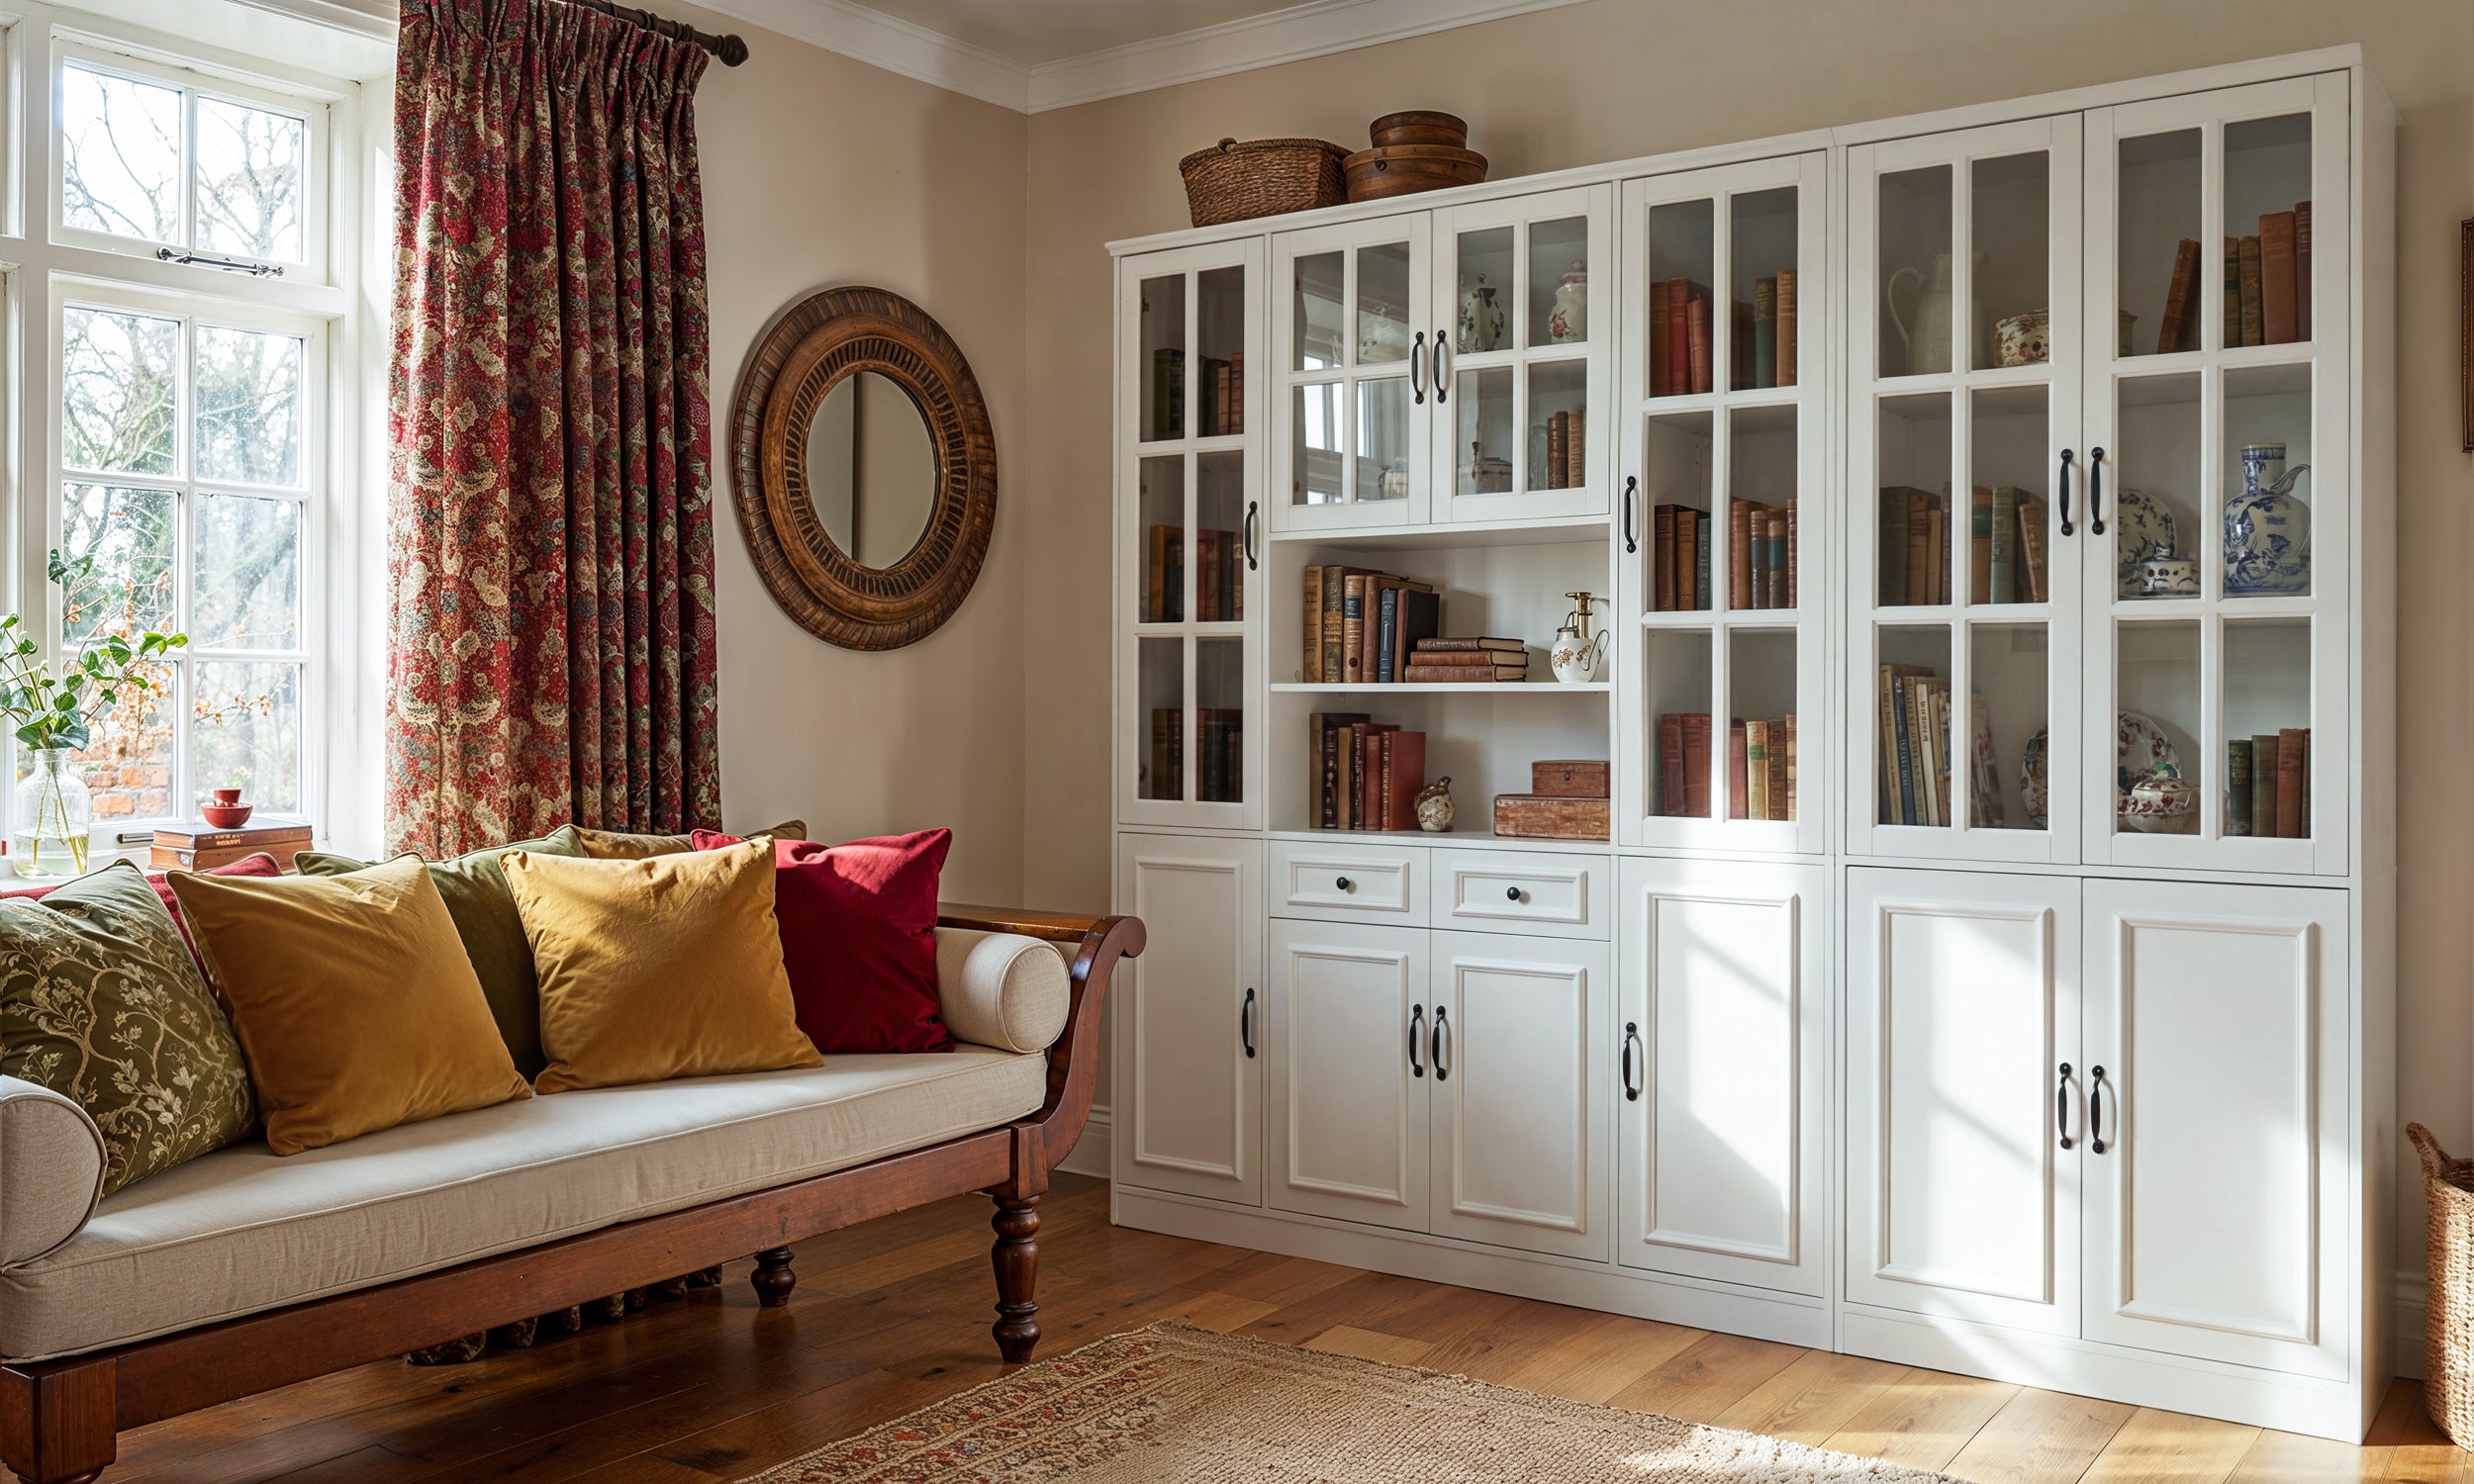
By installing kitchen shelves lights, you put the illumination exactly where the work happens. You aren't fighting your own silhouette anymore. It's a functional fix that makes the whole room feel more expensive, but the real win is being able to tell the difference between a finger and a carrot at dinner time. It turns a frustrating cave into a usable workspace.
Picking the Right LED Lights Under Shelves for Cooking
When shopping for led lights under shelves, don't just grab the first thing you see. You need 'Task Lighting.' This means you want high lumens—aim for 250 to 450 per foot—and a neutral color temperature. If you go too warm, like 2700K, your chicken looks yellow and unappealing. If you go too cool, like 5000K, your kitchen feels like a sterile hospital wing.
I found 3500K is the sweet spot. It’s crisp enough to see the actual color of your vegetables but warm enough that the room still feels like a home. Don't settle for dim, 'ambient' strips if you actually plan on using the space for meal prep. You want a bright, even wash of light across the entire counter that makes the backsplash pop.
Hardwired vs. Plug-in Kitchen Shelves Lights
If you’re a renter or a DIY novice, plug-in shelf lights led are your best friend. They’re cheap and effective. However, if you have adjustable shelf storage in an open pantry or visible area, routing those wires becomes a bit of a puzzle. You have to account for the shelf moving, which means leaving enough slack in the wire so it doesn't snap when you shift things around.
Hardwiring is the gold standard because it clears your outlets and lets you use a standard wall switch. It usually requires an electrician if you aren't comfortable cutting into drywall, but it’s worth it for the seamless look. If you're on a budget, look for 'linkable' plug-in bars. You only use one outlet, and the bars connect to each other with tiny jumper cables hidden behind the cabinet lip.
The Coffee Station Exception (When You Actually Want Mood Lighting)
Not every corner needs to be bright enough for surgery. My coffee nook is where I want a softer glow while I'm still half-asleep. A lower-lumen shelf cabinet light creates a cozy vibe that won't trigger a migraine at 7 AM. It's more about vibe than visibility here.
If you don't want to mess with wiring at all for your drinks area, sometimes buying a dedicated wine bar cabinet with light built-in is the smarter move. It saves you the headache of retrofitting a piece of furniture that wasn't designed for it, and the lighting is usually perfectly tuned for displaying glassware rather than chopping onions.
How to Hide the Cords (So Under Shelving Lighting Looks Expensive)
Nothing ruins the look faster than a dangling white cord against a dark backsplash. To make under shelving lighting look like it cost thousands, you need a diffuser channel. It’s a slim aluminum track with a frosted cover that hides the individual 'dots' of the LEDs. It creates a smooth, professional bar of light.
I learned the hard way that my floating shelf lighting looked like a dorm room project until I tucked the wires into a small plastic raceway painted the same color as my cabinets. Use 3M command clips to keep wires tight against the underside of the cabinet lip. If you can see the wire, the magic is gone.
My First Attempt Fail
My first try involved those 'puck' lights you see in late-night commercials. They took three AA batteries each and died within a week of regular use. Plus, they created these weird 'hot spots' of light rather than a smooth wash. I eventually ripped them out and spent the $60 on a proper LED strip kit. It’s been three years and I haven't touched them since. Skip the batteries; go for the plug.
FAQ
Do I need a diffuser?
Yes, especially if you have shiny countertops like granite or quartz. Without a diffuser, you'll see a row of tiny, annoying light dots reflected on your counter. A frosted cover blends them into a solid beam.
Can I use battery-powered lights?
Only if it's for a cabinet you rarely open. For a main kitchen prep area, you'll get tired of charging or changing batteries within a month. Stick to plug-in or hardwired for daily reliability.
How do I hide the wires?
Use small plastic cord channels (raceways) and mount them right behind the front lip of your cabinet. If you paint the channel the same color as the cabinet, it becomes invisible to anyone sitting at the kitchen table.

Leave a comment
This site is protected by hCaptcha and the hCaptcha Privacy Policy and Terms of Service apply.