










A well-organized workstation relies on balancing accessible open space with structured, reachable storage. When a primary tabletop becomes congested with monitors, paperwork, and everyday supplies, expanding upward or outward provides practical relief. Introducing an add on desk unit allows you to optimize room volume without demanding a larger floor footprint. Whether incorporating an overhead hutch, clamp-on riser tier, or side return, understanding spatial ratios and mounting security ensures your workspace remains stable, comfortable, and functional.
Understanding Add On Desk Unit Archetypes
Add-on storage systems fall into several architectural categories, each addressing distinct spatial and organizational requirements:
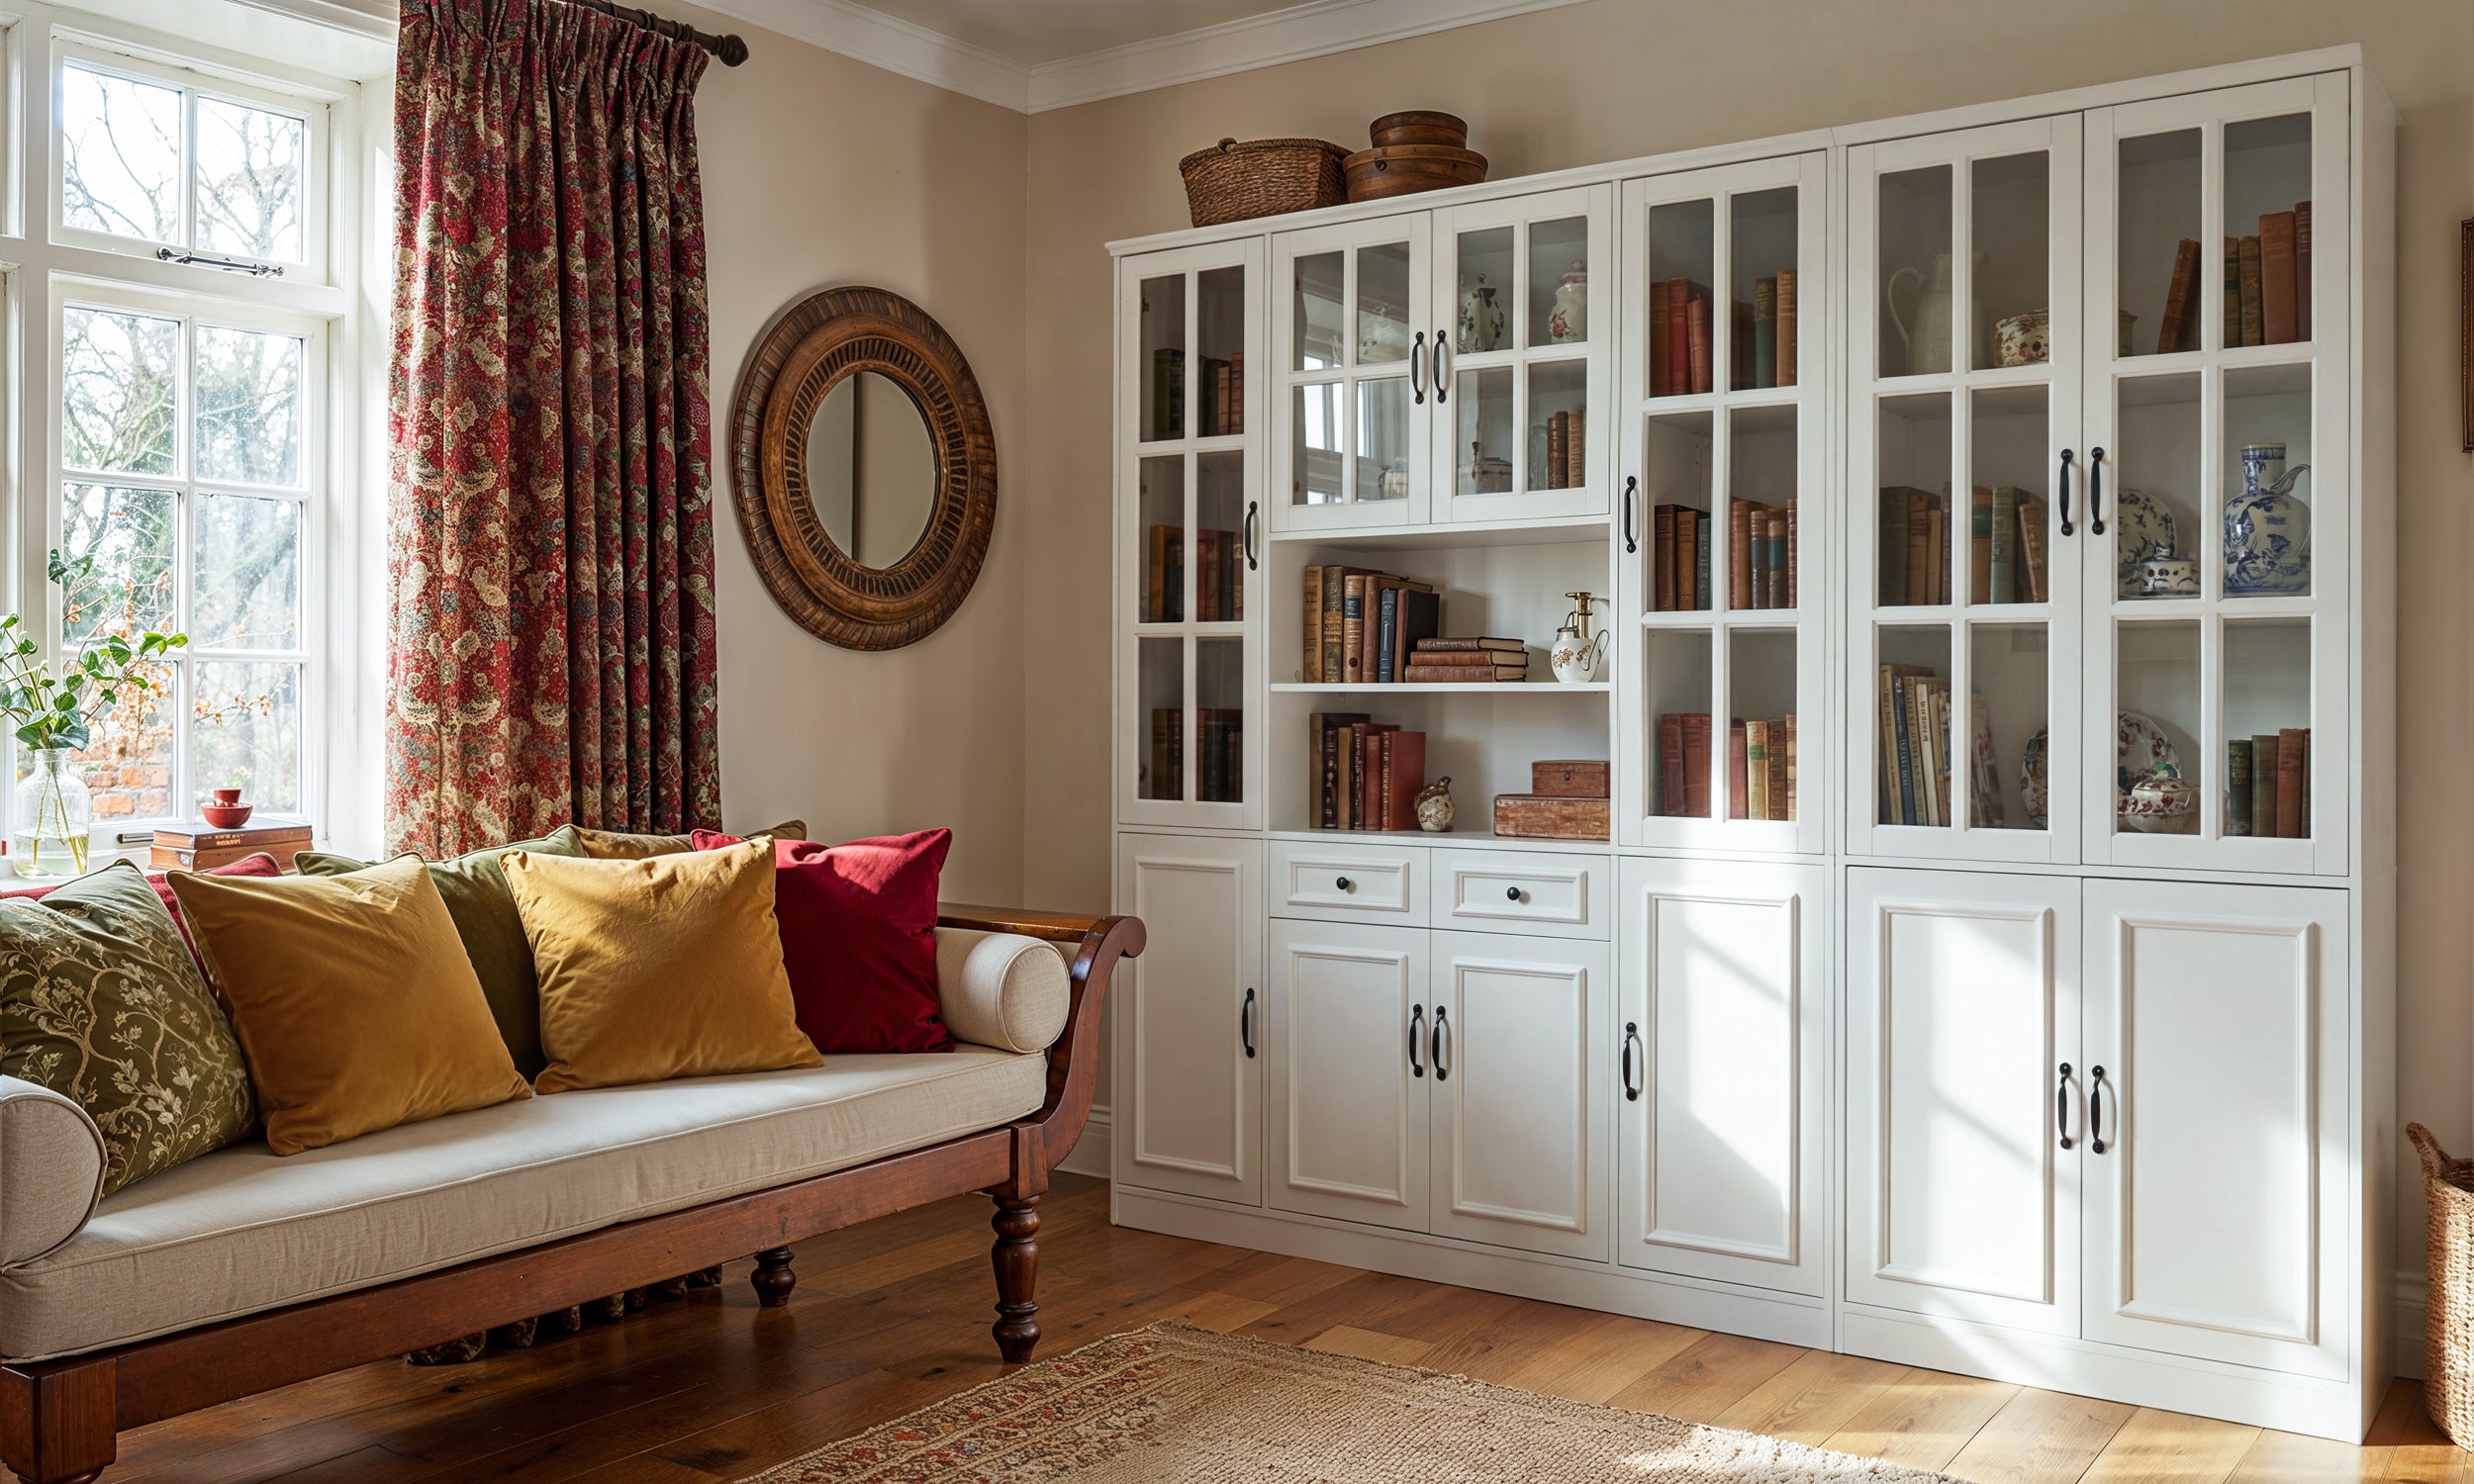
- Overhead Hutches: Full-width or partial-width shelving structures that rest directly along the back edge of the desktop. These offer multiple tiers of vertical cubbies, open shelves, or closed cabinets.
- Clamp-On and Riser Shelves: Elevated display and utility shelves secured to the desktop edge using mounting brackets or pressure clamps, raising peripherals above the main surface.
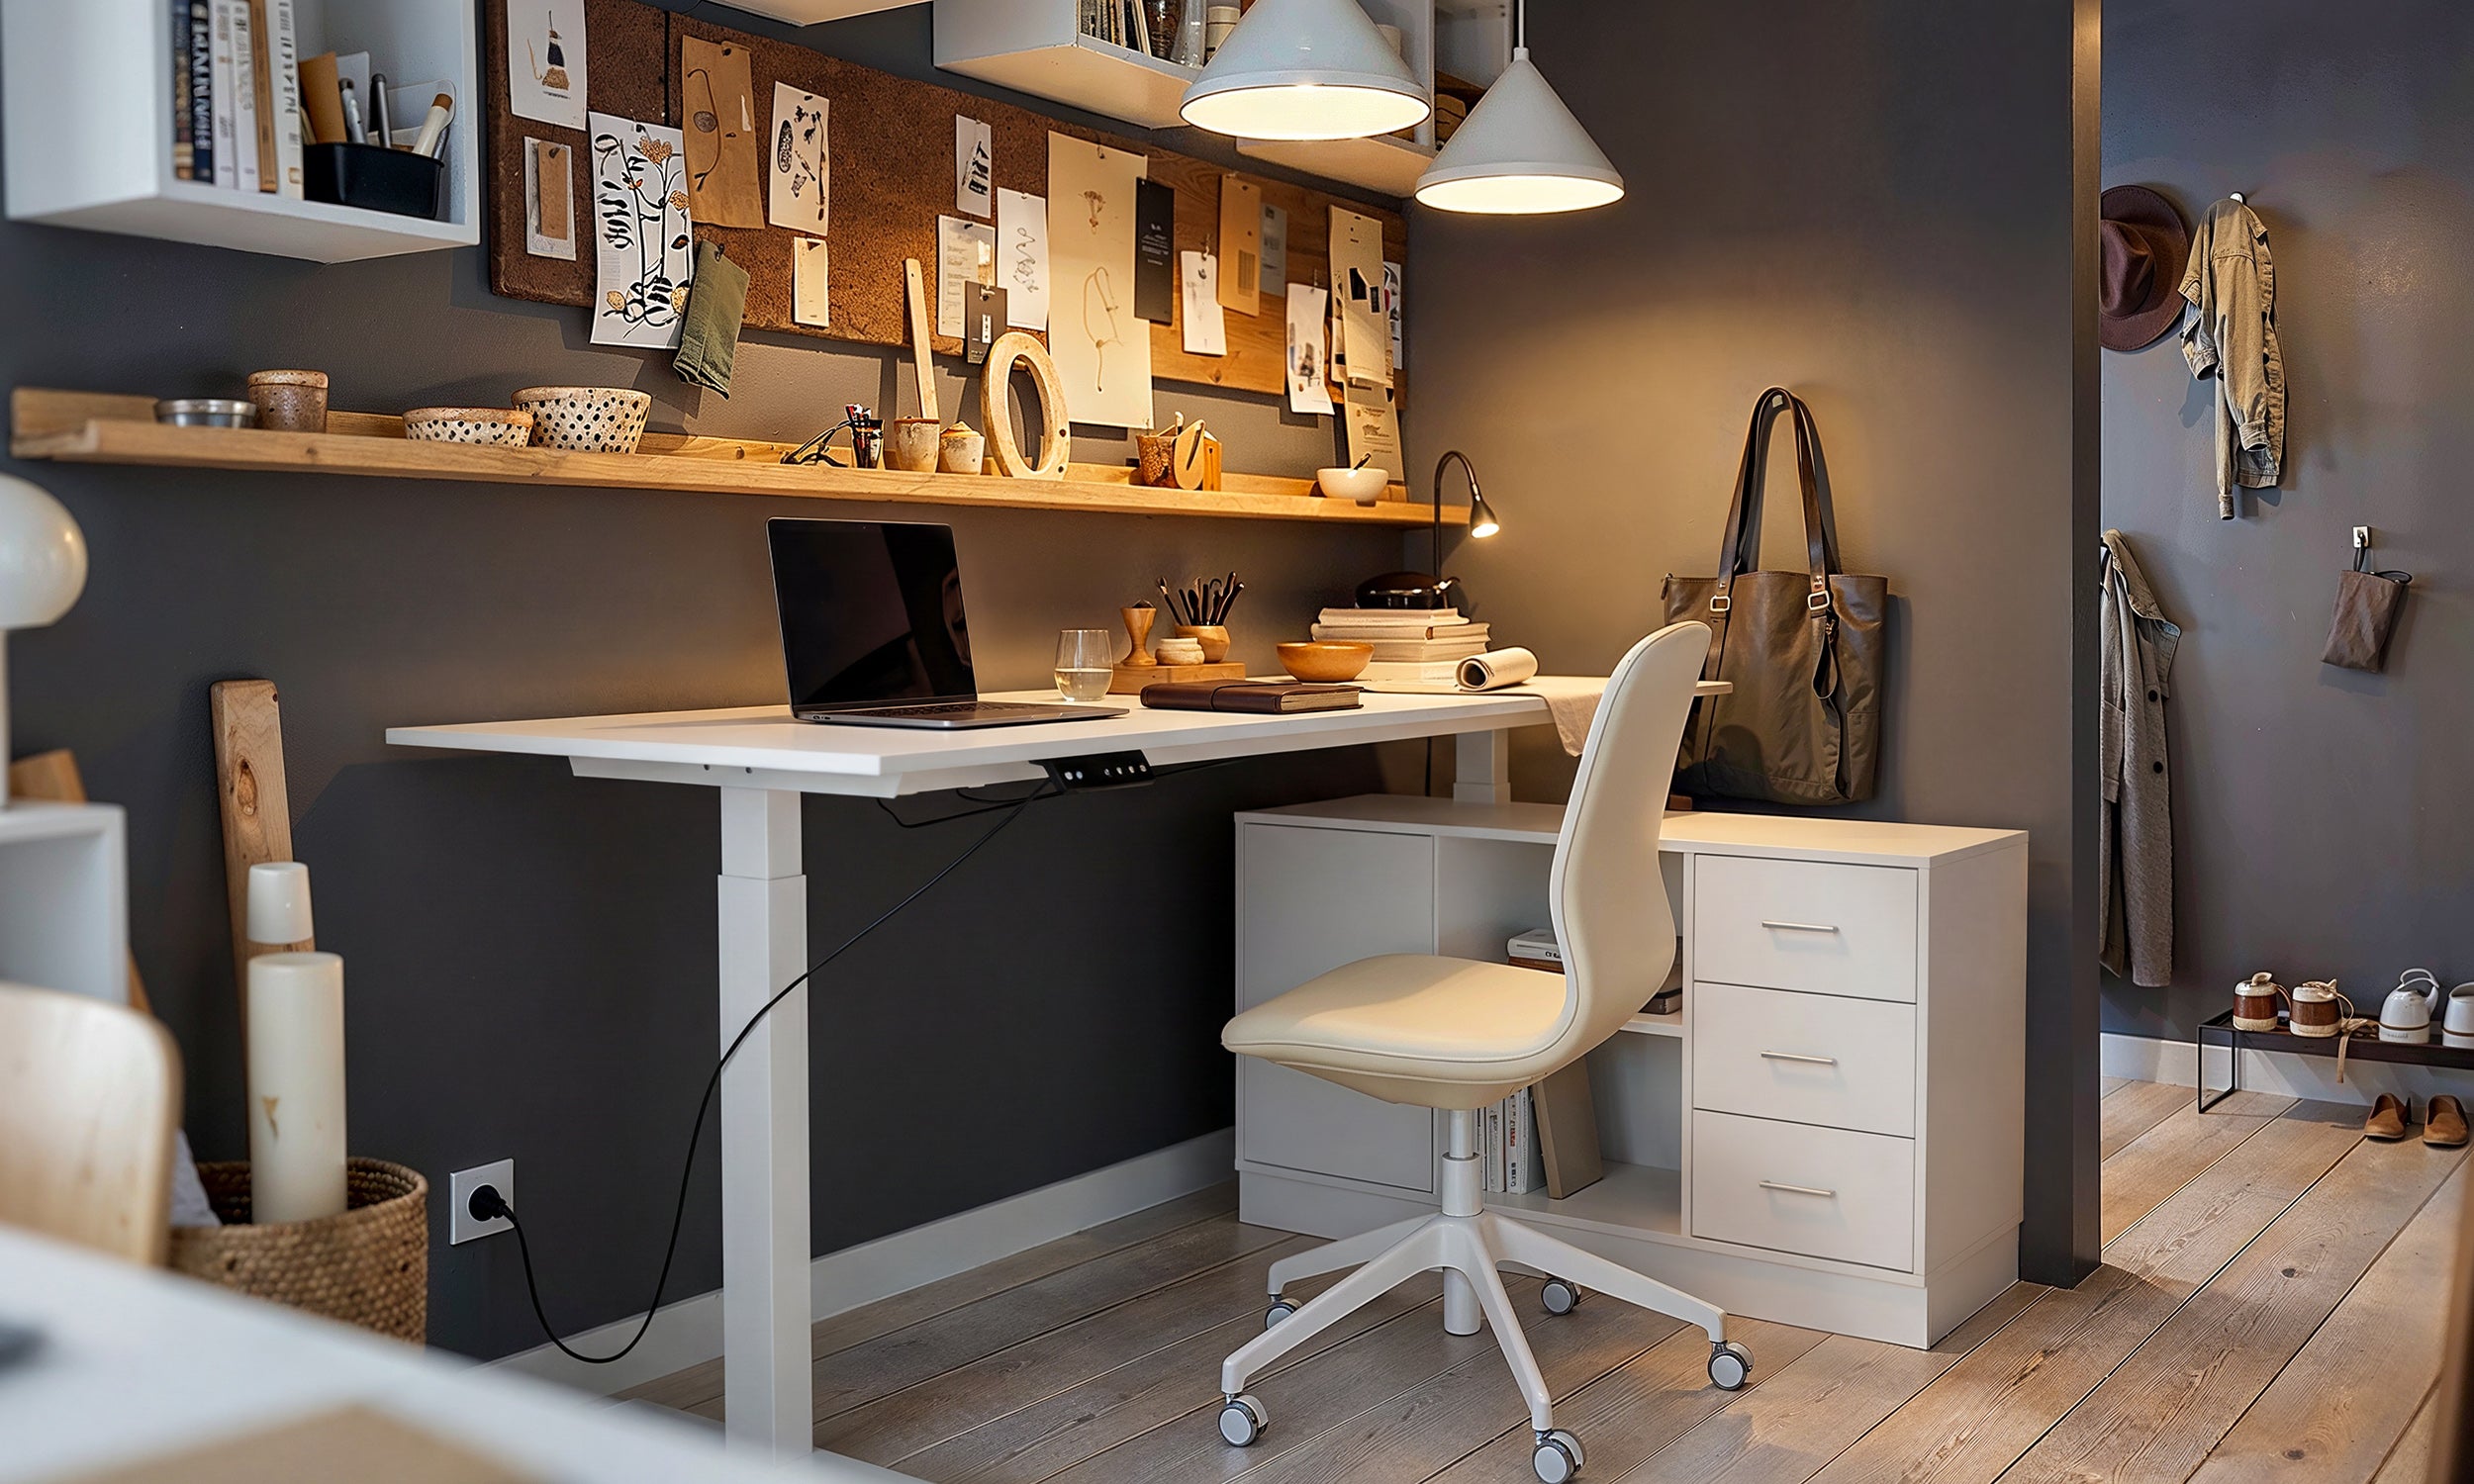
- Side Extension Returns: Modular surface bridges or low pedestal extensions that fasten to either side of the table, forming an L-shaped layout for expanded project surfaces.
- Dedicated Desk with Add On Unit Systems: Coordinated furniture sets where the primary desk and upper storage modules feature pre-aligned mounting points, fastener channels, and matched finishes.
Exploring integrated desk and shelf unit configurations can help you decide between adding an aftermarket accessory or choosing a unified modular framework designed to grow with your storage demands.
Dimensional Decision Categories and Desk Sizing Balance
Proper integration of an add-on tier depends on maintaining balanced physical proportions. If an overhead module is disproportionately deep or tall relative to the base table, it can compromise stability and introduce visual clutter.
When planning your setup, consider these essential spatial factors:
- Depth-to-Surface Ratios: An upper shelf unit should generally occupy only a shallow portion of the rear desktop area. Leaving the majority of the lower surface completely unobstructed preserves comfortable forearm clearance and writing area.
- Vertical Clearance and Sightlines: Measure the space between the main desktop and the lowest tier of the add-on frame. Ensure adequate vertical room for your primary monitor display, task lighting, and laptop screens without forcing unnatural viewing angles.
- Overhang and Cantilever Boundaries: To preserve balance, avoid units whose upper tiers project forward significantly past the main support footprint.
For additional strategies on spatial efficiency, reviewing methods for fitting desk shelving in compact footprints will help guide your layout when floor area is limited.
Material Composition, Load Distribution, and Structural Anchoring
The structural integrity of an expanded workstation depends on the materials used and how weight is distributed across the frame. Combining different structural elements requires thoughtful alignment:
Engineered wood, durable laminate boards, and powder-coated steel framing each offer distinct structural behaviors. Metal uprights often provide high rigidity with minimal visual bulk, while wood composite panels offer enclosed organization and uniform aesthetics. When selecting an add on desk unit, ensure the base desktop can support the combined load of the upper module, heavy books, hardware, and accessories.
Even load distribution across the back edge prevents surface sagging over time. Secure attachment methods—including structural mending plates, rear clamp brackets, and wall-anchoring straps—are essential to keep tall shelving steady during daily use and adjustments.
Functional Surface Zoning and Cable Management Integration
A multi-tiered workspace functions best when organized into distinct ergonomic zones. Segmenting your surface by frequency of use prevents unnecessary reaching and keeps your primary field of view clear:
- Primary Active Zone: The central area directly in front of you, reserved strictly for keyboard input, mouse navigation, and active writing tasks.
- Secondary Reach Zone: The lowest tier of the add-on unit, ideal for frequently referenced documents, stationery trays, and active reference tablets.
- Tertiary Storage Zone: The uppermost shelving tiers, best suited for archived binders, decorative objects, and infrequently accessed reference material.
Planning wire routing channels alongside your storage zones avoids typical desk and storage unit layout miscalculations. Look for units with integrated cable passthroughs, rear grommets, or open back panels that allow power cords and monitor cables to pass cleanly to floor outlets without pinching against structural walls.
Room Flow, Wall Placement, and Safe Assembly Strategies
Where you place a desk with add on unit impacts room circulation, ambient lighting, and daily convenience. Placing tall add-on furniture against solid interior walls provides natural structural backing and prevents accidental bumps in open-plan areas.
When positioning your workspace near windows, align the unit perpendicular to the glass to minimize harsh glare against screens nestled under upper shelving. Furthermore, integrate slim under-cabinet task lights beneath overhead shelves to eliminate shadows cast onto the primary desktop.
During assembly, always complete the base table alignment on a level surface before mounting the upper tiers. Verifying square corners, securely tightening joining hardware, and engaging anti-tip wall brackets creates a secure, long-lasting workspace tailored to your everyday needs.

Leave a comment
This site is protected by hCaptcha and the hCaptcha Privacy Policy and Terms of Service apply.