


I spent three hours last night scrolling through budget furniture sites, trying to convince myself that a $189 particle-board box wouldn't look like a dorm room relic. We’ve all been there—your 65-inch OLED cost a small fortune, and now you’re staring at cheap television units wondering if they’ll actually hold the weight or just crumble like a dry biscuit the second you set a soundbar on them.
The truth is, you don't need to drop two grand at a boutique showroom to get a media console that looks sophisticated. Most of my own home is a mix of high-low pieces, and my current TV stand was a flat-pack special that I spent an afternoon 'fixing.' The secret isn't in the price tag; it's in knowing exactly where the manufacturers cut corners and having a plan to hide those sins before the delivery truck even leaves your driveway.
Why We Settled for a Budget Console (And You Should Too)
Spending a thousand dollars on a media console is, frankly, unnecessary for most people. Unless you’re looking for a solid walnut heirloom to pass down to your grandkids, you’re mostly paying for the brand name and the fact that it comes pre-assembled. But let's be real: out of the box, most cheap tv units have a certain 'vibe' that screams mass-produced. It’s that flat, lifeless finish and the way the light hits the laminate just a little too perfectly.
I’ve assembled enough of these things to know that the structural bones are usually fine—it’s the finishing touches that fail. You don't need a master carpenter; you just need a screwdriver and a little bit of skepticism. We settle for budget pieces because they allow us to spend more on the tech that actually matters, like the screen or the audio system. The goal is to make the furniture disappear into the room's design rather than having it stand out as a 'budget' compromise.
Quick Takeaways
- Swap out plastic or thin metal hardware for heavy, solid brass or matte black pulls.
- Always add a fifth support leg to the center of any unit over 55 inches to prevent bowing.
- Ditch the cardboard backing entirely or cut custom, tidy holes for cable management.
- Choose units with glass or textured doors to add visual depth and hide messy electronics.
Giveaway #1: The Tacky Hardware Trap
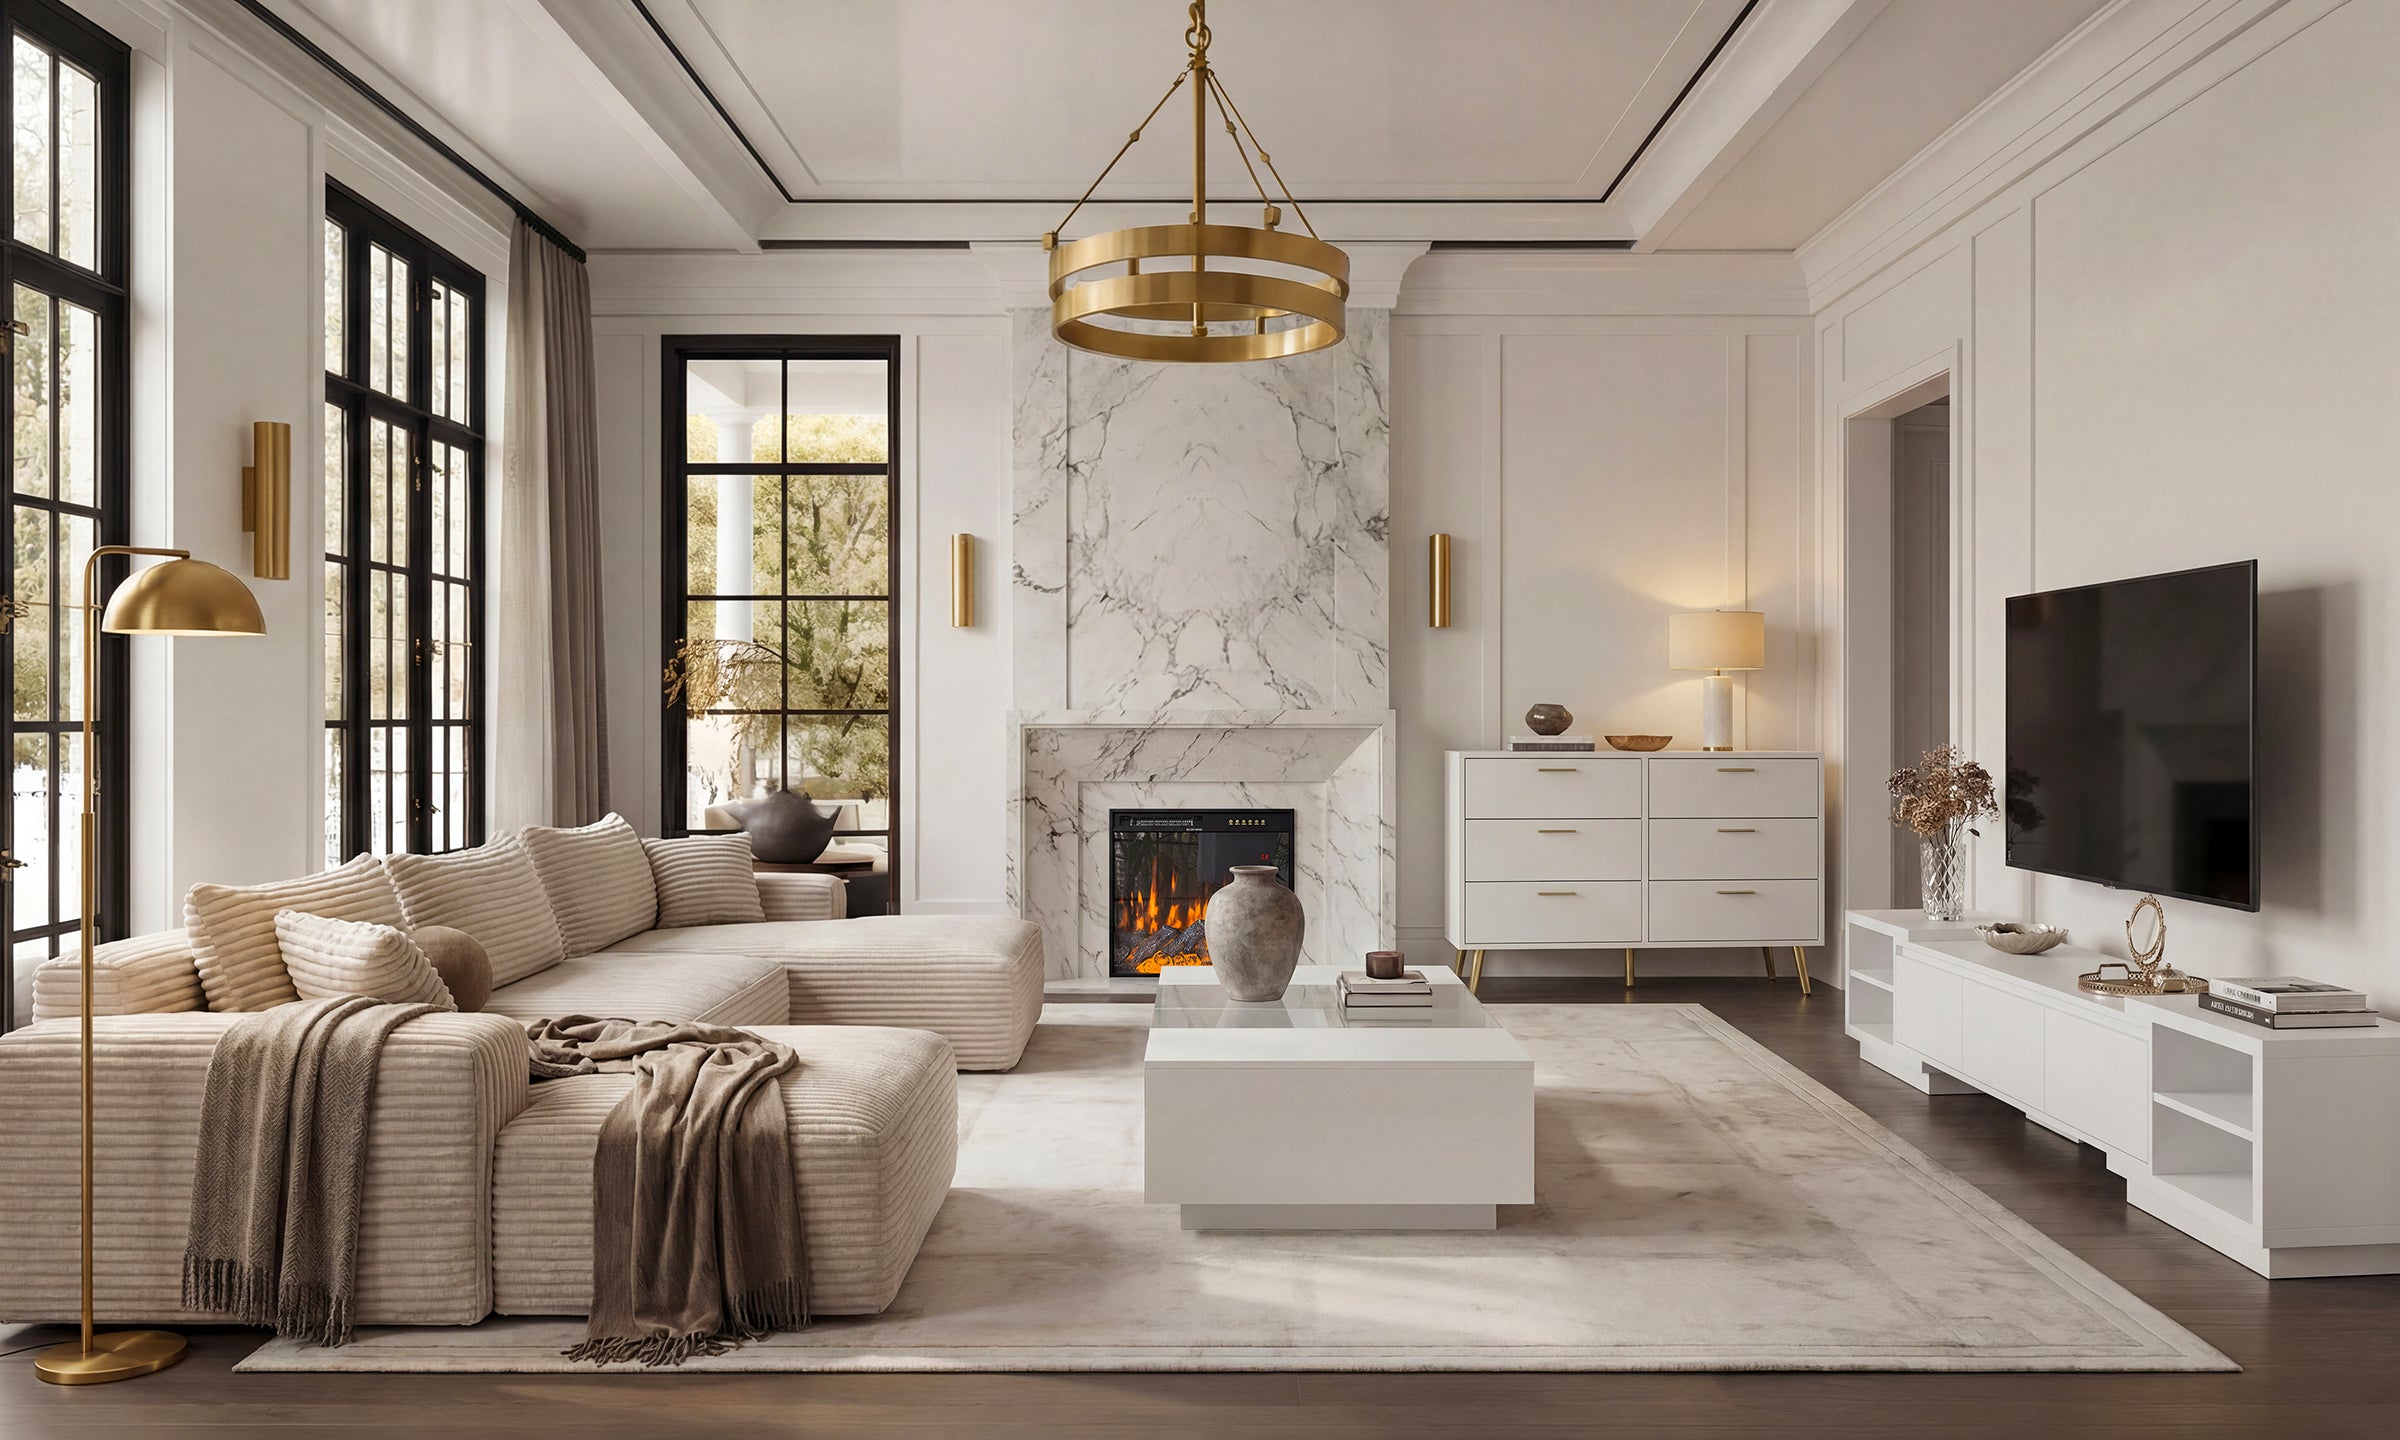
The easiest way for a factory to shave $20 off the production cost of a media unit is to include bottom-barrel hardware. I’m talking about those hollow plastic knobs and the spindly, metallic-painted legs that feel like they’d snap if you sneezed too hard. If you want to understand why most gold legs for TV stand units look like cheap plastic, it’s because they usually are—or they're made of the thinnest possible aluminum with a high-gloss finish that picks up every fingerprint.
The fix here is non-negotiable: replace the feet. Swapping out the factory-issued base for a set of solid wood tapered legs or a heavy-duty steel frame completely changes the visual weight of the piece. It makes the unit look grounded and custom. While you're at it, toss the included handles. A heavy, solid-brass pull has a tactile 'clink' that makes your brain think the whole unit is expensive. It’s a psychological trick that works every single time someone opens a cabinet to grab a controller.
Giveaway #2: The Dreaded 'Middle Sag'
There is nothing that ruins the aesthetic of a living room faster than a television unit that is literally frowning at you. Cheap units are often made of long spans of MDF without enough vertical support. Over six months, the weight of your TV and your stack of consoles will cause the top board to bow in the middle. It’s a dead giveaway that you bought the cheapest option available.
When shopping, I always prioritize well-supported TV stands that feature a dedicated center support leg. If the unit you love doesn't have one, go to the hardware store, buy a simple 2x2 wood block, paint it black, and screw it under the center frame. You won't see it, but it will keep the top surface dead-level for years. A straight horizontal line is the hallmark of high-end cabinetry; a saggy one is the hallmark of a $99 clearance find.
Giveaway #3: Paper-Thin Backing Panels
You know that piece of folded cardboard that you’re supposed to nail onto the back with forty tiny tacks? That is the enemy. Not only does it look terrible if it’s even slightly visible from the side, but the pre-cut cable holes are always in the wrong spot, leading to a 'spaghetti mess' of black wires poking out everywhere. It’s an eyesore that immediately cheapens the look of your setup.
My personal rule? If the unit is sturdy enough without it, I leave the back off entirely. It creates a 'floating' look and allows for much better airflow for your electronics. If you need the back for stability, consider a mid century modern TV stand with slatted doors. These designs often handle cable management through the slats or have high-quality recessed backings that don't look like an afterthought. If you’re stuck with the cardboard, at least take the time to paint it the same color as your wall so it blends in.
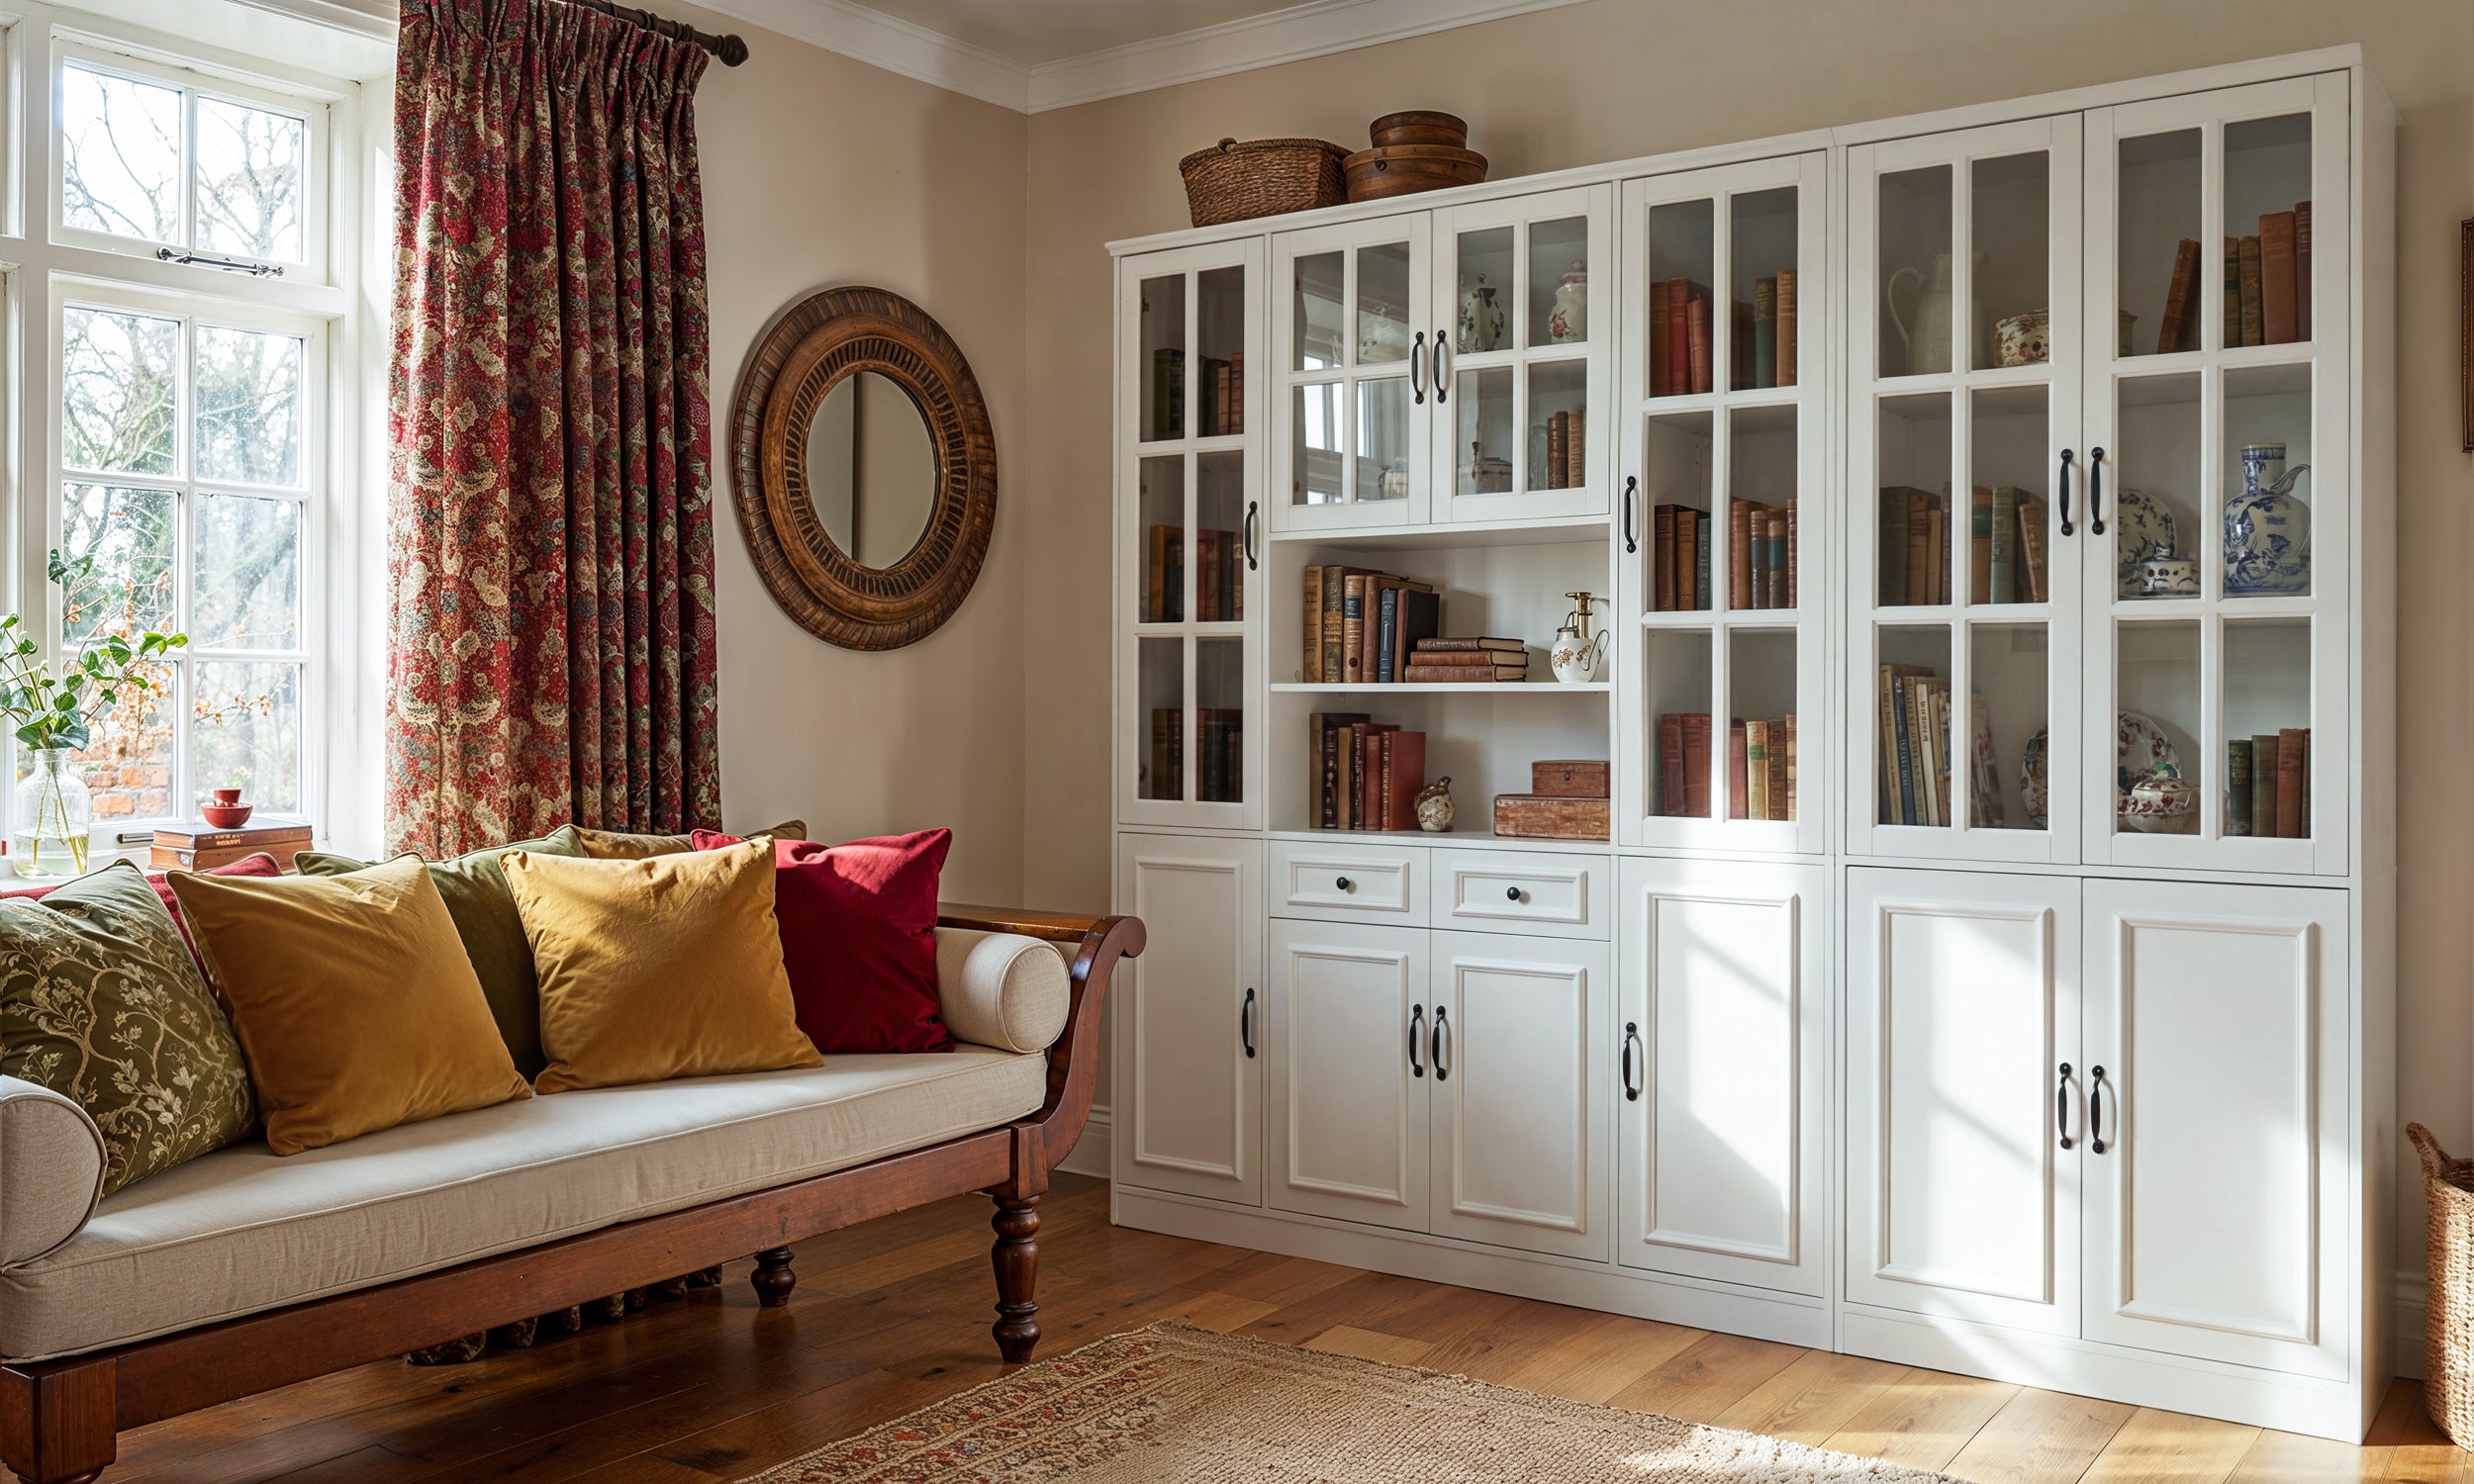
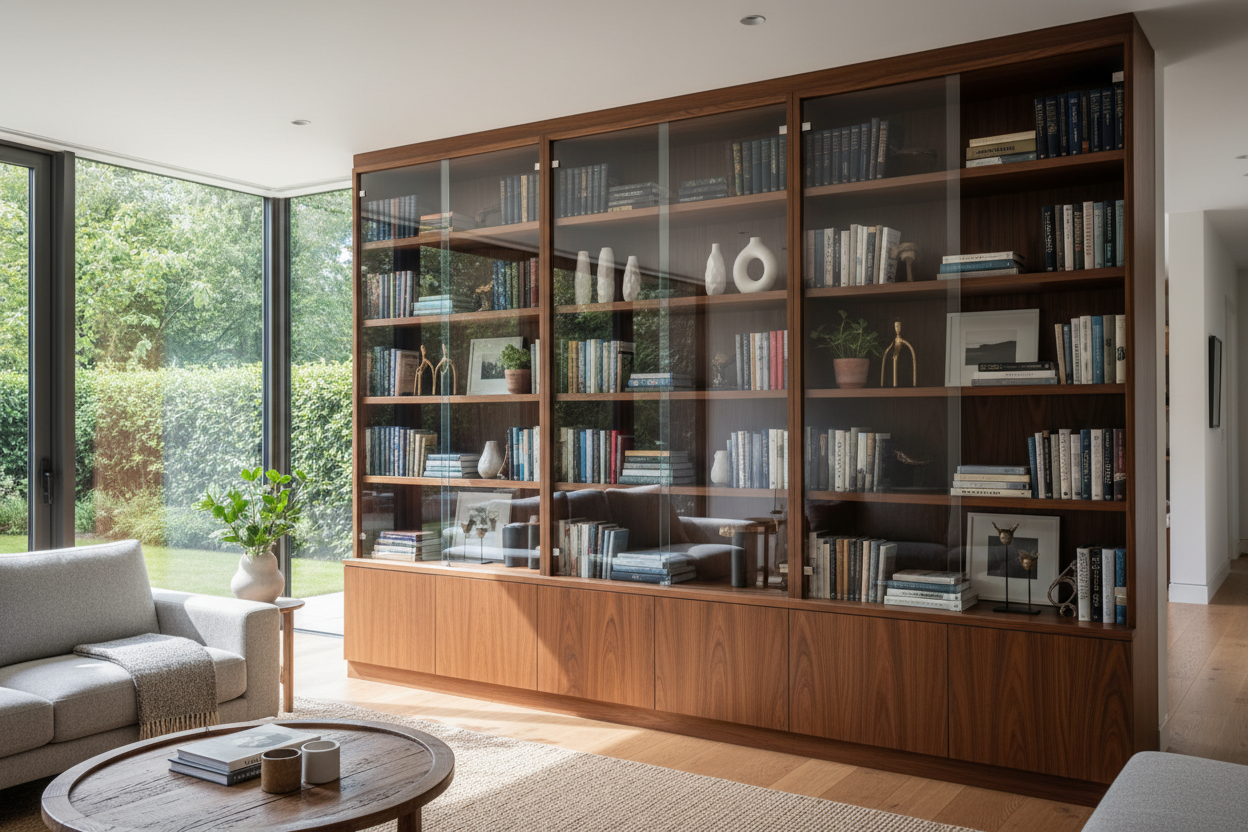
The Glass Door Hack for High-End Vibes
If you want to move away from the 'flat-pack' look, look for texture. A solid-door console in a cheap finish looks like a big block of plastic. However, a storage credenza with sliding glass doors adds layers and reflections. The glass catches the light and draws the eye to what’s inside—hopefully some neatly arranged books or a sleek receiver—rather than the laminate wood grain.
Sliding doors are especially great for small spaces because they don't require clearance to open, and the glass keeps the piece from feeling too heavy in the room. It’s a designer-level move that hides the fact that the frame itself might be a budget find. It shifts the focus from the material of the furniture to the curation of the items within it.
Personal Experience: My $150 Lesson
A few years ago, I bought a 'walnut' unit that looked incredible in the studio photos. When it arrived, it weighed about as much as a pizza box. Within three months, the 'wood' veneer started peeling at the corners because I rested my feet on it once. I realized then that I could have saved it if I’d just reinforced the joints with wood glue during assembly and replaced the hollow legs. Now, I never build a budget piece without a bottle of Titebond and a set of aftermarket steel legs in hand. It’s the difference between furniture that lasts two years and furniture that lasts ten.
FAQ
Can I really trust a cheap TV stand with a 75-inch TV?
Check the weight rating, not just the 'fits up to' size. Many budget units are rated for 75-100 lbs. If your TV is on the heavier side, you must ensure there is center support to prevent the top from snapping or bowing over time.
How do I make the 'wood' grain look less fake?
A coat of matte clear wax can sometimes kill that overly-shiny plastic look of cheap laminate. Just test a small spot on the back first to make any sure it doesn't react poorly with the finish.
Should I glue the pieces together during assembly?
Absolutely. Using wood glue in the dowel holes and along the seams makes a cheap unit feel significantly more solid. Just remember: once you glue it, you can't take it apart to move it!
Leave a comment
This site is protected by hCaptcha and the hCaptcha Privacy Policy and Terms of Service apply.