








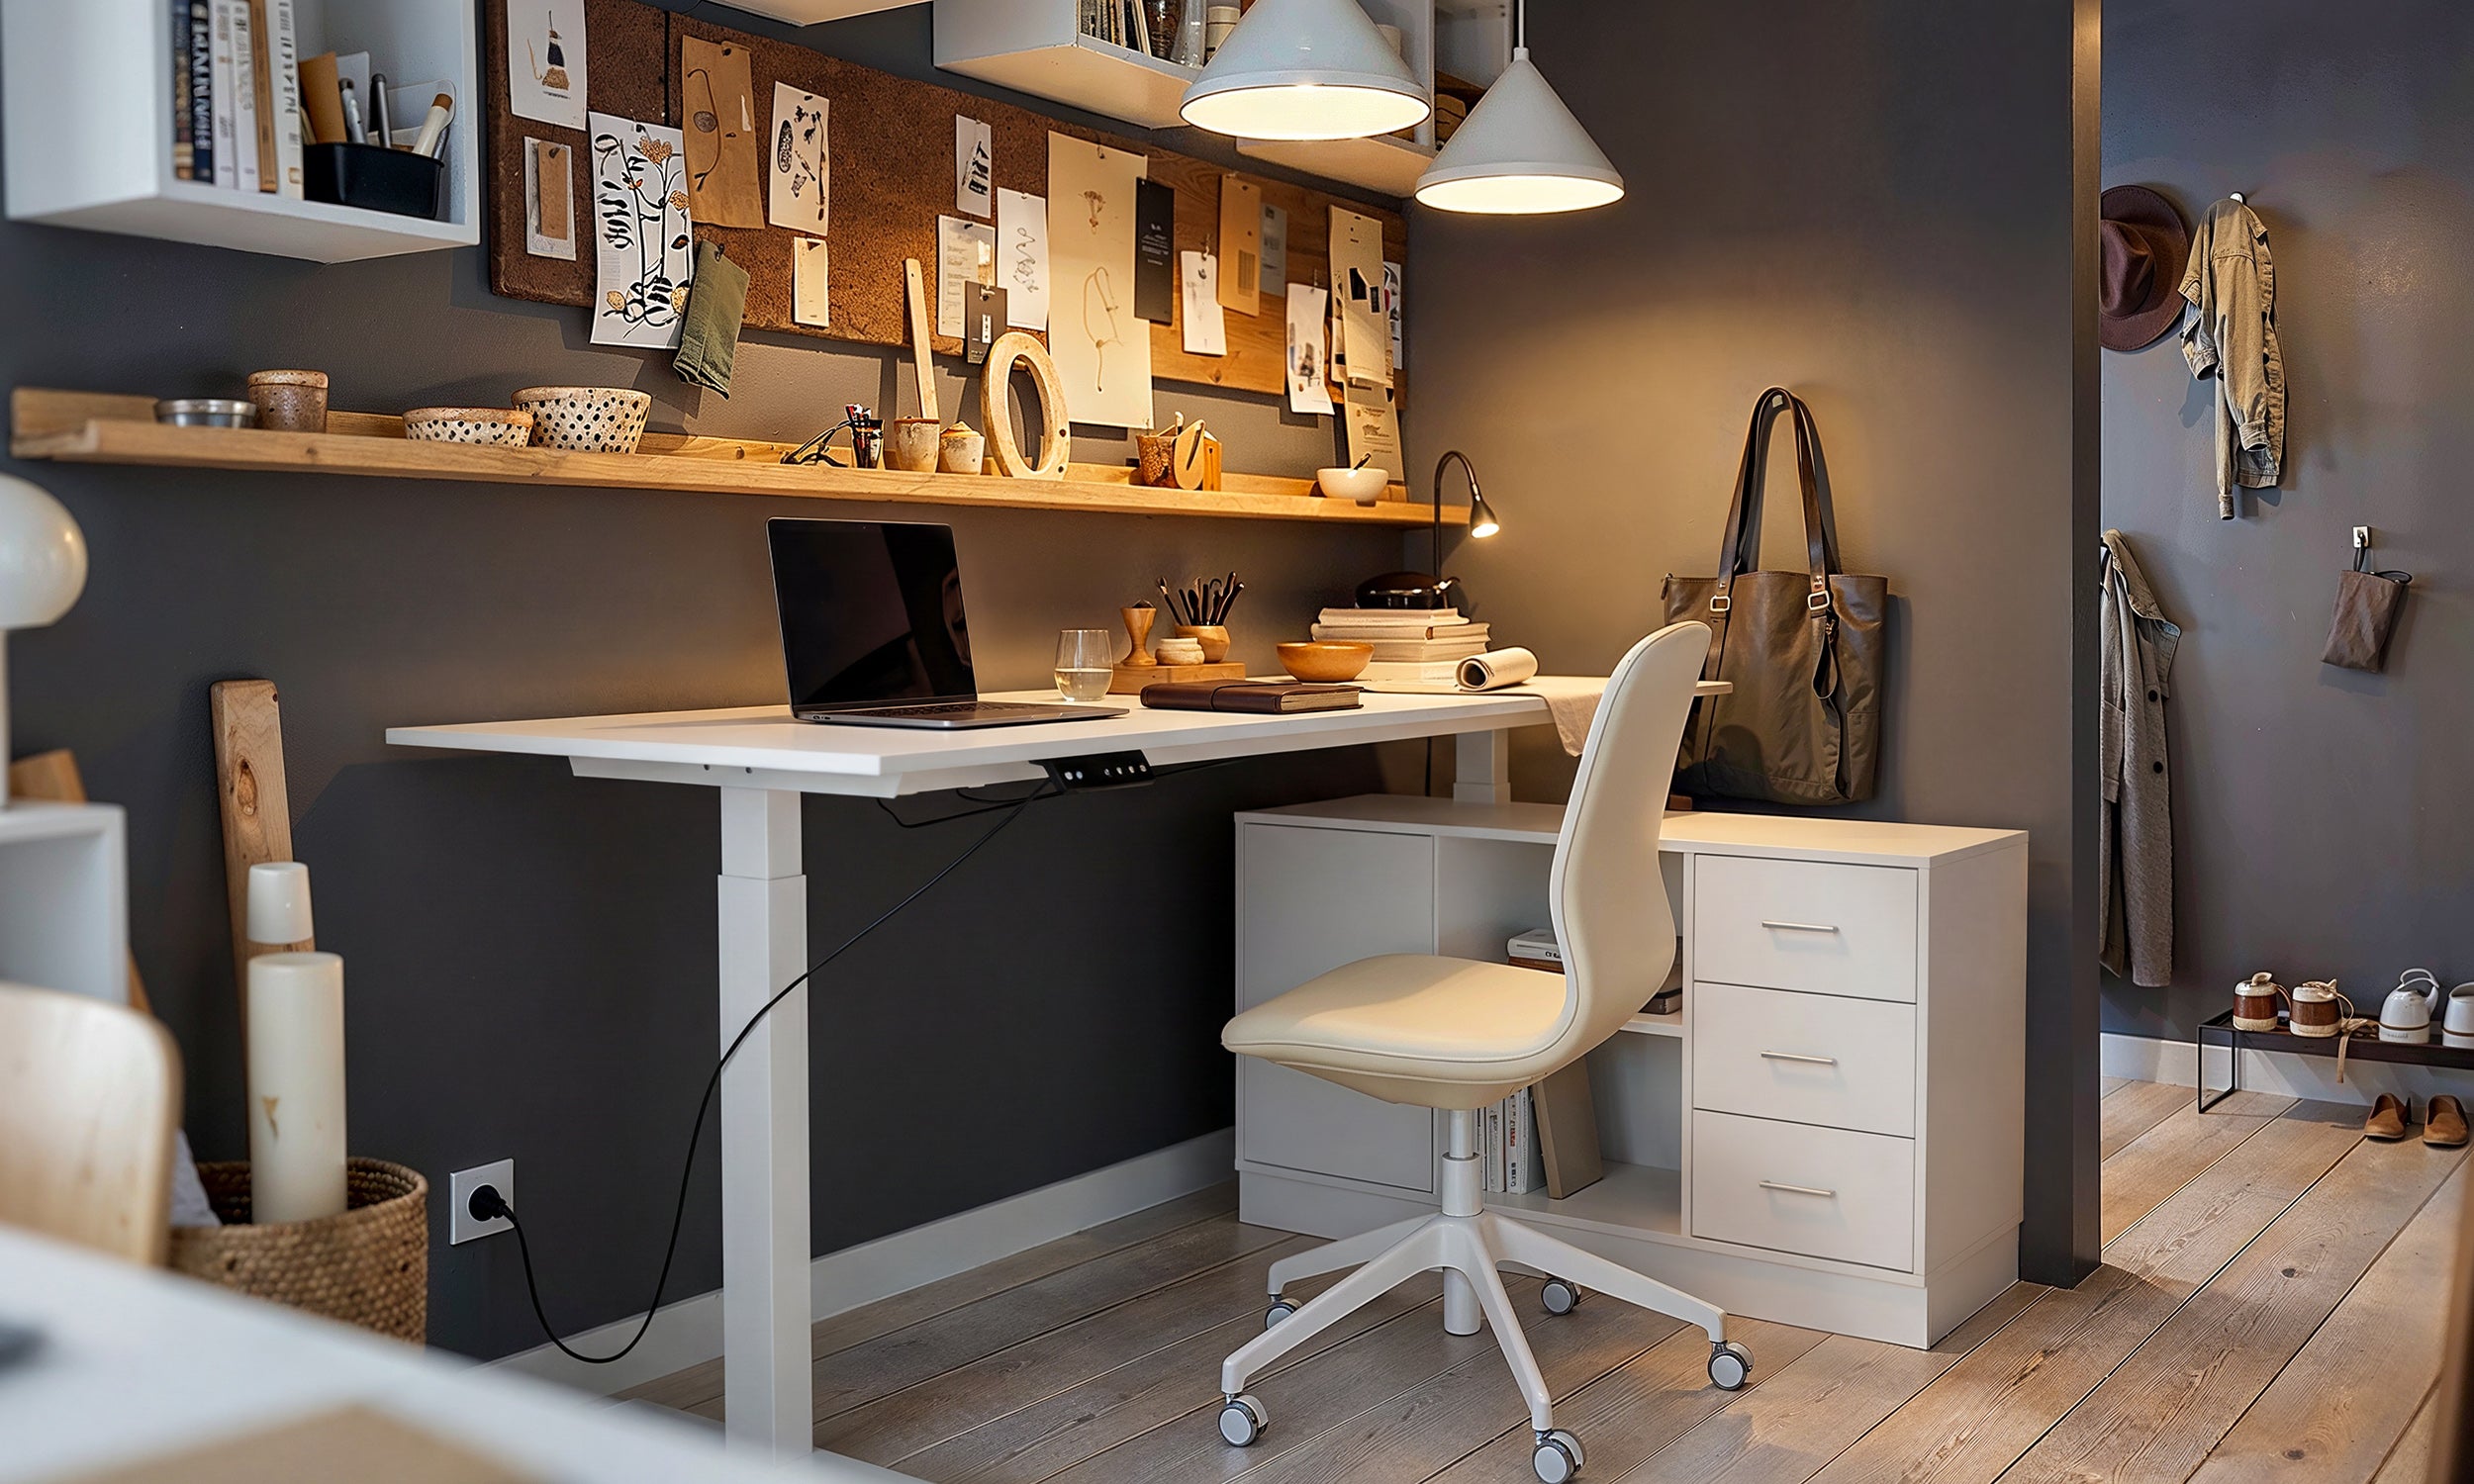
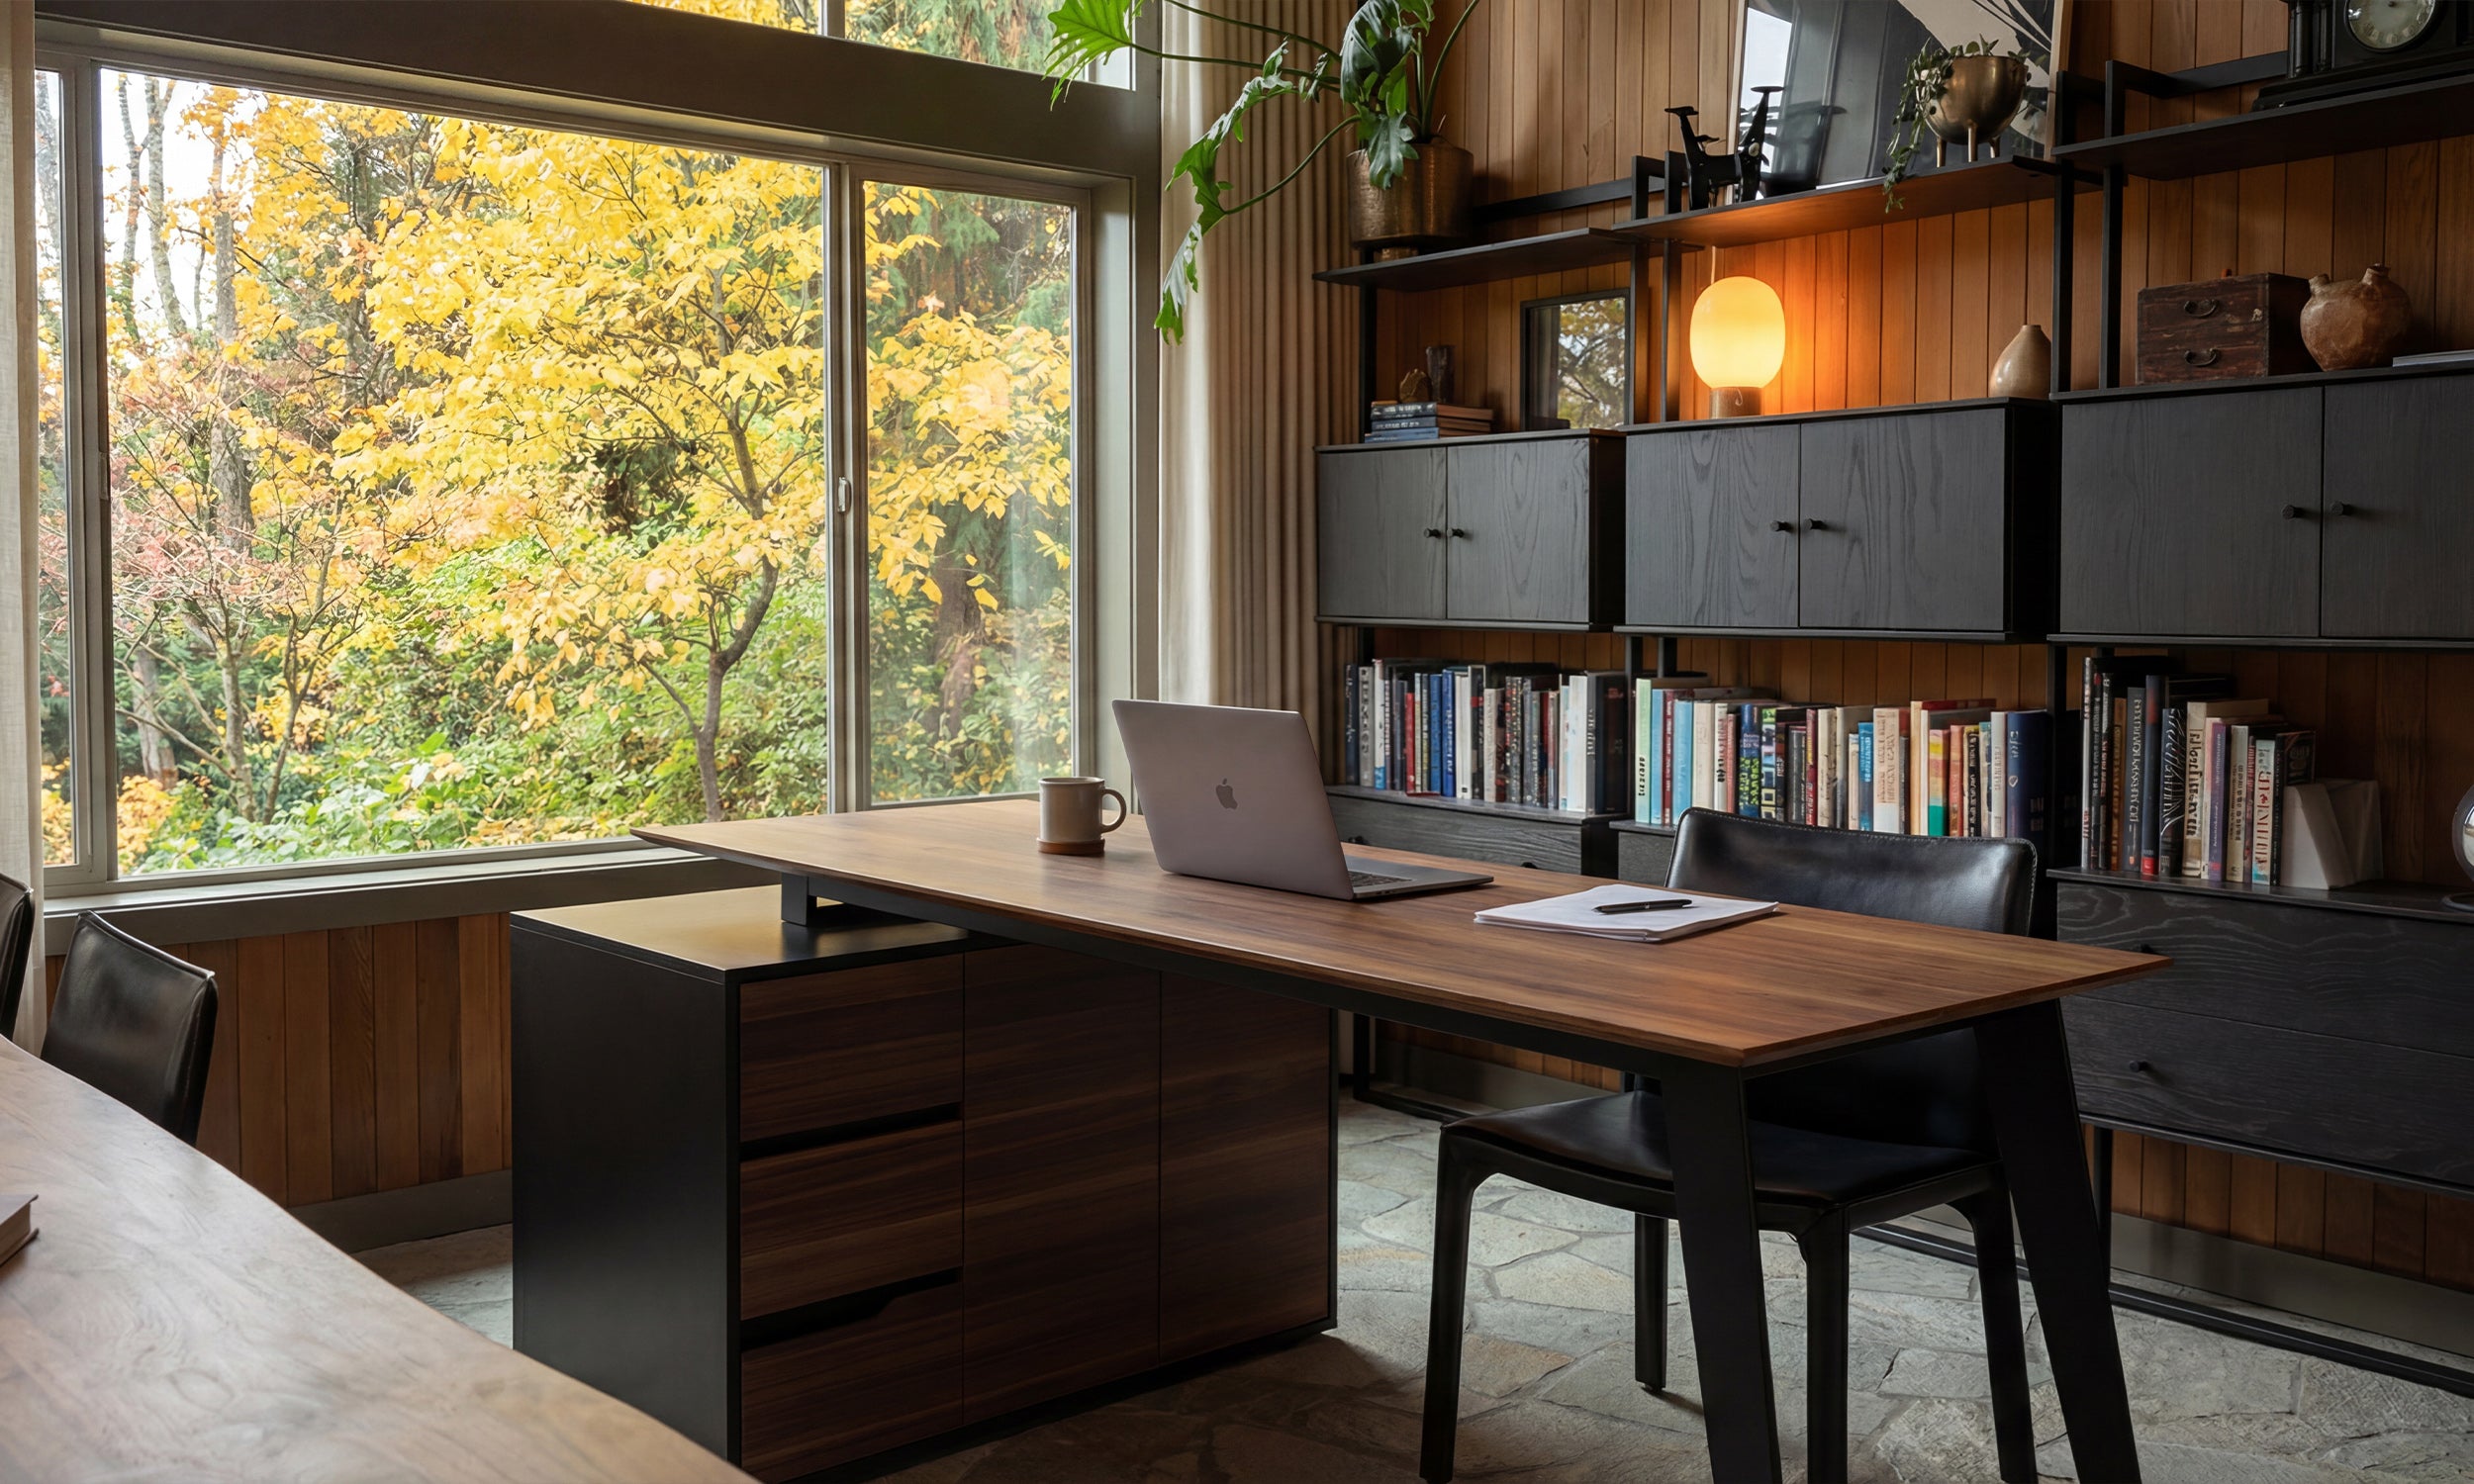







When organizing a home office or dedicated gaming station, learning how to raise monitor on desk setups is one of the most effective ways to establish a comfortable viewing angle and reclaim valuable work surface. Standard factory monitor stands frequently place displays too low relative to natural seated eye level, forcing users to tilt their head downward throughout long work sessions. Elevating the screen to a calibrated resting line promotes upright seated posture while freeing up desktop real estate beneath the display for everyday accessories.
Why Monitor Height Calibration Matters for Workstation Ergonomics
Proper screen elevation centers on positioning the top edge of your monitor near or slightly below seated eye level. When a display rests directly on a flat desktop, the downward viewing angle can lead to upper back and neck fatigue over extended periods. Lifting the display aligns your sightline with the upper third of the screen, allowing your gaze to drift naturally across documents, spreadsheets, or media without leaning forward.
Beyond physical comfort, elevating a display restructures desktop geometry. By converting flat surface area into multi-tiered vertical zones, you open up spaces to tuck away input devices, organize stationary, or route peripheral cables neatly away from high-traffic desk areas.
Core Methods for Raising a Monitor on Your Desk
Different desk layouts, monitor weights, and organizational needs call for distinct elevation hardware. Evaluating the strengths of each method helps determine the right fit for your workspace structure.
1. Standalone Desktop Risers and Shelf Plinths
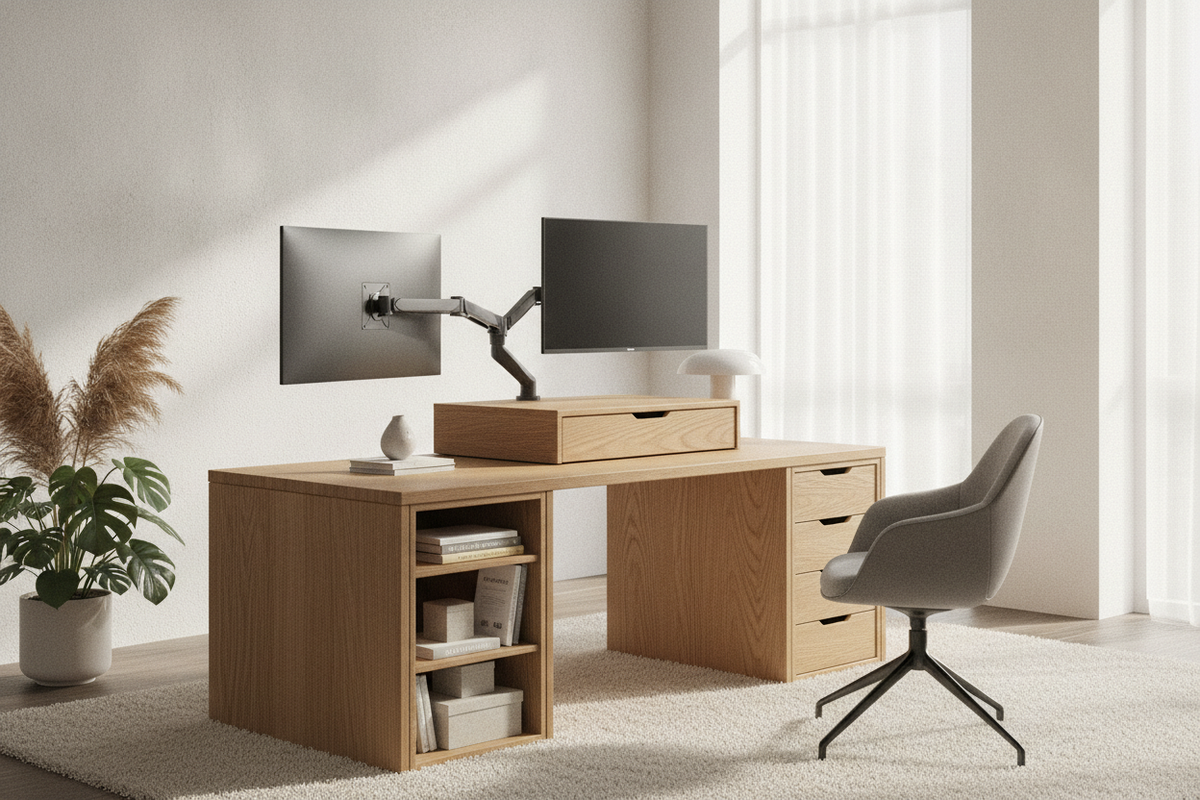
Desktop risers and desk shelves represent the most straightforward way to elevate a monitor without modifying the furniture or requiring specialized tools. Available in engineered wood, solid timber, acrylic, and powder-coated steel, these plinths sit directly on the desktop surface.
The key advantage of a desk riser is the immediate creation of an under-shelf storage pocket. Full-width shelves accommodate a keyboard and mouse when pushed out of the way, creating open space for analog writing or laptop docking. For dual-screen configurations, referencing a dual-screen laptop and monitor setup guide provides practical guidance on aligning secondary screens beside an elevated primary monitor.
2. Articulated Clamp and Grommet Monitor Arms
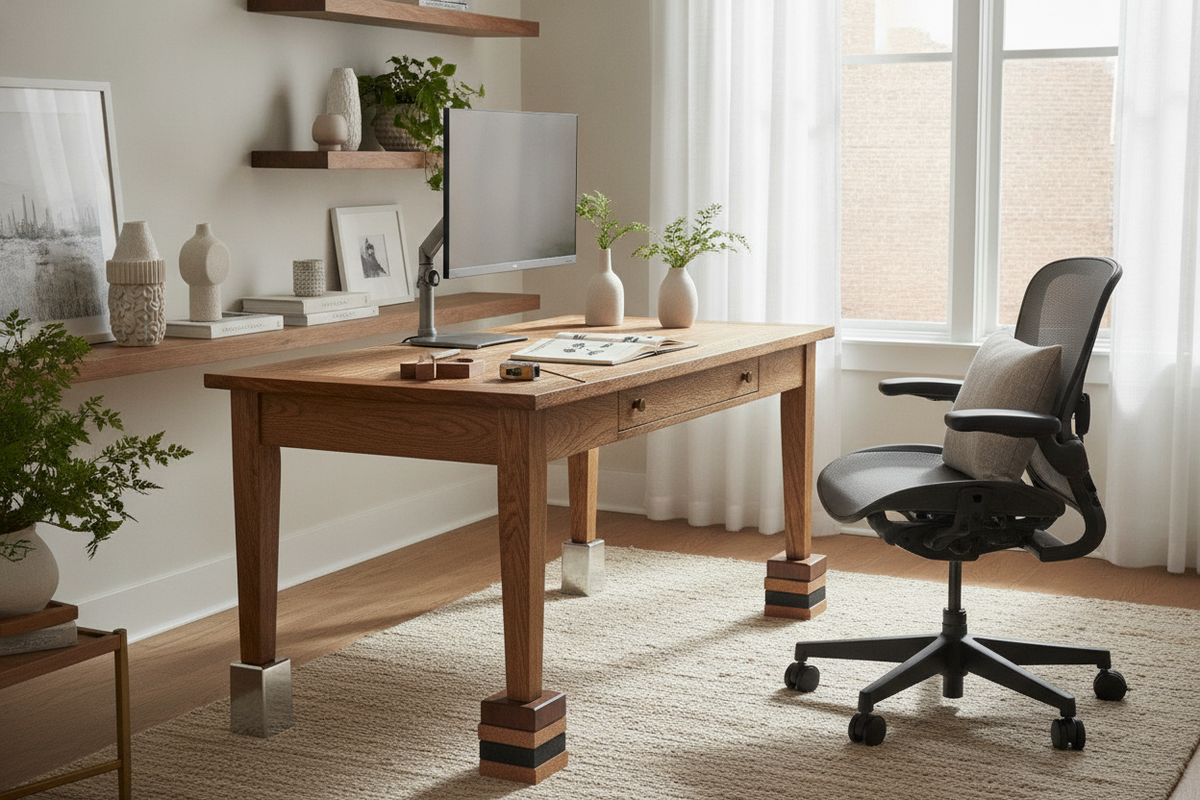
Articulated monitor arms secure directly to the desk edge or through a pre-drilled grommet hole using a heavy-duty clamp. Utilizing gas-spring or mechanical tension mechanisms, monitor arms suspend the display completely off the desk surface.
- Full 3D Adjustability: Smooth tilt, swivel, rotation, and height changes accommodate shifting seated or standing positions.
- Zero Footprint: By eliminating the standard monitor base, monitor arms free up the largest possible continuous desk surface area.
- Integrated Cable Routing: Internal cable channels hide video and power cords inside the arm structure.
3. Desks with Built-In Elevated Monitor Shelving
For those selecting a new workstation, choosing a desk with integrated upper shelving provides maximum stability and a cohesive furniture aesthetic. Rather than attaching aftermarket hardware, an integrated monitor stand desk features an engineered raised tier designed to support display weight while providing built-in cable passages, accessory drawers, or power ports underneath.
Integrated shelving eliminates concerns about edge clamp compatibility or hollow desktop compression, offering a stable, balanced foundation for large or multiple screens.
4. Floor Stands and Wall-Mount Solutions for Compact Workspaces
When working with narrow desks, glass tops, or delicate antique writing tables, attaching clamps or placing bulky risers may not be viable. In these scenarios, off-desk mounting strategies deliver screen elevation without stressing the desk surface.
Wall mounting fixes the screen permanently at eye level, while freestanding display mounts provide height adjustment behind the desk. Consider strategies like reclaiming desktop area with a floor stand or utilizing a freestanding screen mount for compact desks when desktop depth is limited and you need complete freedom to arrange your work surface.
Choosing the Right Elevation Method: A Workstation Decision Framework
To choose the ideal elevation approach, assess your current desk construction and monitor configuration against the following practical factors:
- Desktop Core Material: Solid wood, thick plywood, and high-density fiberboard easily support edge-clamped monitor arms. Honeycomb paper-core or thin tempered glass tops are better paired with wide plinth risers, floor stands, or wall mounts to prevent localized pressure damage.
- Desk Depth: Desks with shallow depth benefit substantially from monitor arms or wall mounts, pushing the display back toward the wall to maintain comfortable focal distance.
- Display Weight and VESA Compatibility: Check whether your monitor includes standard rear mounting screw patterns before purchasing an arm, or verify the weight rating of a wooden shelf plinth.
- Renting vs. Owning: Freestanding risers and clamp mounts require no wall drilling, making them suitable for rental spaces or frequently rearranged workstations.
Step-by-Step Calibration: Finding Your Ideal Monitor Height and Viewing Distance
Once you have selected your elevation hardware, calibrate your setup using this simple posture-alignment sequence:
- Set Your Chair First: Adjust chair height so your feet rest flat on the floor with thighs parallel to the ground and elbows resting comfortably near desk height.
- Position the Top Line of the Screen: Adjust your riser or monitor arm so the top horizontal edge of the display aligns with your natural eye level when looking straight ahead.
- Check Viewing Distance: Position the screen roughly an arm's length away, ensuring you can read text clearly without leaning your head forward.
- Apply a Slight Backward Tilt: Tilt the bottom of the screen slightly forward (top tilted back 10 to 20 degrees) so your sightline meets the screen surface at a perpendicular angle across the entire display.
Maximizing Desk Surface and Vertical Storage Under Your Monitor
Elevating a monitor introduces a functional storage zone beneath the screen. Layering organizational tools transforms this clearance into an efficient accessory hub:
Place slim drawer modules or modular felt trays beneath wooden risers to house charging cables, USB drives, pens, and notepads. Position external audio interfaces or docking stations tucked under the display shelf to shorten cable runs while keeping connection ports accessible. To enhance visual comfort and ambient depth, integrating designer desk wall ideas such as acoustic felt panels or soft backlighting behind an elevated display creates a clean, distraction-free backdrop.
Common Mistakes to Avoid When Elevating Your Monitor
Avoid these frequent workstation configuration errors when raising your screen:
- Using Unstable Makeshift Stacks: Stacking books, cardboard boxes, or loose reams of paper under a monitor base creates a tip hazard and offers no organized cable management.
- Clamping Arms to Incompatible Overhangs: Installing heavy clamp-on arms onto shallow desk overhangs or beveled edges can lead to slipping or surface indentation; ensure the clamp jaw seats fully on a flat, structural section.
- Neglecting Cable Slack: Always leave sufficient cable slack along articulated monitor arms to prevent straining video ports when rotating or adjusting height.
- Mounting Too High: Placing the center of the display above eye level forces continuous upward neck extension, which can be as fatiguing as looking down.

Leave a comment
This site is protected by hCaptcha and the hCaptcha Privacy Policy and Terms of Service apply.