
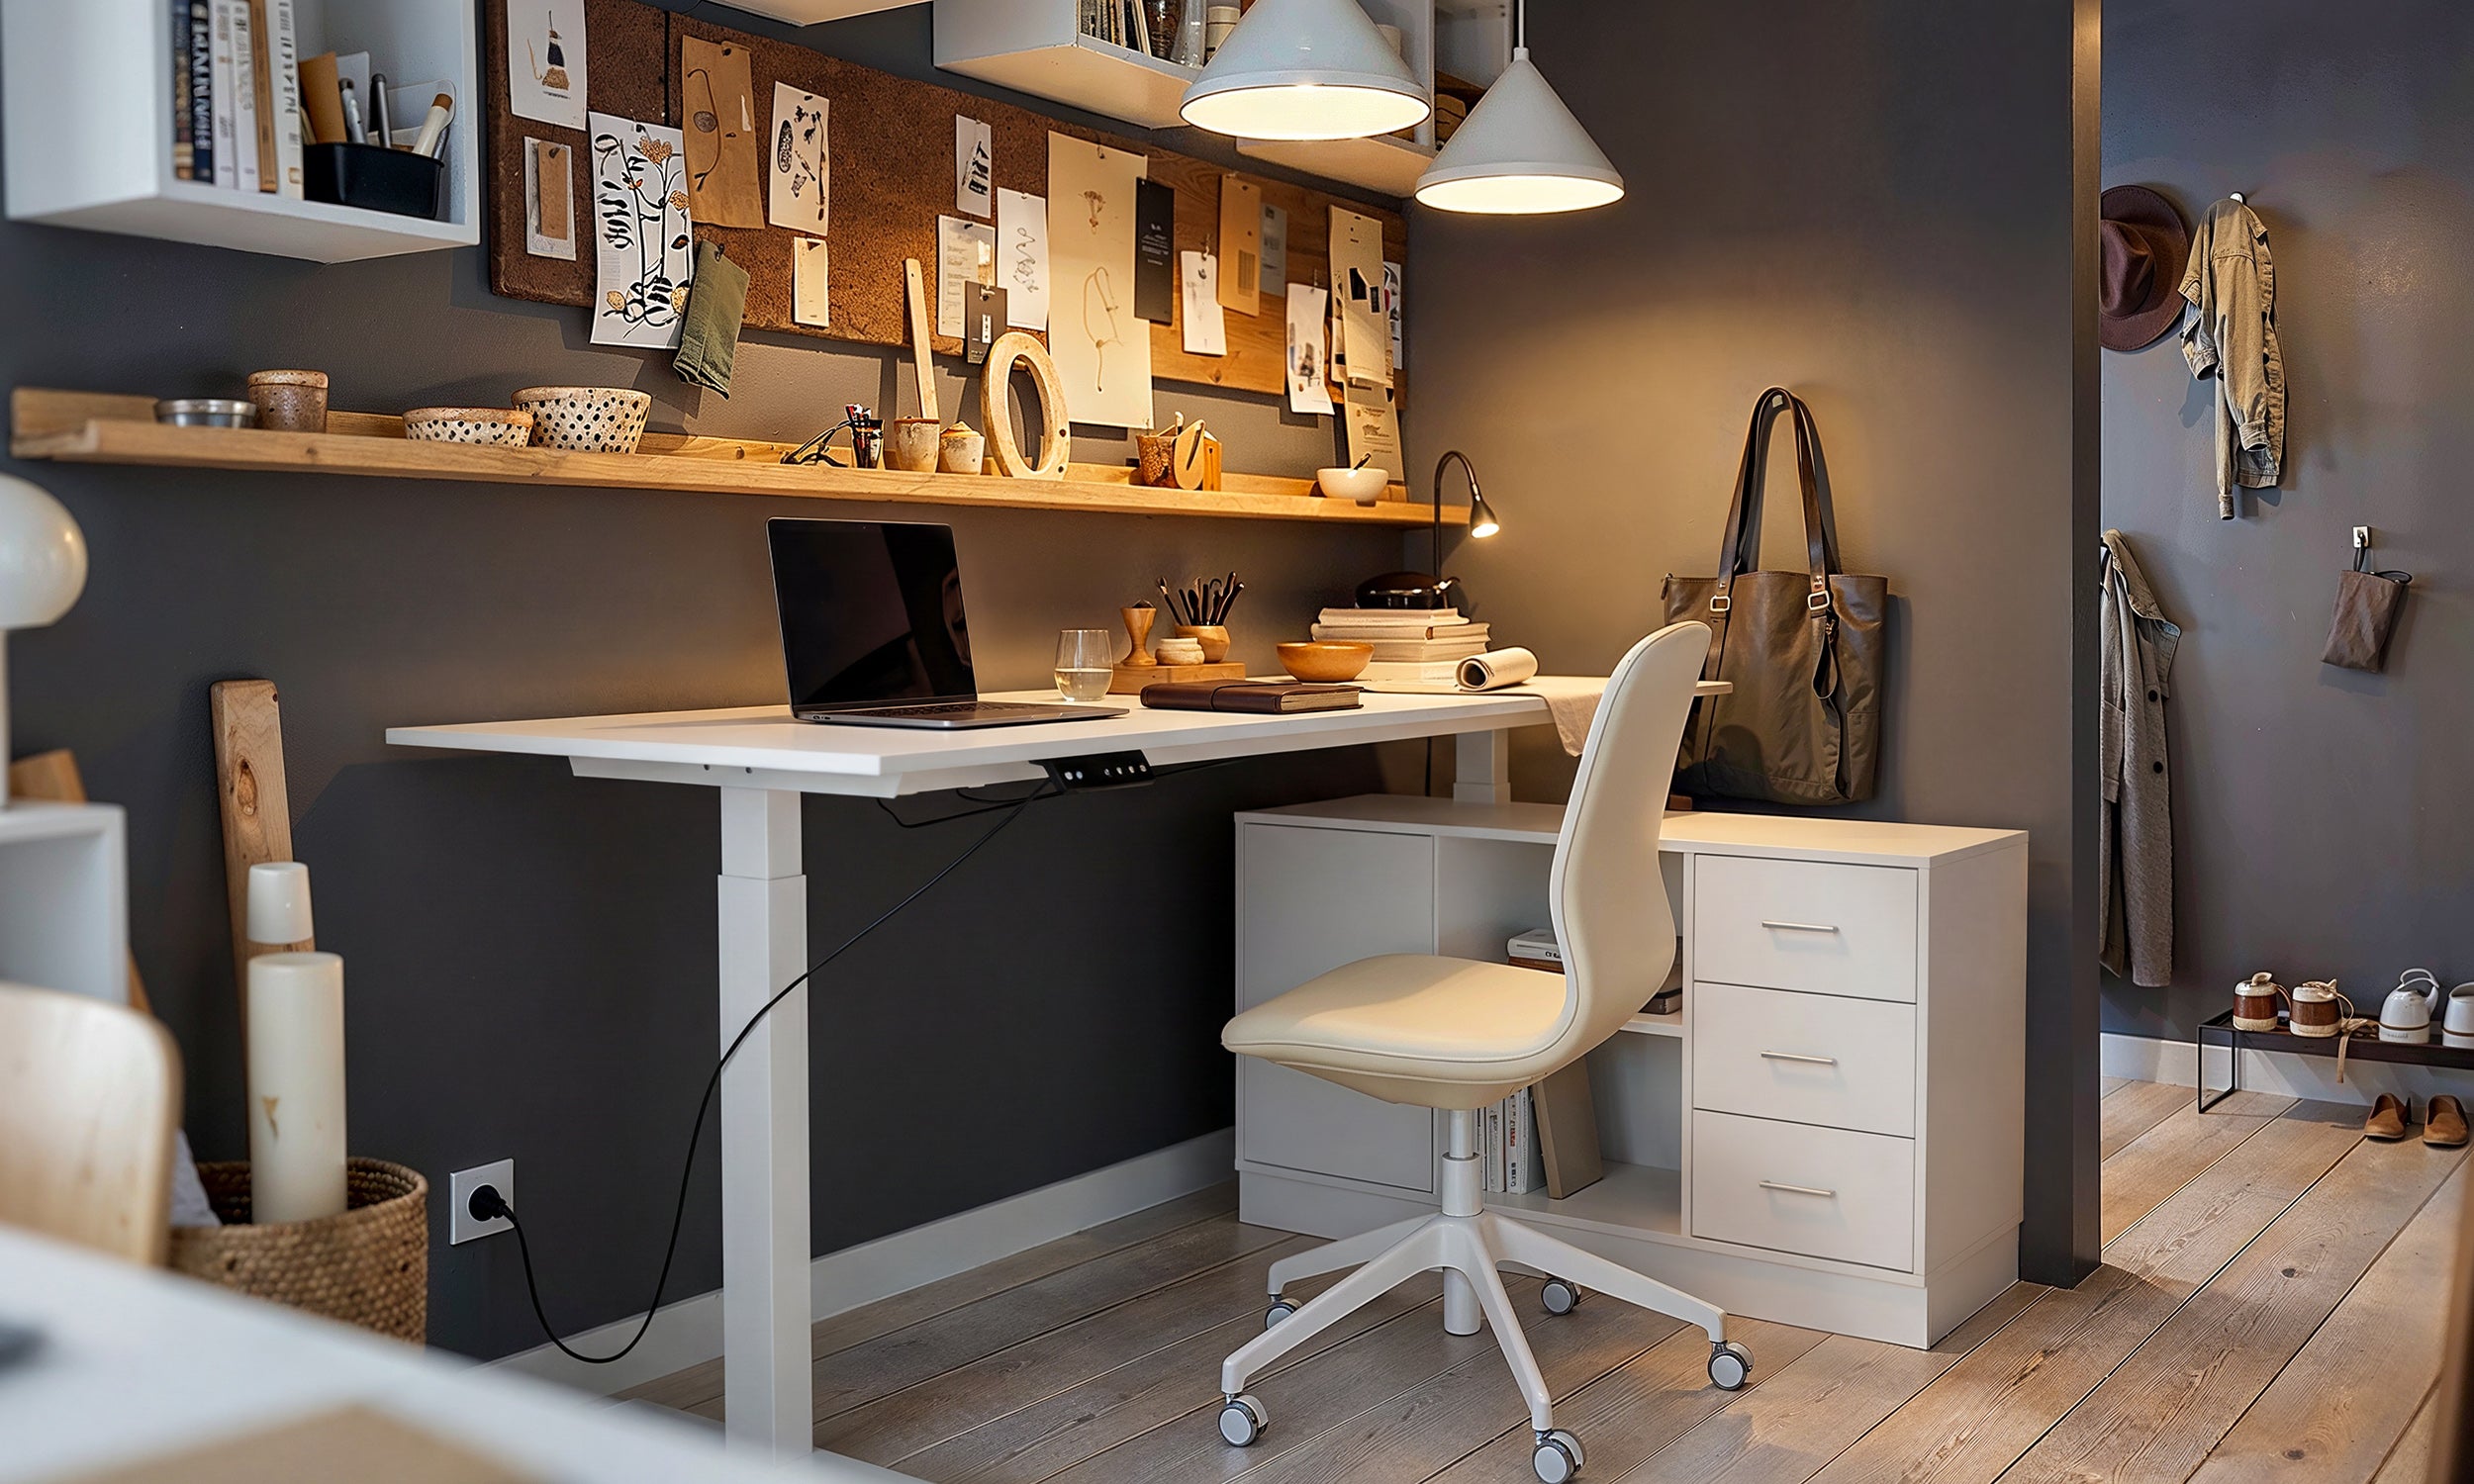
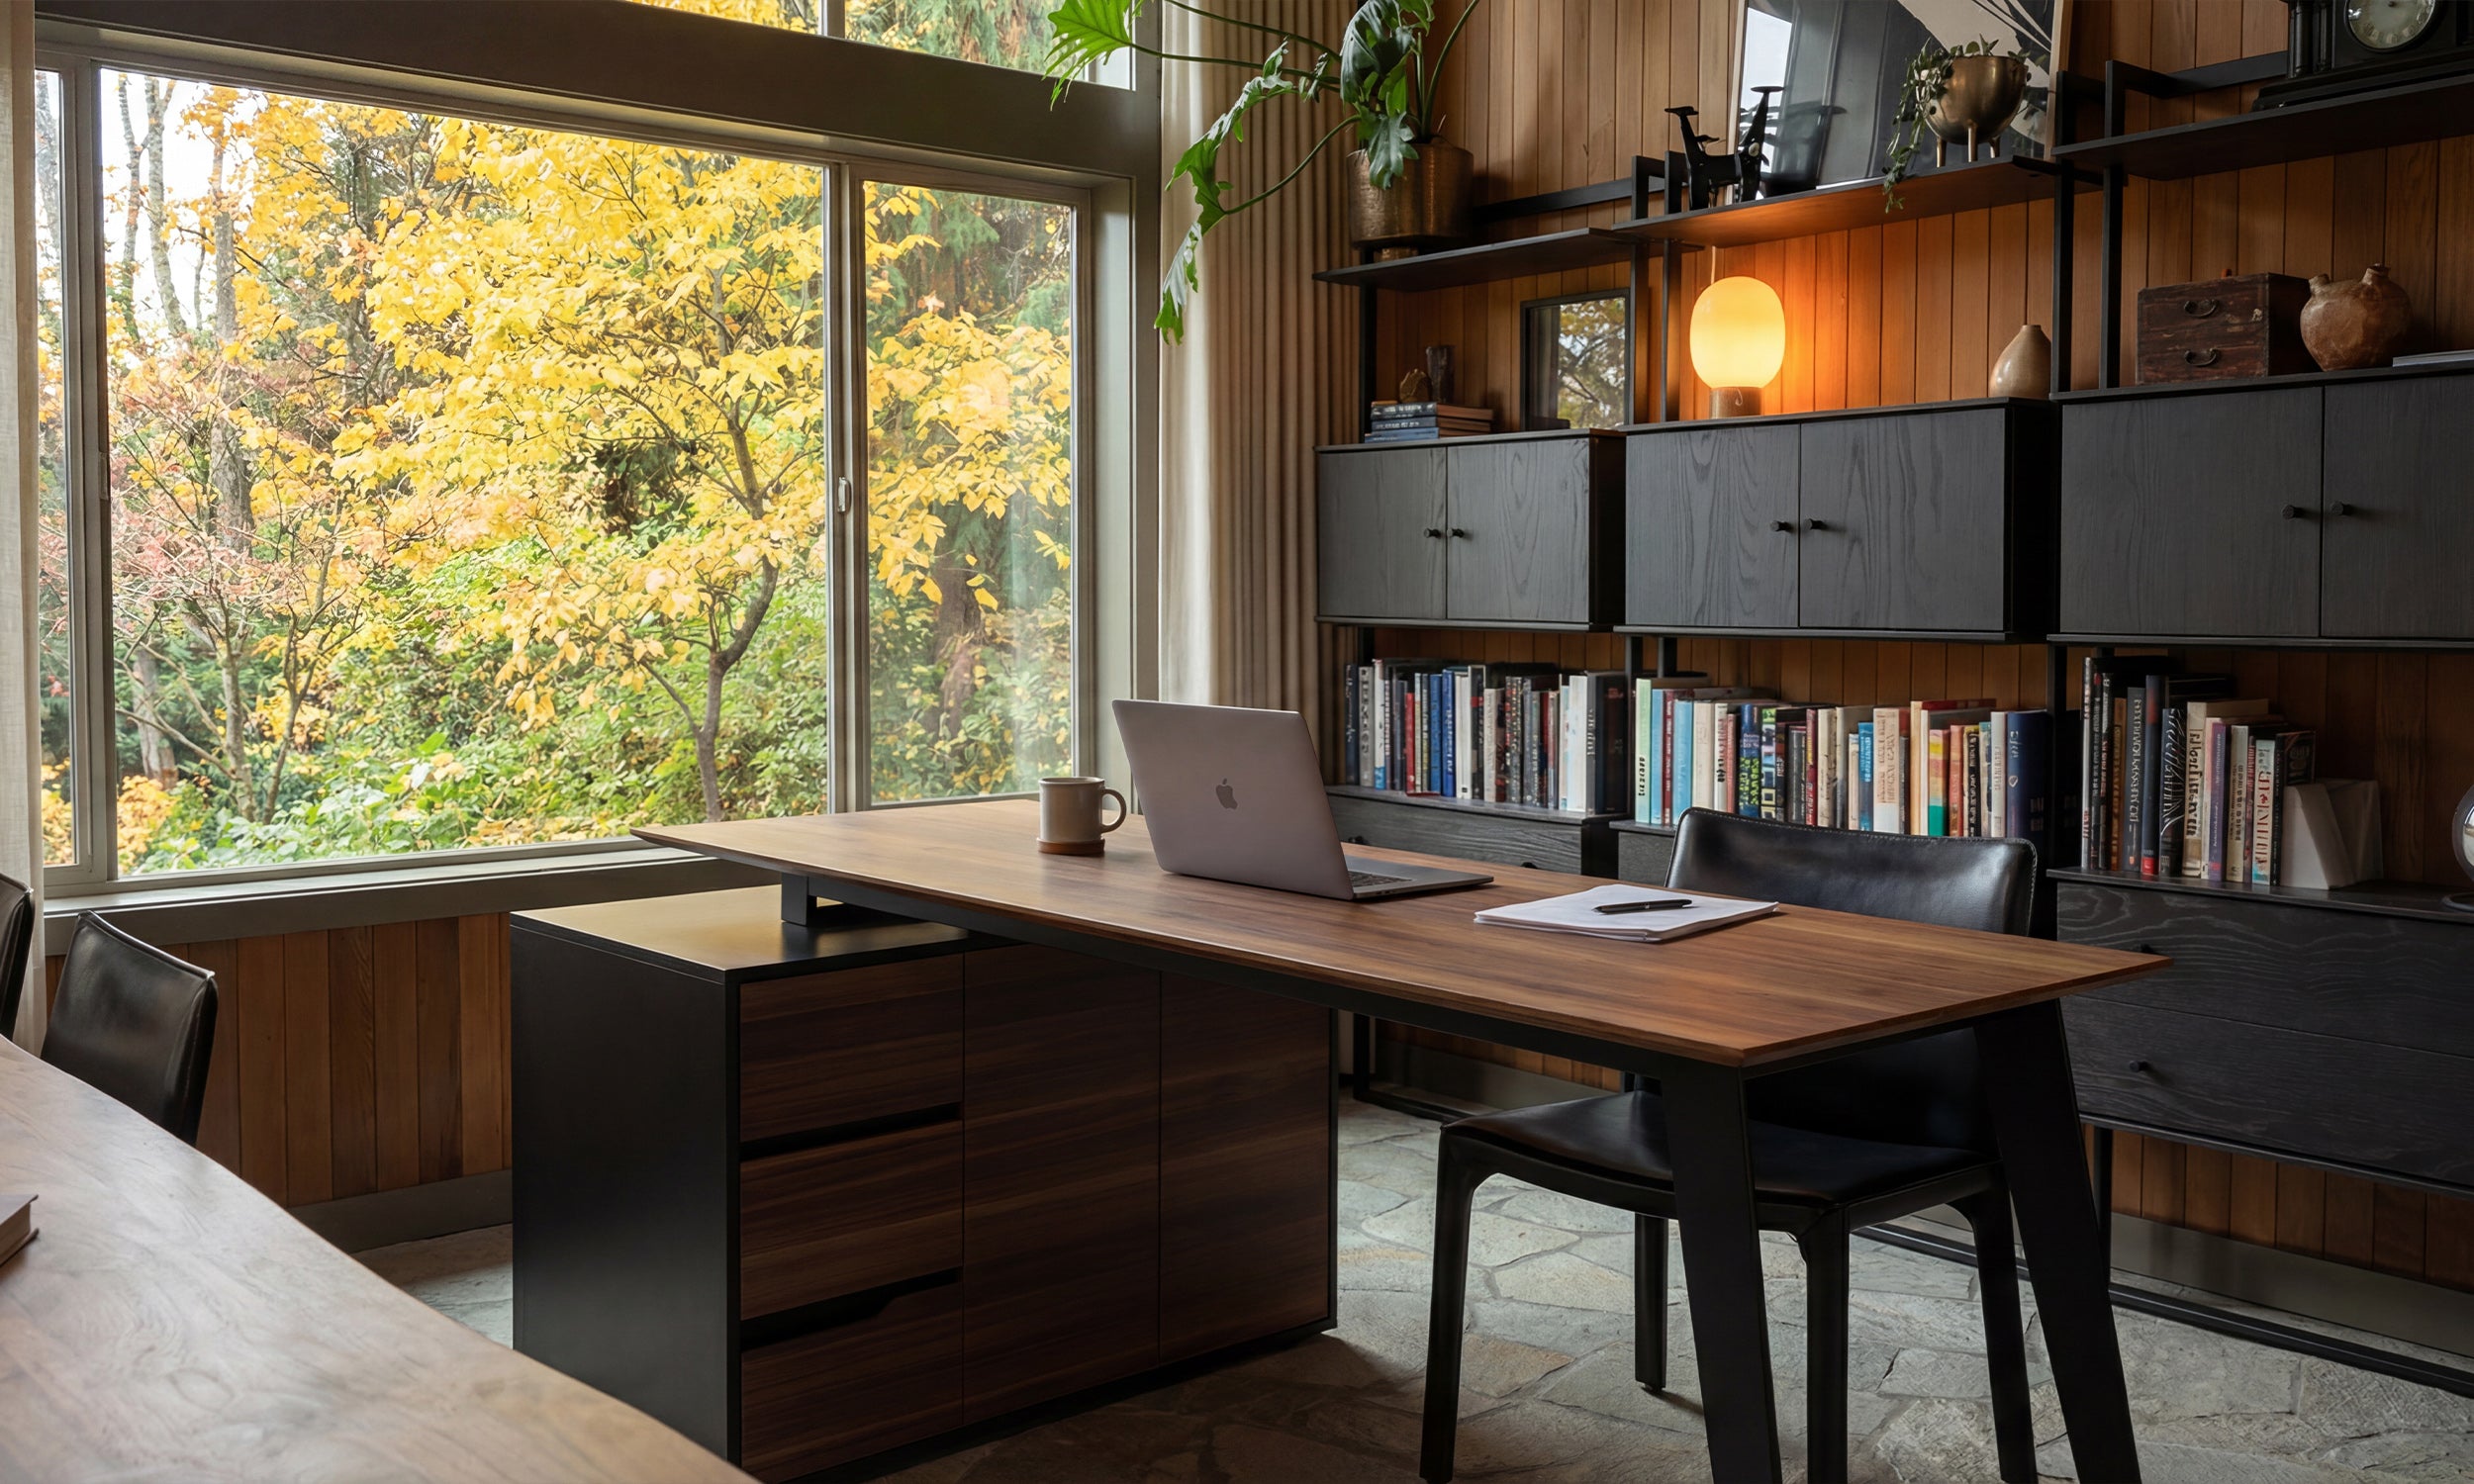



We have all fallen down the rabbit hole of scrolling through perfectly curated feeds, saving endless office setup photos that promise productivity and serenity. Yet, when you purchase the same desk, the same monitor arm, and that trendy felt desk mat, the result often feels lackluster compared to the image. As a designer, I see this disconnect constantly. The issue isn't usually the furniture you bought; it is the absence of the invisible design layers—lighting, composition, and negative space—that make those reference images sing.
Key Elements of a Photogenic Workspace
- Lighting Hierarchy: Successful setups rarely rely on a single overhead bulb; they utilize ambient, task, and bias lighting (behind monitors) to create depth.
- Visual Weight Balance: A heavy solid wood desk needs lighter chairs or floating shelves to prevent the room from feeling cramped.
- Texture Variance: Mixing materials (e.g., walnut wood, wool felt, matte metal) creates the sophisticated, tactile look found in high-end editorials.
- Cable Discipline: The hallmark of professional photos is zero visible wiring, achieved through raceways, sleeves, and wireless peripherals.
- Biophilic Accents: Greenery isn't just decoration; it softens the harsh geometrical lines of technology.
Deconstructing the Lighting
When clients bring me inspiration images, the first thing I point out is not the desk, but the shadows. Most viral setups utilize "bias lighting"—LED strips placed on the back of the monitor or desk edge. This not only reduces eye strain by lowering the contrast between a bright screen and a dark room, but it also creates a halo effect that separates the furniture from the wall, adding architectural depth.
Avoid cool, clinical daylight bulbs (5000K+) for your ambient lighting. Aim for a warmer 2700K-3000K temperature for floor lamps, reserving cooler light only for specific task lamps focused on paperwork. This layering creates the cozy, "lived-in" luxury vibe.
Materiality and Visual Anchors
A photograph captures a static moment, but your office is a tactile environment. The most stunning setups rely on a palette of contrasting textures. If your desk is a sleek, white laminate, pairing it with a mesh chair and plastic accessories will leave the space feeling cold and commercial.
To elevate the aesthetic, introduce organic warmth. If you have a tech-heavy setup with multiple monitors, ground it with a solid wood desktop—Walnut or White Oak are excellent choices for their grain patterns. Complement the hardness of the screen and desk with a wool felt desk pad. This doesn't just look good in photos; it dampens the sound of keyboard clatter and provides a softer surface for your wrists.
The Layout: Function Behind the Form
Space planning is where the dream often breaks down. In photos, desks are often pulled away from the wall or positioned in the center of the room to create depth of field. In reality, you might be pushing a desk against a wall in a spare bedroom.
If you must face a wall, create a "false view." Use a large piece of artwork or a floating shelf centered above the monitor to draw the eye upward. Ensure your desk depth is at least 30 inches if you are using a monitor arm; anything shallower forces the screen too close to your face, ruining both the visual proportion and your ergonomic health.
My Personal Take on Office Setup Photos
I need to be honest about a specific trend I see in almost every "dream setup" photo: the matte black everything. A few years ago, I redesigned my own home office based on a moody, all-black aesthetic I saw online. I painted the walls charcoal and bought a matte black powder-coated desk.
It looked incredible for exactly 10 minutes after cleaning. What the photos don't show you is the maintenance. Every fingerprint, every speck of dust, and every ring from a coffee mug was instantly visible. I spent more time wiping surfaces than designing. In photos, lighting is manipulated to hide these imperfections. For a real-world workspace, I now always advise clients to choose mid-tone wood or textured finishes that forgive the daily mess of actual work. It’s a lesson I learned the hard way so you don't have to.
Conclusion
Replicating high-end office setup photos isn't about buying the most expensive gear; it is about mastering the balance of light, texture, and layout. By focusing on these design principles, you can create a workspace that doesn't just look good through a camera lens, but feels inspiring to sit in every Monday morning.
Frequently Asked Questions
How do I hide cables like in the photos?
Professional photos often temporarily tape cables or remove them entirely. For a real home, mount a J-channel raceway under your desk for power strips and bundle cords using velcro sleeves. Route cables down a single desk leg for a clean silhouette.
What is the ideal desk size for a dual-monitor setup?
To maintain visual balance and avoid a cluttered look, aim for a desk width of at least 60 inches. This leaves enough negative space on either side of the monitors for speakers or decor, preventing the "crowded" look.
Is a monitor arm necessary for the aesthetic?
Yes. Aside from ergonomic benefits, a monitor arm lifts the screen off the desk surface. This exposes more of the desktop material, creating a sense of openness and airiness that is central to that high-end, curated look.

Leave a comment
This site is protected by hCaptcha and the hCaptcha Privacy Policy and Terms of Service apply.