


I spent three nights staring at a pixelated image of a $1,200 console that I knew was just sawdust and glue inside. It is a common trap: you want the 1960s aesthetic without the 1960s price tag, but the affordable options are basically disposable. After my third 'easy assembly' shelf sagged under the weight of a few books, I decided to take matters into my own hands and build a diy mcm tv stand.
Quick Takeaways
- Plywood quality matters more than your tool kit; spend the extra money on walnut veneer.
- Authentic proportions are the difference between 'vintage' and 'clunky.'
- Edge banding is a tedious necessity for a professional, non-plywood look.
- Always use a guide for your router; free-handing grooves is a recipe for disaster.
The 'Particleboard Fatigue' That Started It All
Browsing through standard retail TV stands is a special kind of hell. You either find something for $200 that feels like reinforced cardboard or something for $2,500 that requires a second mortgage. I was tired of the 'temporary' furniture cycle where every move resulted in a new set of stripped screws and wobbly legs.
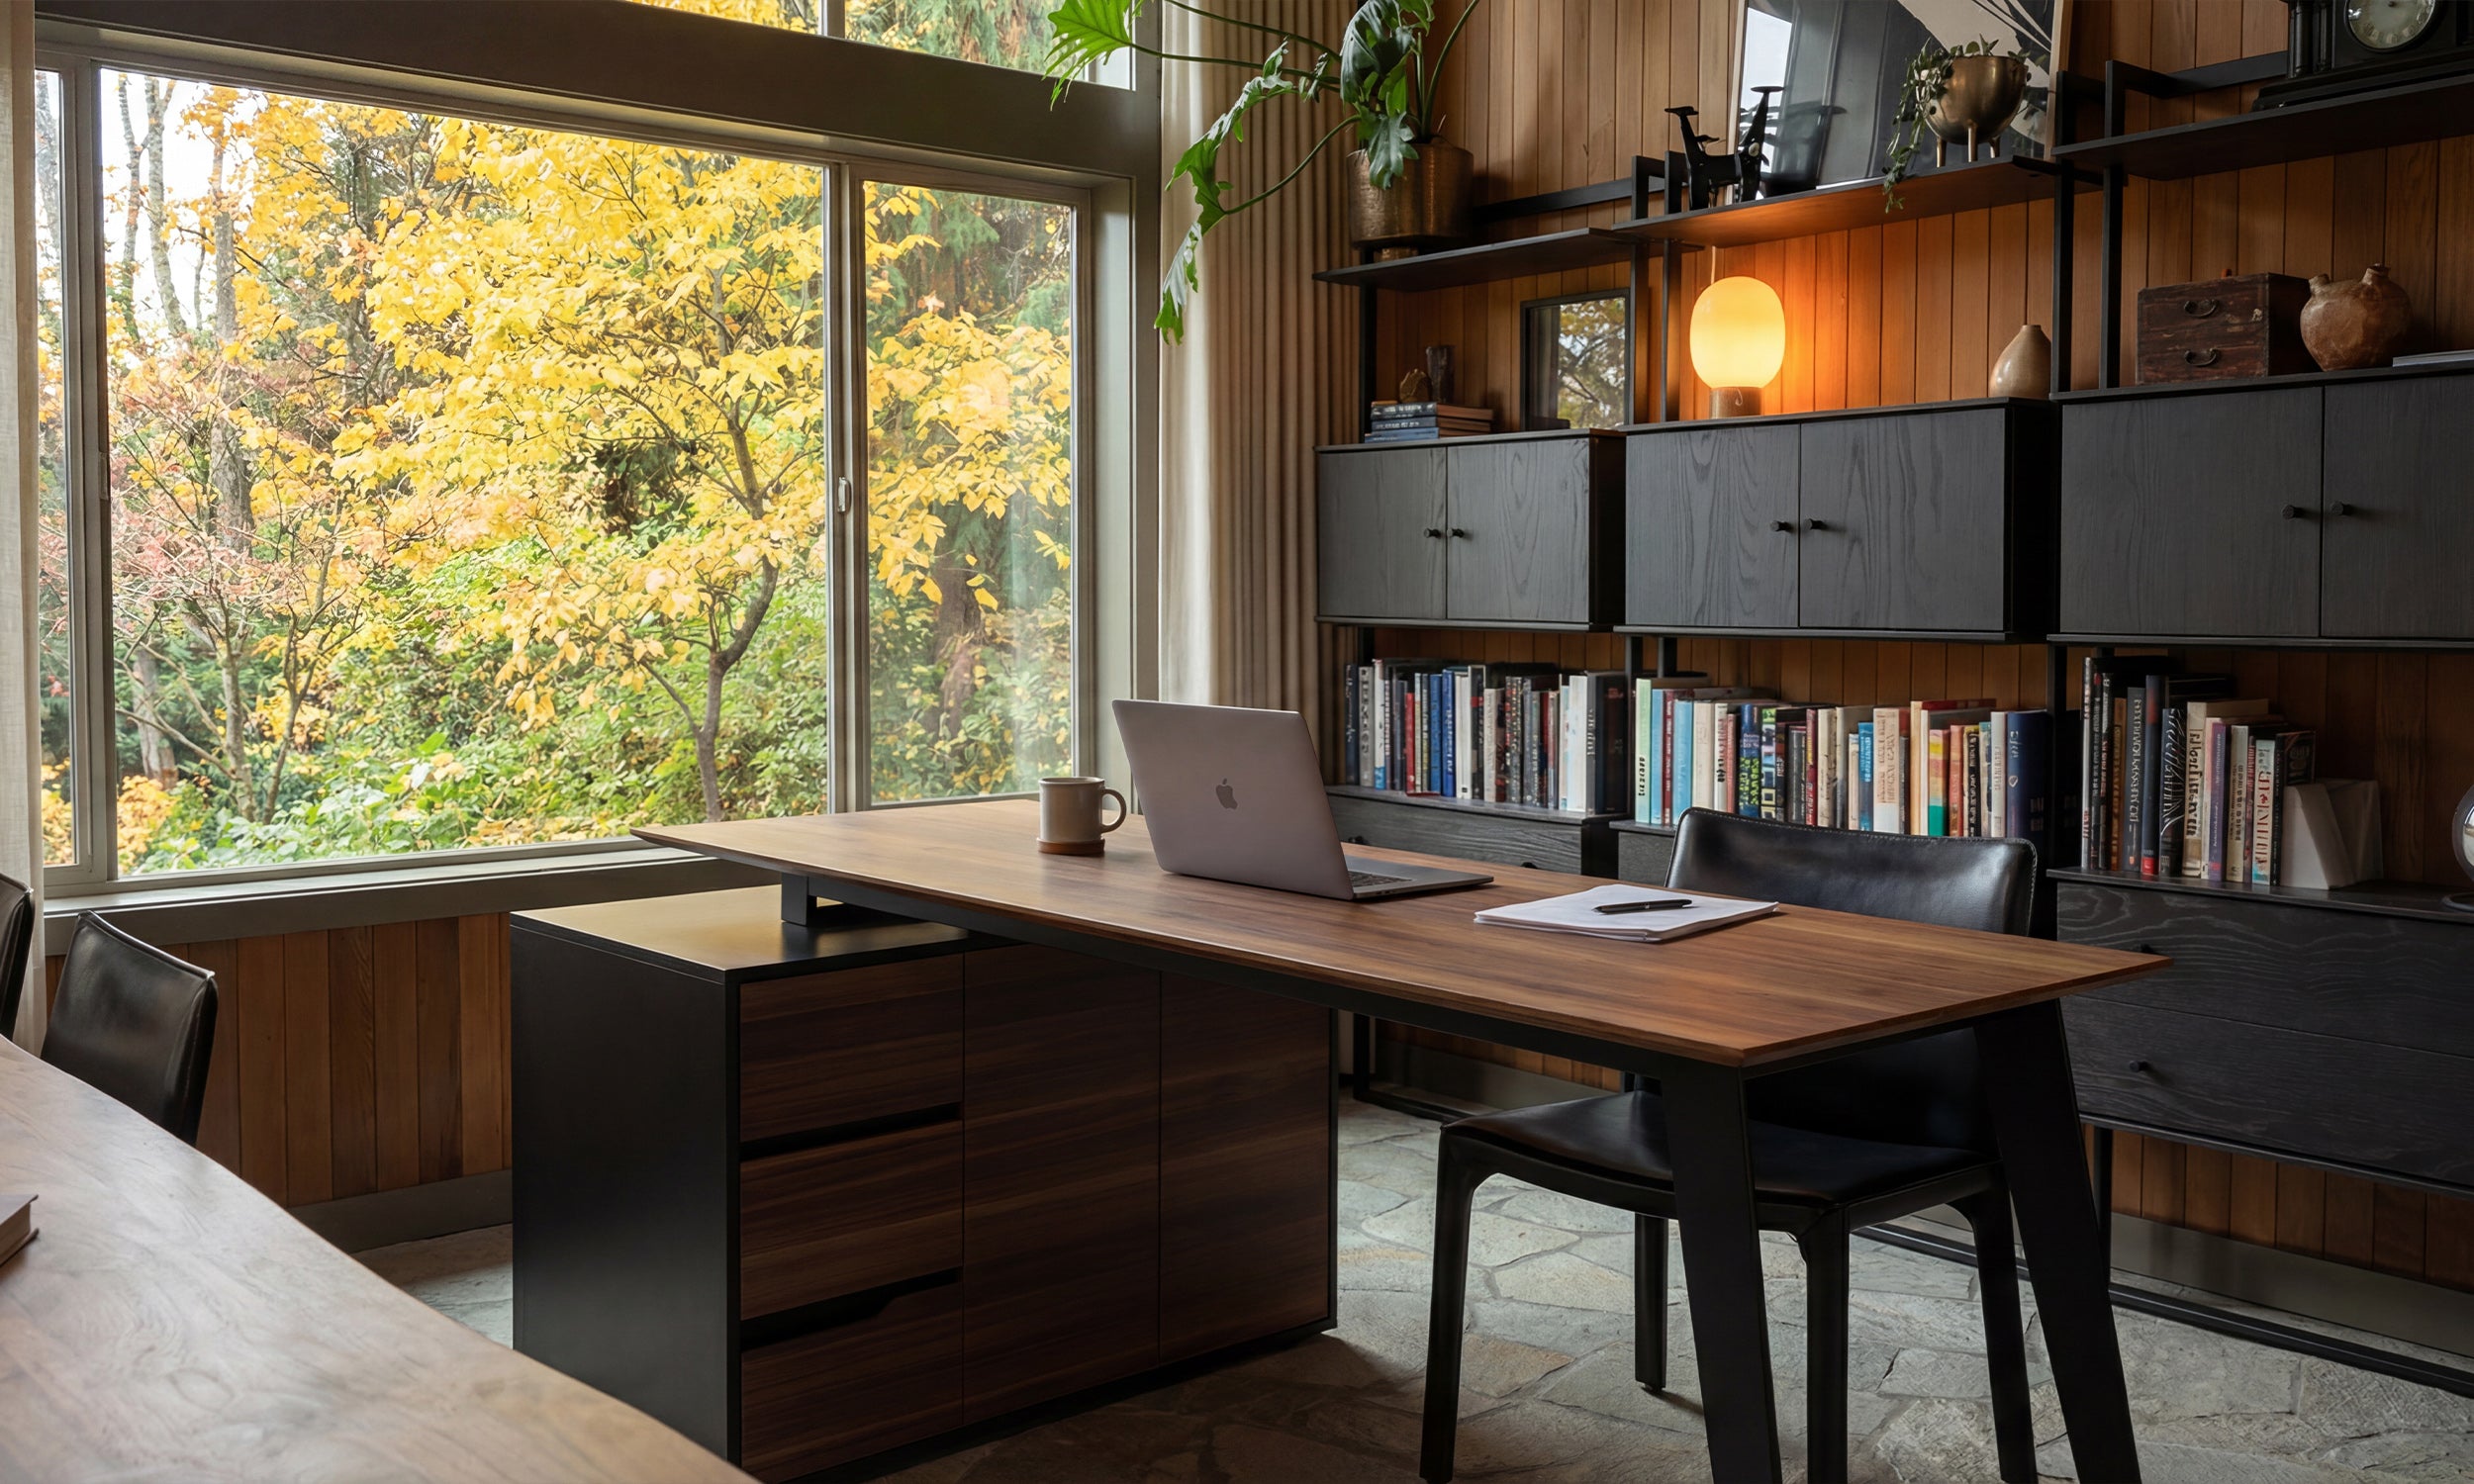
Most mass-market pieces use a thin paper veneer that peels if you even look at it with a damp coaster. I wanted the heft of real wood. I wanted the grain of walnut to actually look like it grew in a forest, not a printer. That realization is what pushed me toward the garage and a pile of lumber. If I was going to have a 65-inch screen, it needed a foundation that didn't look like it came from a dorm room.
Finding (and Tweaking) Mid Century Modern TV Stand Plans
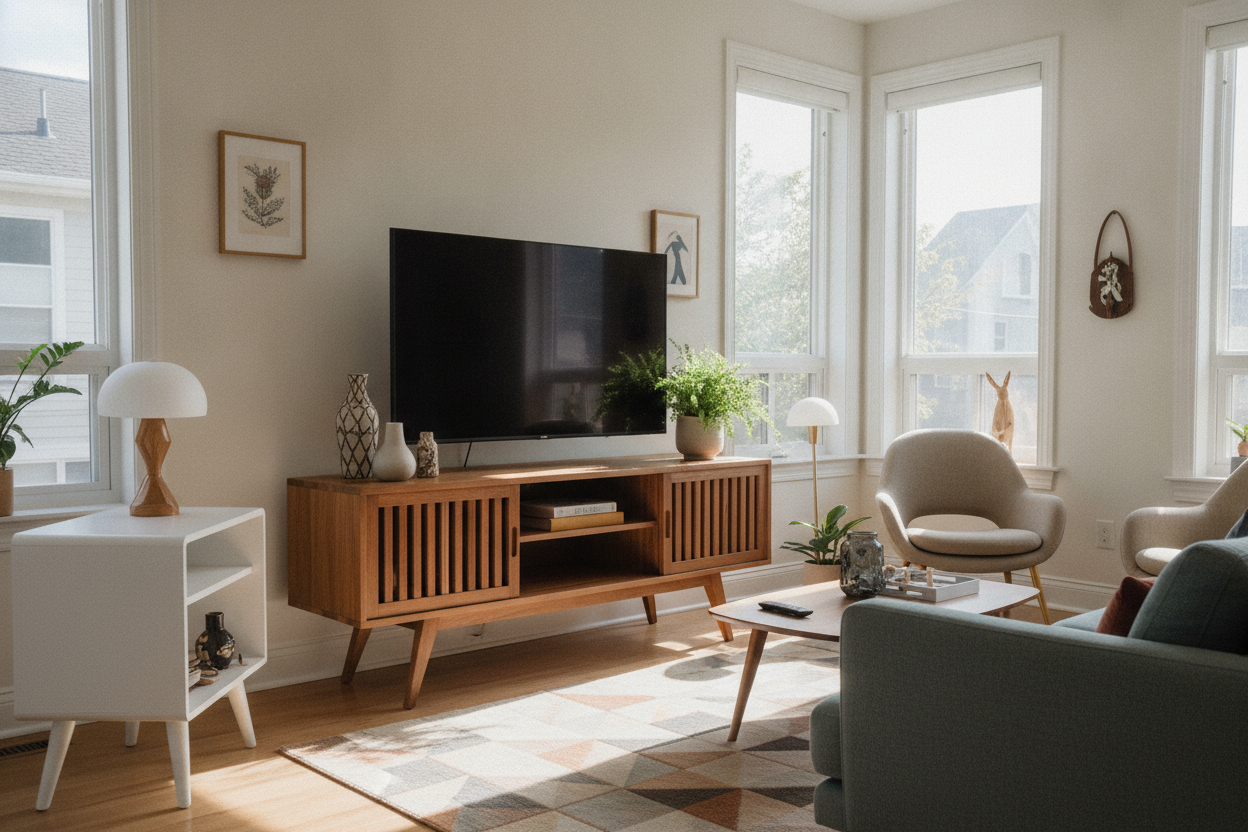
Most 'DIY' plans you find online are just a box with some hairpin legs slapped on the bottom. That is not mid-century; that is a crate. I spent weeks hunting for authentic mid-century design proportions because if the height-to-width ratio is off by even an inch, the whole thing looks like a middle school shop project. The 1960s were about being low, lean, and purposeful.
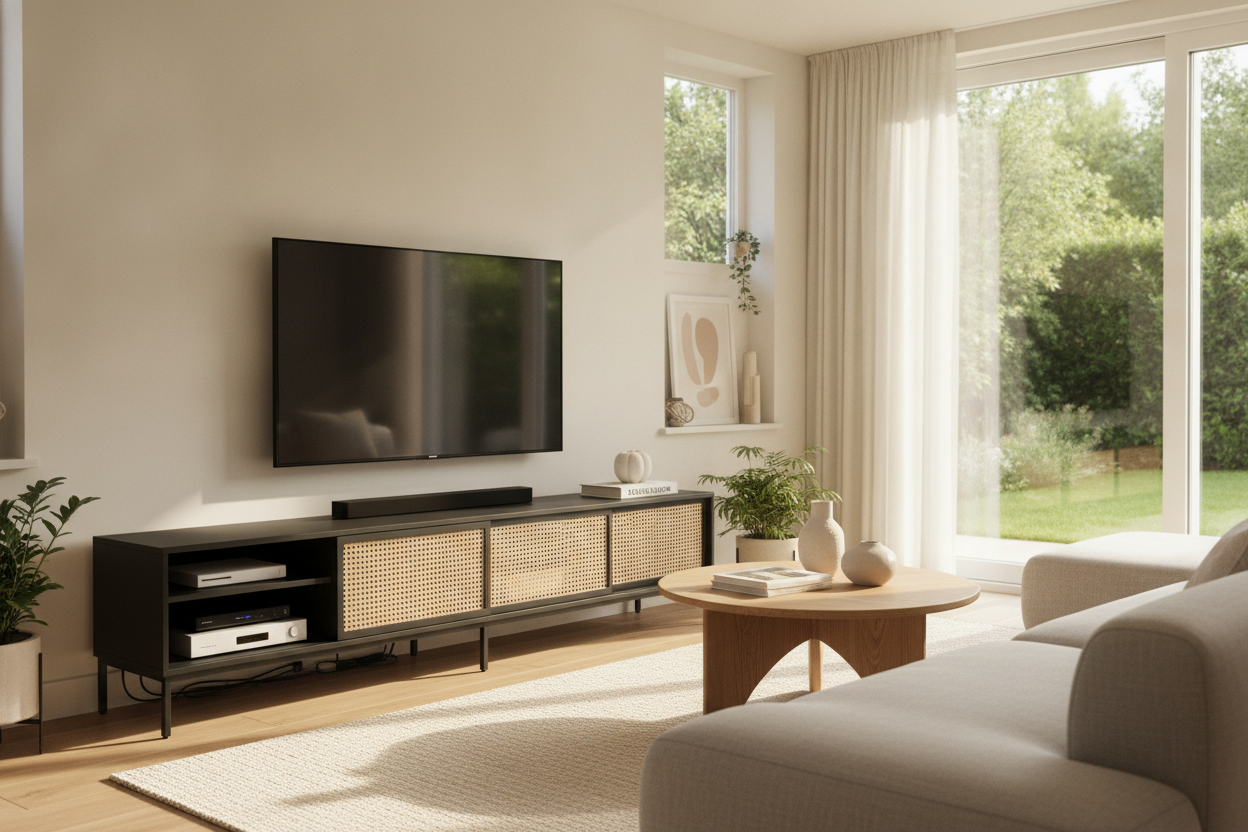
I finally found mid century modern tv stand plans that emphasized a 60-inch span with a 15-inch depth. The key is the 'taper.' Whether it is the legs or the beveled edge of the casing, everything needs to feel like it is moving. I tweaked the plans to include a hidden cable management channel because, unlike the 1960s, I have a mess of HDMI cords to hide. If you are building this, make sure your interior shelves are adjustable; your soundbar might be taller than you think.
The Plywood Reality: Sourcing Materials for a DIY Mid Century TV Stand
Real walnut-veneered plywood is a revelation. It smells like actual wood and has a depth of color that stain-on-pine just can't mimic. For my diy mid century modern tv stand, I sourced a single sheet of 3/4-inch walnut ply from a local lumber yard. It cost me $160, which felt steep until I compared it to the price of a solid walnut board of the same size.
The secret to making plywood look like solid timber is iron-on edge banding. You basically 'glue' a thin strip of real wood onto the raw edges of the plywood using a standard clothes iron. It is meditative work, but you need a sharp chisel to trim the excess. I also spent a ridiculous amount of time sourcing the right brass-capped tapered legs. If the legs are too vertical, the piece looks stiff. They need that 15-degree splay to feel right.
The One Step in My DIY Mid Century Modern TV Stand Build I Ruined
Let's talk about the router. I tried to free-hand the grooves for the sliding doors on my diy mid century tv stand and ended up with a channel that looked like a drunken snake. The door wouldn't even slide; it just got stuck and mocked me. I had to wood-filler the whole mess, sand it back, and start over using a clamped straight-edge guide. Woodworking is 10% cutting and 90% figuring out how to hide the fact that you messed up a cut.
I also learned the hard way that walnut is brittle. If you don't use a sacrificial board when cutting with a circular saw, the veneer will 'blow out' and leave jagged edges. My first side panel has a tiny chip in the back corner that only I know about, but it haunts my dreams. Always use a high-tooth-count blade; a framing blade will chew your expensive plywood to pieces.
Is It Actually Cheaper Than Just Buying One?
Between the walnut ply, the $60 legs, the soft-close hardware, and the specific 'Danish oil' finish I wanted, I spent about $350. That does not count the $300 table saw I convinced my spouse was an 'investment.' It also took me three full weekends. If you value your time at more than $5 an hour, this is a losing game financially.
If you don't have the space for a workshop or the patience for sanding until your fingers go numb, honestly, just buy a mid-century modern TV stand with slatted doors and enjoy your Saturday. But if you want a piece of furniture that will actually last a decade and fits your space to the millimeter? The dust and the router mistakes are worth it. There is a specific kind of pride that comes from someone asking where you bought a piece and being able to say, 'I made it.'
FAQ
How long does it take to build?
If you have all your materials ready, you can cut and assemble in a weekend, but the finishing and oiling process takes another 3-4 days of drying time. Don't rush the finish or you will end up with a tacky, dust-collecting mess.
Do I need a lot of expensive tools?
You need a circular saw with a straight-edge guide at minimum. A table saw makes it faster, but you can get away with basic power tools if you are patient and measure three times before every cut.
What wood is best for an MCM look?
Walnut is the gold standard for that deep, rich mid-century look. Teak is also great but much harder to find at a local hardware store. Avoid pine if you can; it is too soft and doesn't take stain evenly enough to look high-end.

Leave a comment
This site is protected by hCaptcha and the hCaptcha Privacy Policy and Terms of Service apply.