
















I remember staring at a pile of MDF and a bag of sixty silver bolts at 11 PM on a Tuesday. I thought I could finish the job in twenty minutes; three hours later, I was bleeding from a rogue Allen wrench slip and the desk was still upside down. desk assembly doesn't have to be a blood sport, but we usually make it one by being impatient and under-prepared.
Quick Takeaways
- Clear a workspace twice the size of the desk before you start.
- Dump hardware into bowls or muffin tins to prevent 'missing screw' syndrome.
- Never tighten any bolts fully until the entire frame is connected.
- Ditch the free tools for a ratcheting screwdriver.
The 'Read the Manual First' Lie We All Tell Ourselves
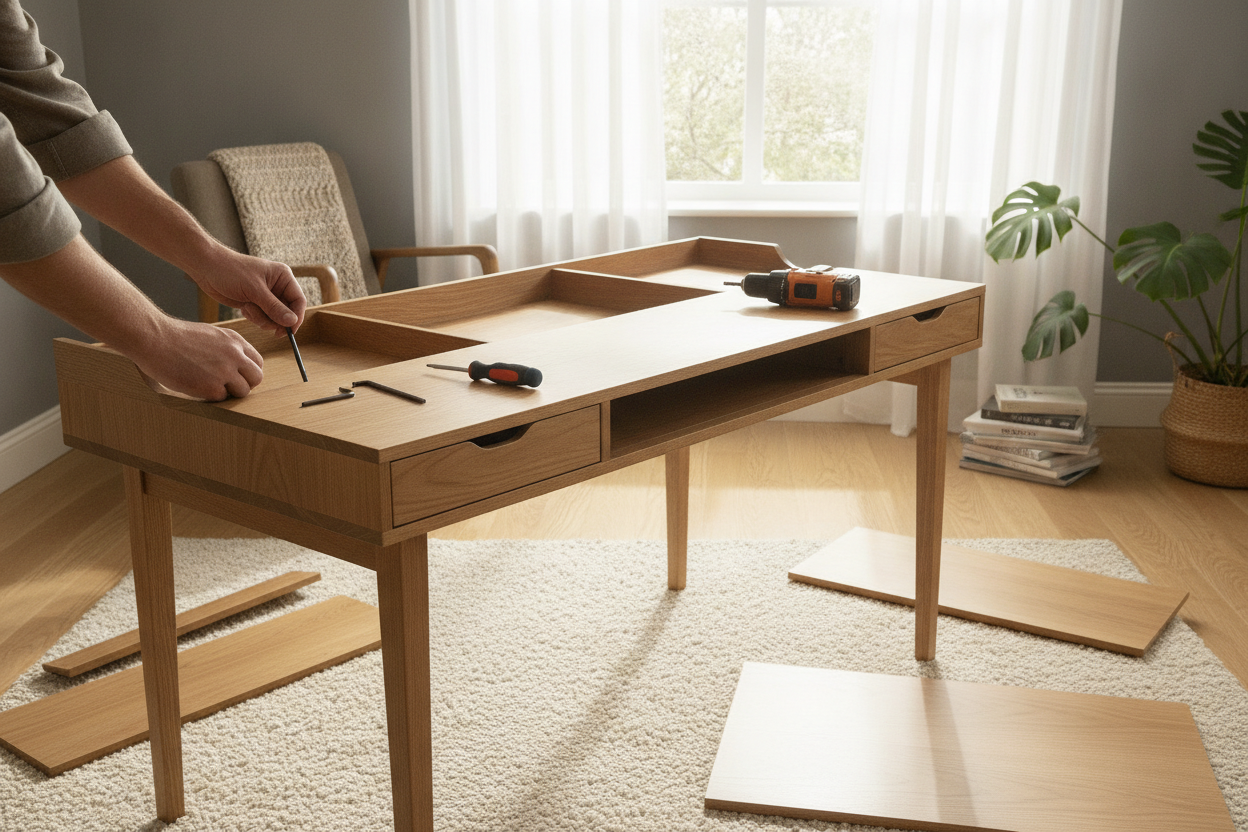
We all do it. We open the box, see a picture of a metal leg, and think 'I got this.' Then, forty minutes later, we realize the holes on piece 'B' are facing the wrong way only after we've hammered in the wooden dowels. It is a disaster. Before you even look at how to assemble desk components, you need to clear the floor. You need a space at least six feet by six feet.
Lay every single piece out on a rug or the cardboard box itself to avoid scratching your floors. Check the inventory list immediately. If you are missing one cam lock or a specific M6 bolt, stop now. Do not try to 'make it work' with a random screw from your junk drawer. You will just end up with a wobbly mess that collapses the first time you set a monitor on it.
How to Put Desk Together Without Losing Your Mind
The secret to a stress-free build isn't skill; it's organization. I use cereal bowls or a muffin tin for the hardware. Dump those tiny plastic bags out and group the M6x30mm bolts away from the M6x35mm ones. They look identical until you realize you've poked a hole through the finished desktop because the screw was five millimeters too long. I've done it, and it's heartbreaking.
If you are building an ergonomic sit stand up desk, pay extra attention to the motor housing and the control box. These frames are significantly heavier than standard legs. You need to plan your cable management during the initial build phase, or you'll be zip-tying wires to the legs like a caveman later on. When you know how to put desk together the right way, you treat the hardware like a surgical kit.
Please Throw Away the Included Allen Wrench
That L-shaped piece of cheap metal included in the box is a torture device. It is designed to save the manufacturer three cents, not to save your hands. By the third bolt, your thumb will be red; by the tenth, you'll have a blister. Toss it in the recycling bin immediately.
Buy a real ratcheting screwdriver with a hex bit set. It costs fifteen bucks and will save you two hours of frustration. You need the leverage to properly seat bolts into pre-drilled holes that are often slightly too small. A real tool ensures you aren't stripping the heads, which is the fastest way to turn a new desk into a piece of trash.
The 'Do Not Tighten Anything Yet' Rule
This is the single most important rule of furniture building. Thread every bolt by hand until it catches the threads, then give it maybe two turns. Keep everything loose and 'floppy.' If you tighten the first leg to 100%, the fourth leg will almost certainly not line up with the holes. The metal frame needs 'give' so you can wiggle the pieces into alignment.
Once the entire skeleton is standing and every bolt is in its home, then—and only then—go around and tighten everything down. This prevents the dreaded 'one leg is shorter' wobble. It also ensures you aren't putting unnecessary stress on the joints, which leads to those annoying squeaks every time you lean on the desk to type.
How to Assemble Desk Drawers (The Final Boss)
Drawers are where most people break down. I once spent an hour trying to force a drawer into a 3 drawer lift computer desk only to realize the glides were mounted upside down. Look for the 'CL' and 'CR' stamps on the metal tracks. If you find yourself pushing hard enough to break a sweat, something is wrong. Line up the ball bearings, keep the drawer level, and let gravity do the work.
Alignment is everything here. If the drawer front looks crooked, it’s usually because the tracks aren't perfectly parallel. Loosen the screws on the track slightly, adjust the angle, and retighten. It takes patience, but having a drawer that slides like butter is worth the extra ten minutes of fiddling.
When to Skip the Box entirely
Sometimes, the juice isn't worth the squeeze. If you see a manual with forty pages for a single piece of furniture and you're already stressed, maybe just don't do it. A simple writing computer desk often comes with the legs already attached or just requires four simple bolts. If you value your Saturday more than the fifty bucks you're saving on a complex flat-pack build, buy the simpler model.
I once built a massive L-shaped unit alone and accidentally put the back panel on backwards, showing the raw particle board to the whole room. I was so exhausted I just left it that way for two years. Learn from my pride: if it looks too hard, hire a pro or buy a pre-assembled piece. There is no shame in avoiding the 'IKEA divorce' fight.
Desk Assembly FAQ
Can I use a power drill?
Only if it has a low-torque clutch setting. If you use a standard drill on high power, you will crack the MDF or strip the screw holes instantly. Hand-tightening is always safer for flat-pack stuff.
What if a hole doesn't line up?
Loosen every other bolt on that piece of the frame. 99% of the time, the hole isn't 'missing'—the frame is just under too much tension from other tightened screws.
How long does it actually take?
Take the estimate in the manual and double it. If it says 30 minutes, budget an hour. This accounts for the time spent hunting for the screwdriver you just set down and then lost under a piece of cardboard.



Leave a comment
This site is protected by hCaptcha and the hCaptcha Privacy Policy and Terms of Service apply.