
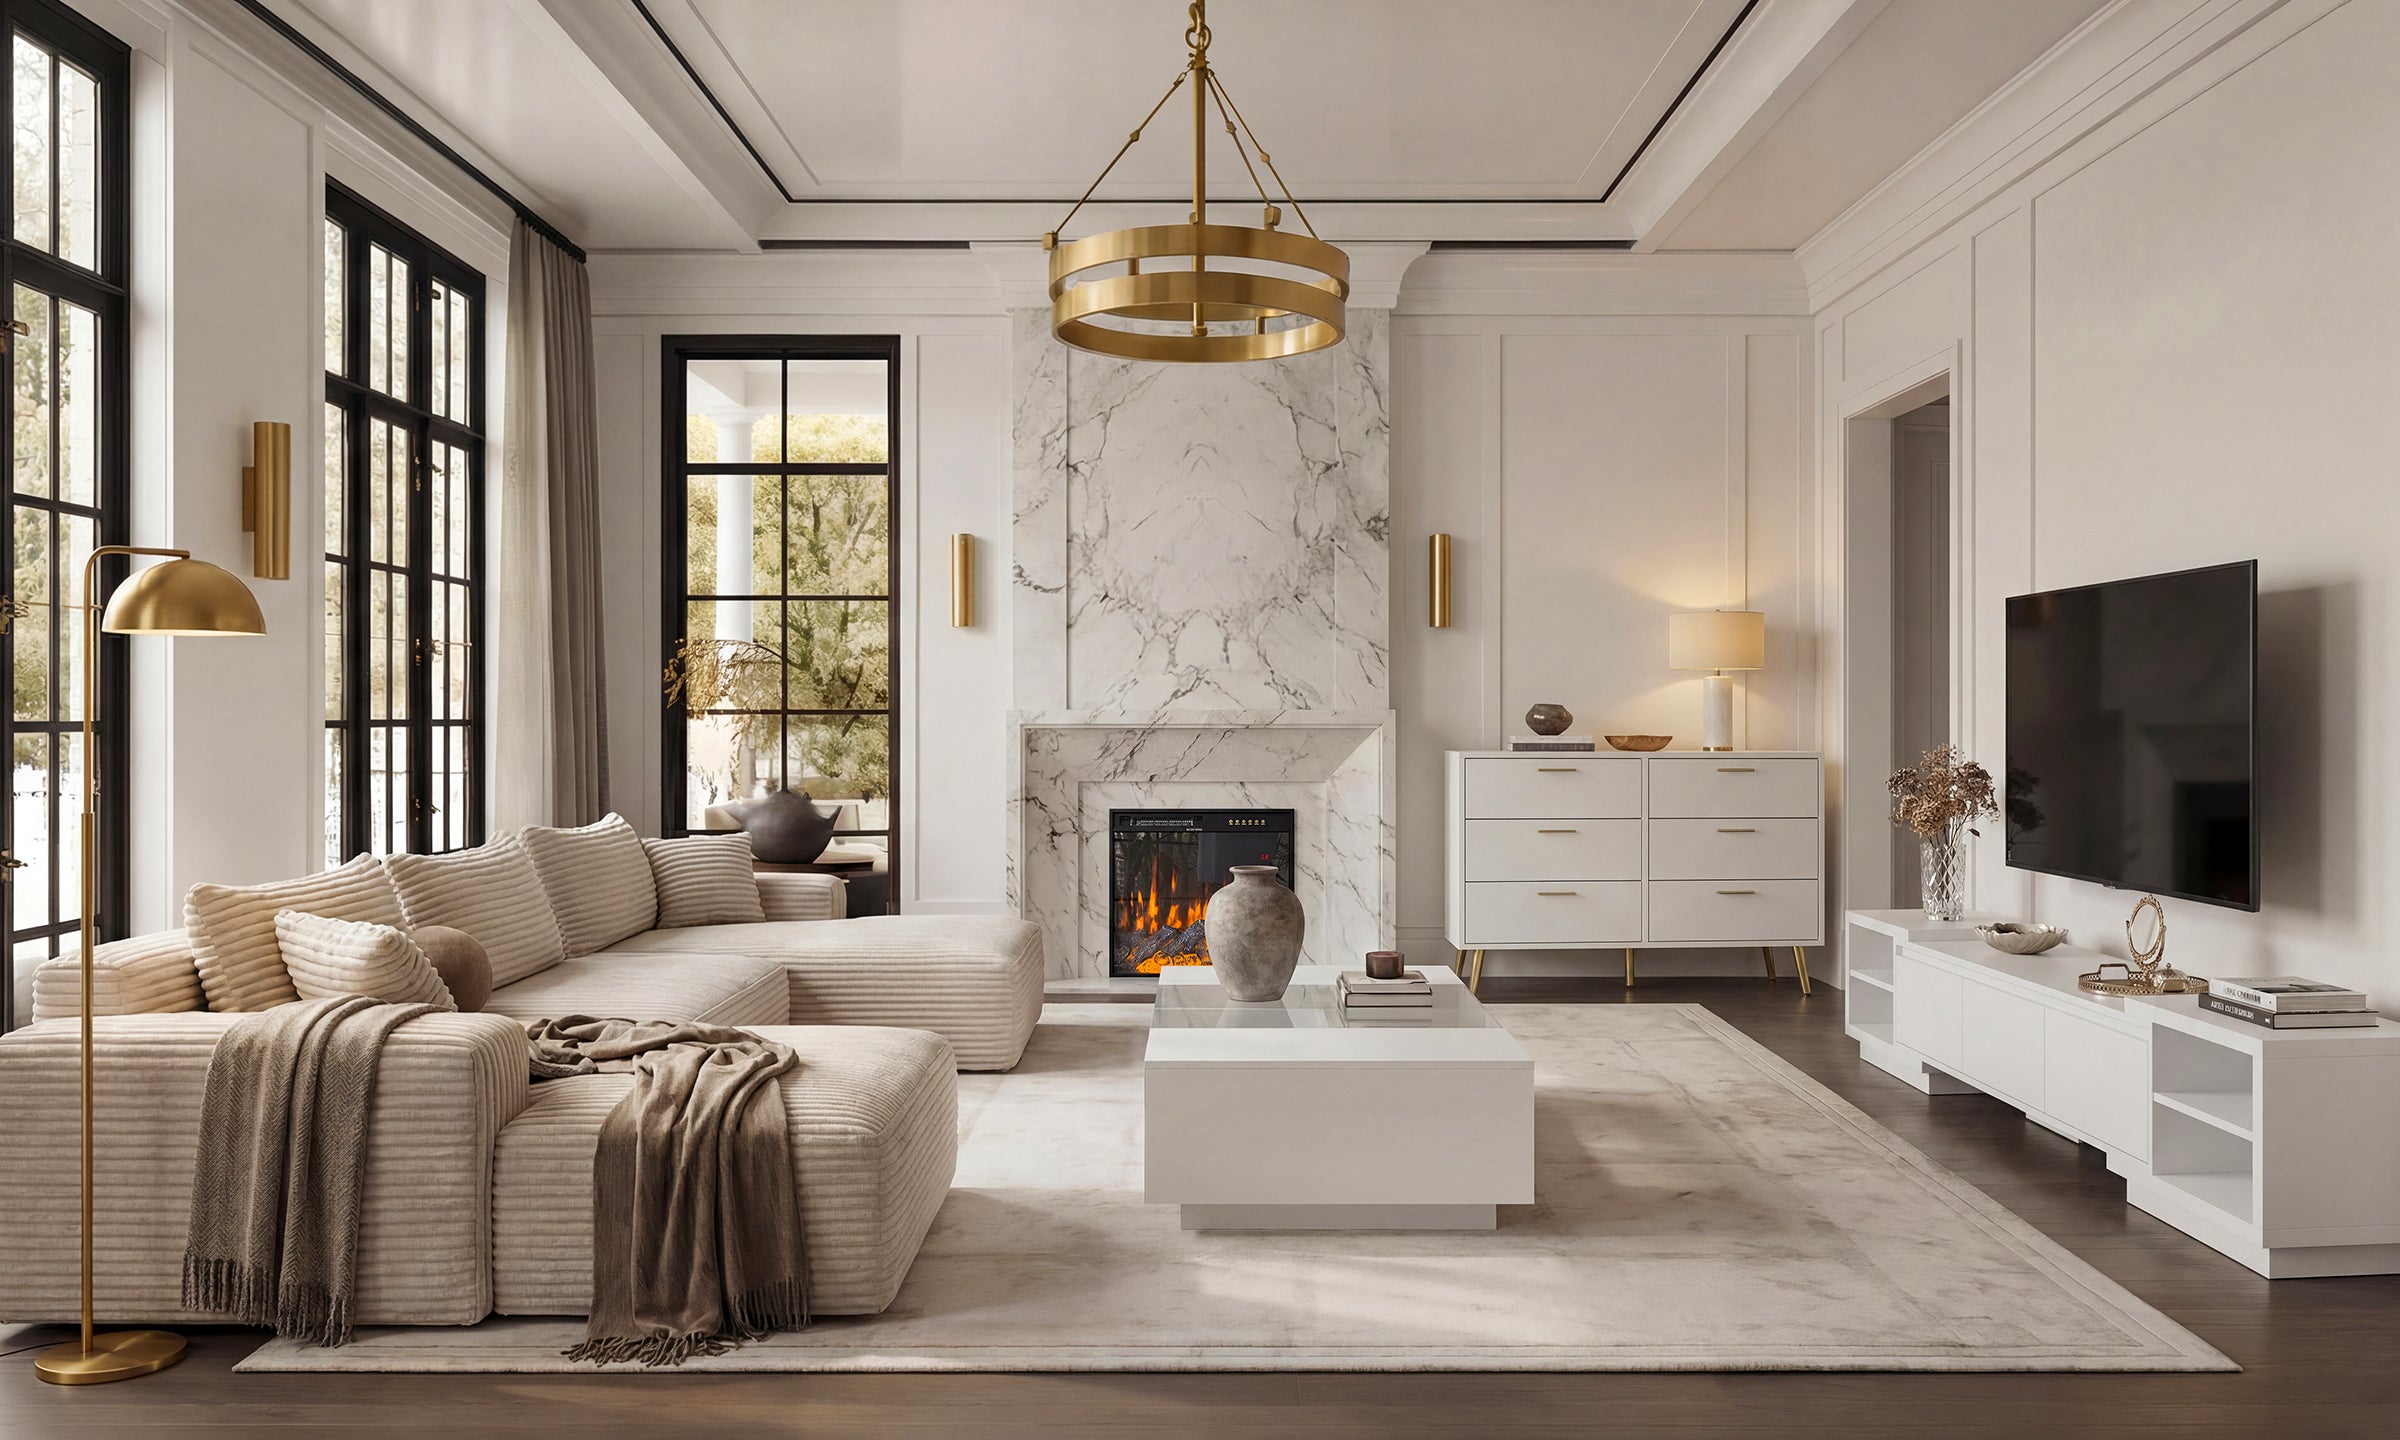


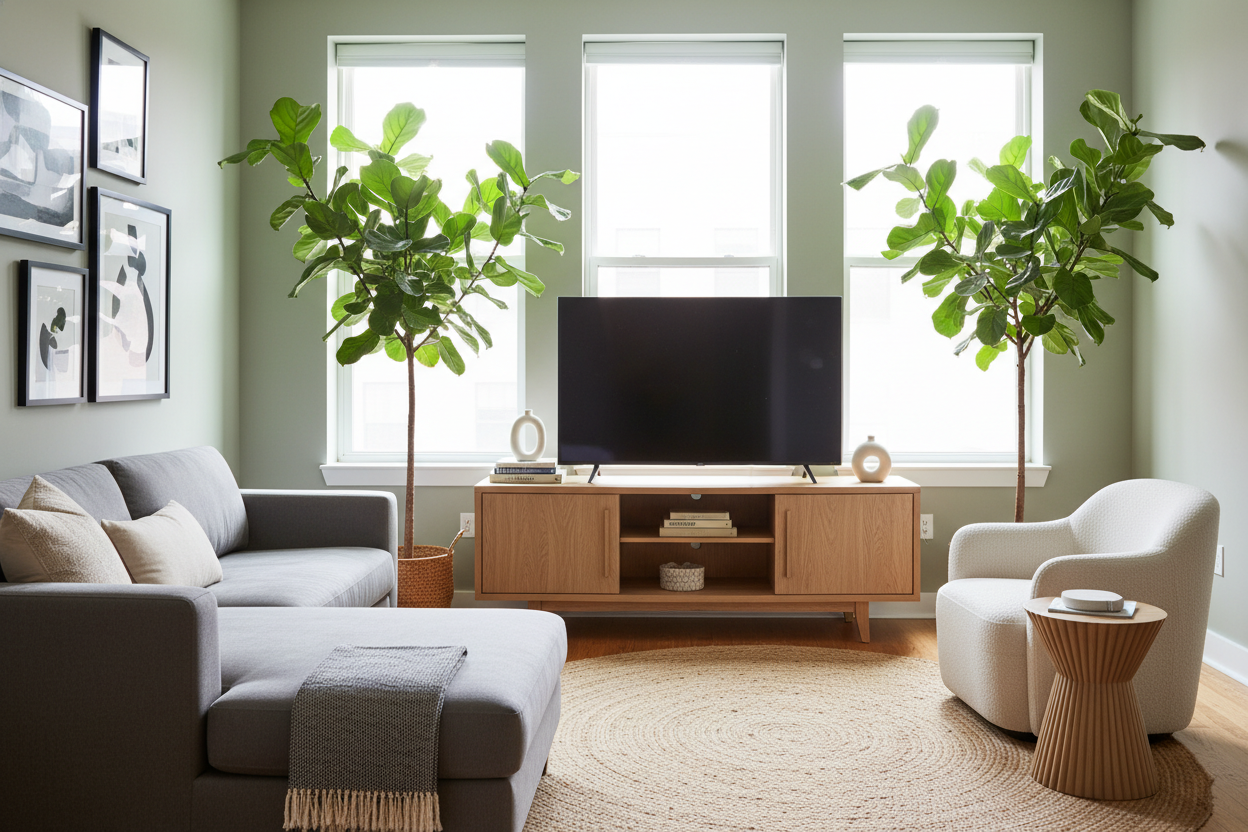
I spent three months staring at a 16-foot expanse of beige drywall in my living room that made my 65-inch television look like a small tablet. I tried a few standard TV stands, but they were always too short, too narrow, or made of that flimsy particle board that bows the second you put a soundbar on it. That was the moment I realized a custom tv build out was the only way to stop the wall from swallowing my furniture whole.
Quick Takeaways
- Pre-made kitchen base cabinets are the ultimate shortcut for professional-looking storage.
- Budget roughly $1,200 to $1,500 for quality birch plywood and hardware.
- Always run 2-inch PVC conduit behind the wall for future-proof cable management.
- Expect at least three full weekends of work if you are working solo.
Why I Finally Gave Up on Store-Bought Consoles
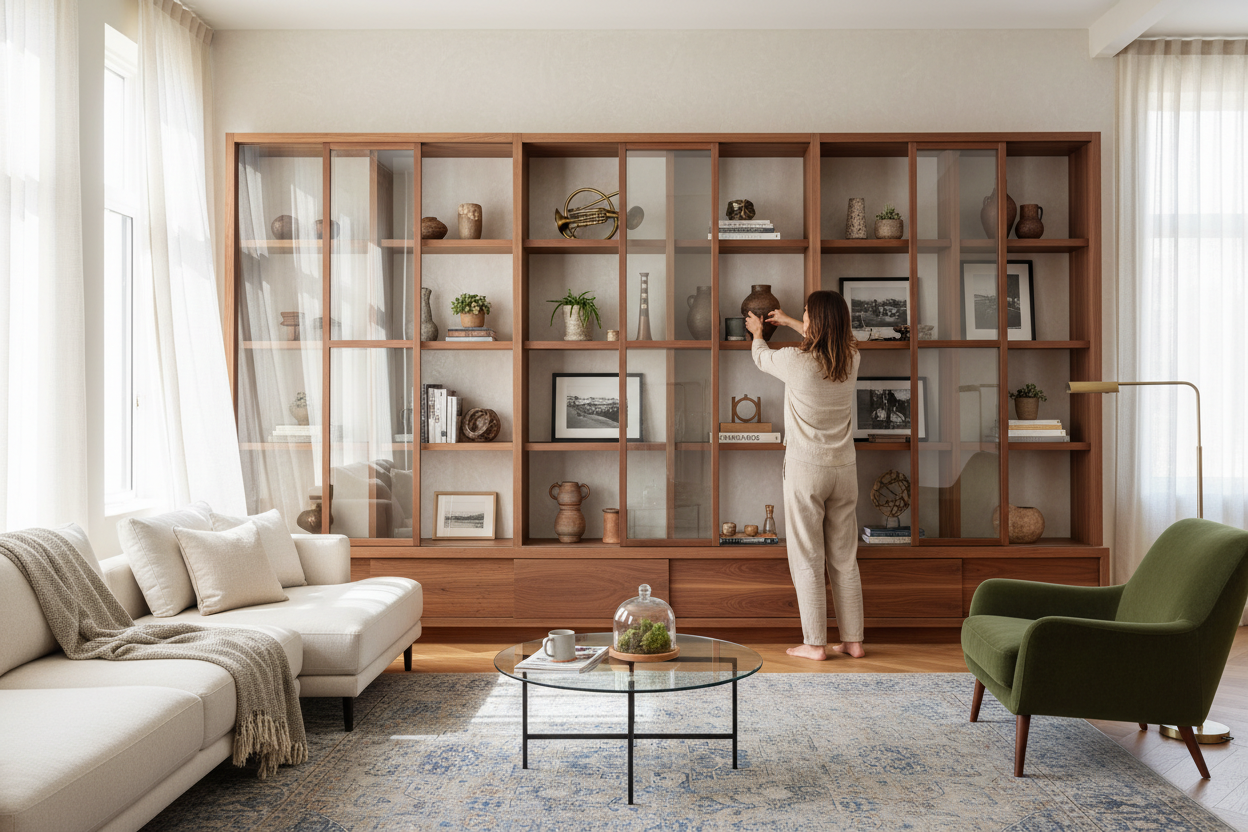
The scale of modern living rooms is frankly a curse. If you have ten-foot ceilings and a wide-open floor plan, a 70-inch console looks like dollhouse furniture. I was tired of seeing a tangle of black wires dangling like vines behind a stand that didn't even reach the halfway point of the wall. I wanted something that felt architectural—something that looked like it was born with the house, not just plopped there after a trip to a big-box store.
Standard units also fail the storage test. They give you just enough room for a dusty Blu-ray player but zero space for the actual junk of life. I needed a solution that could handle my oversized receiver, three different gaming consoles, and the mountain of board games we only play once a year. A full-scale tv wall unit diy project was the only path forward, even if it meant my garage was about to become a sawdust factory for a month.
The Measure Ten Times, Cut Once Phase
I didn't start with a hammer; I started with a stack of tv wall plans sketched on graph paper. This is where most people mess up. You have to account for the 'living' part of the room. I taped out the dimensions on the wall using blue painter's tape to make sure the unit wouldn't overwhelm the walkway. If the cabinets stick out 24 inches, do you still have room to walk past the coffee table? In my case, I had to trim the depth to 18 inches to keep the room flow natural.
Mapping the electrical is the second hurdle. Most builders put one outlet right in the middle of the wall. For a massive build, you need power near the base for the heavy gear and power behind the screen itself. I spent two nights just measuring stud locations and marking where I’d need to cut into the drywall to move those boxes. It is tedious, but showing up to the lumber yard without a precise cut list is a recipe for three extra trips and a lot of wasted plywood.
How to Build a Wall Unit for TV (Without Losing Your Mind)
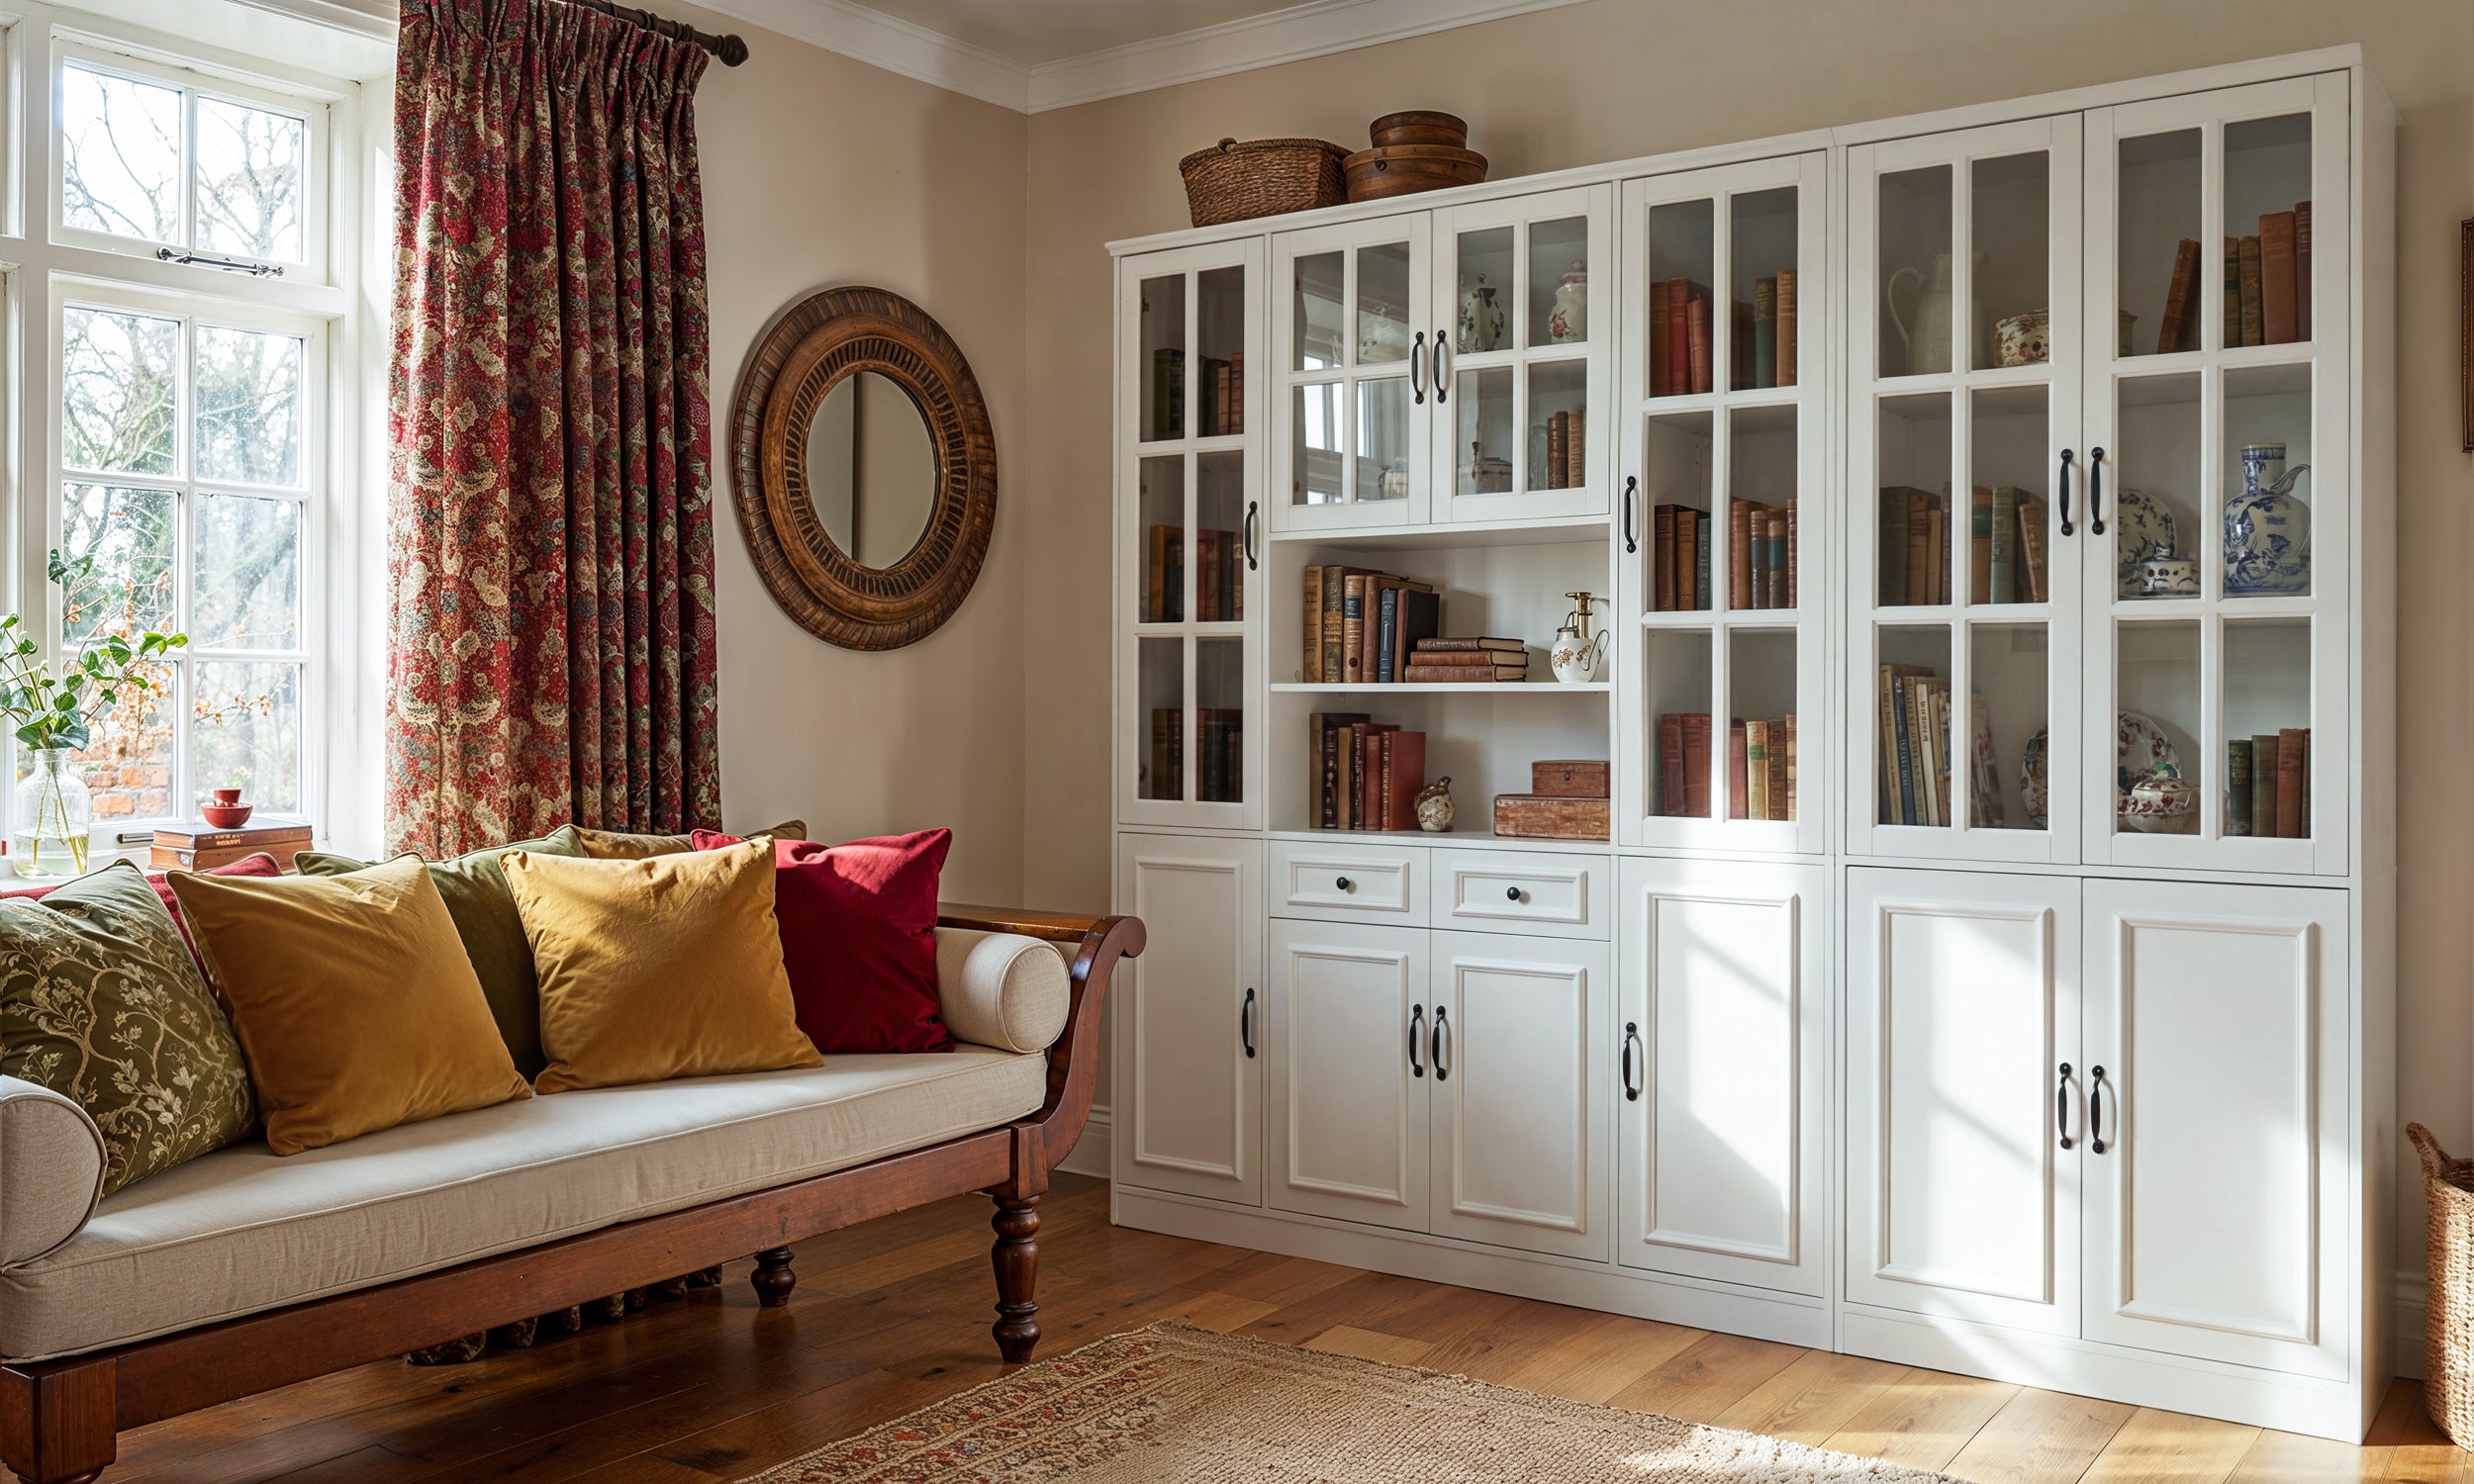
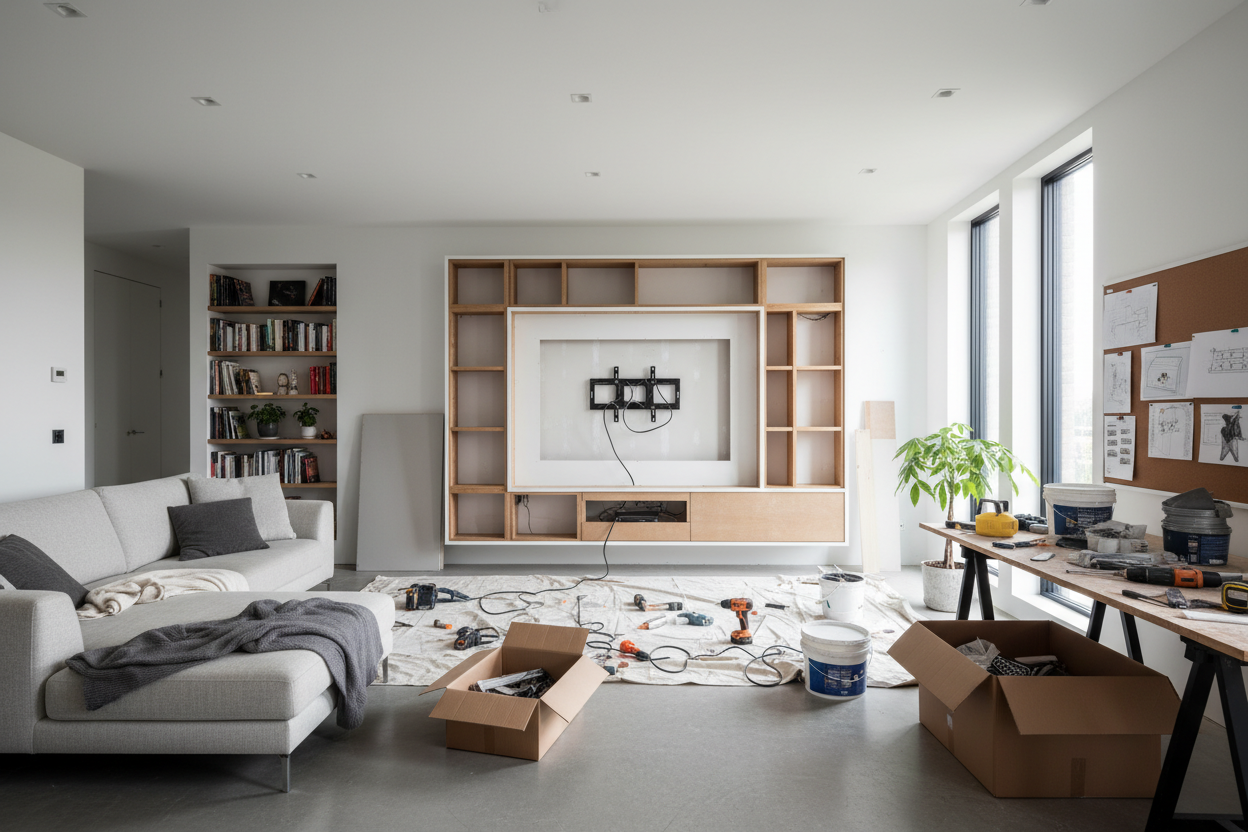
Here is the secret to a tv wall cabinet diy that actually looks expensive: stop trying to build the cabinet boxes from scratch. Unless you have a professional wood shop and a lot of patience, building perfectly square boxes is a nightmare. I used unfinished kitchen base cabinets from a local supply house. They are pre-built, structurally sound, and provide a modern TV wall unit look that hides everything from subwoofers to my kids' toy collection.
Once the base cabinets were leveled and shimmed—and believe me, your floors are not level—I built a simple 2x4 frame on top of them to support the upper shelving. I used 3/4-inch birch plywood for the vertical spans. To make it look like high-end custom cabinetry, I added 1x2 poplar face frames to hide the raw edges of the plywood. This hides the seams and makes the whole unit look like one solid piece of furniture. It’s the difference between a project that looks like a 'DIY' and one that looks like a 'built-in.'
For the shelving, I opted for fixed shelves rather than adjustable ones. Sure, you lose some flexibility, but you gain massive structural integrity. Plus, you don't have those ugly little pinholes running up the sides of your unit. When you build a tv wall unit this way, you’re essentially building a series of boxes that stack together, which is much more manageable than trying to hoist a 300-pound unit into place all at once.
Hiding the Wires Is a Project All On Its Own
If I see one white cable tie or a plastic cord strip on a custom build, I lose sleep. To do this right, you have to understand how to build tv wall unit framing that accommodates hidden infrastructure. I installed 2-inch PVC pipes inside the wall, connecting the area behind the TV to the lower cabinets. This 'smurf tube' or conduit allows you to fish HDMI cables, ethernet, and power cords through the wall without ever seeing them.
I also built a recessed 'niche' for the TV mount itself. Instead of the TV sticking out four inches from the wall, it sits flush with the front of the shelving. It gives it that high-end, gallery look. Just make sure you leave about two inches of clearance around the TV for heat dissipation. Modern OLEDs get surprisingly warm, and you don't want to cook your expensive screen inside a wooden box.
Was the DIY Route Actually Worth It?
Total cost: $1,450. Total time: 42 hours of labor spread over three weeks. If I had hired a custom cabinet maker for a 12-foot wide tv wall unit diy, I would have been looking at a bill north of $7,000. For me, the savings were worth the sawdust in my shoes and the temporary chaos in the living room. There is a specific kind of pride that comes from sitting on the sofa and knowing you built the thing you’re looking at.
However, be honest about your skill level. If the thought of using a pocket hole jig or a miter saw makes you sweat, this isn't the project for you. You might be better off buying a high-quality wall mounted media console. It gives you that clean, elevated look without the three-week commitment. But if you have the tools and a free weekend, stop looking at the blank wall and start measuring.
FAQ
Do I need a permit for a TV build out?
Usually no, unless you are moving major electrical circuits or load-bearing studs. If you are just adding a few outlets and building a wooden structure against the wall, you are generally in the clear.
What is the best wood to use?
Use birch or maple plywood for the carcasses and poplar for the face frames. Avoid construction-grade pine for the visible parts; it’s too knotty and tends to warp as it dries out in your house.
How do I make the paint look professional?
Don't use a brush. Use a high-quality foam roller or, better yet, a HVLP sprayer. Sand with 220-grit sandpaper between every single coat of primer and paint. That is the secret to that smooth-as-glass finish.

Leave a comment
This site is protected by hCaptcha and the hCaptcha Privacy Policy and Terms of Service apply.