


I spent three weeks staring at a giant pile of MDF in my garage, wondering why I didn't just buy a regular TV stand. I wanted that floor-to-ceiling custom look, but building entertainment center around fireplace walls is a whole different beast than putting together a Swedish bookshelf. It’s messy, loud, and you will definitely measure something wrong at least twice before you’re done.
My first mistake was thinking I could just 'wing it' with a few 2x4s and a dream. I’ve assembled enough furniture to know that a wobbly base is the kiss of death, yet here I was, trying to frame a structure that needed to hold a 75-inch TV and a heating element without sagging. If you’re like me and you’ve got 47 browser tabs open with inspiration photos, let this be your reality check.
Quick Takeaways
- Always buy your fireplace insert before you start framing; specs lie, physical units don't.
- Use kiln-dried studs to prevent the frame from warping as it dries in your climate-controlled living room.
- Plan your wiring for the future, not just for the TV you own today.
- Never skimp on the heat clearance—melting your electronics is a very expensive mistake.
Why I Chose the Hard Way (And When You Should Skip the DIY)
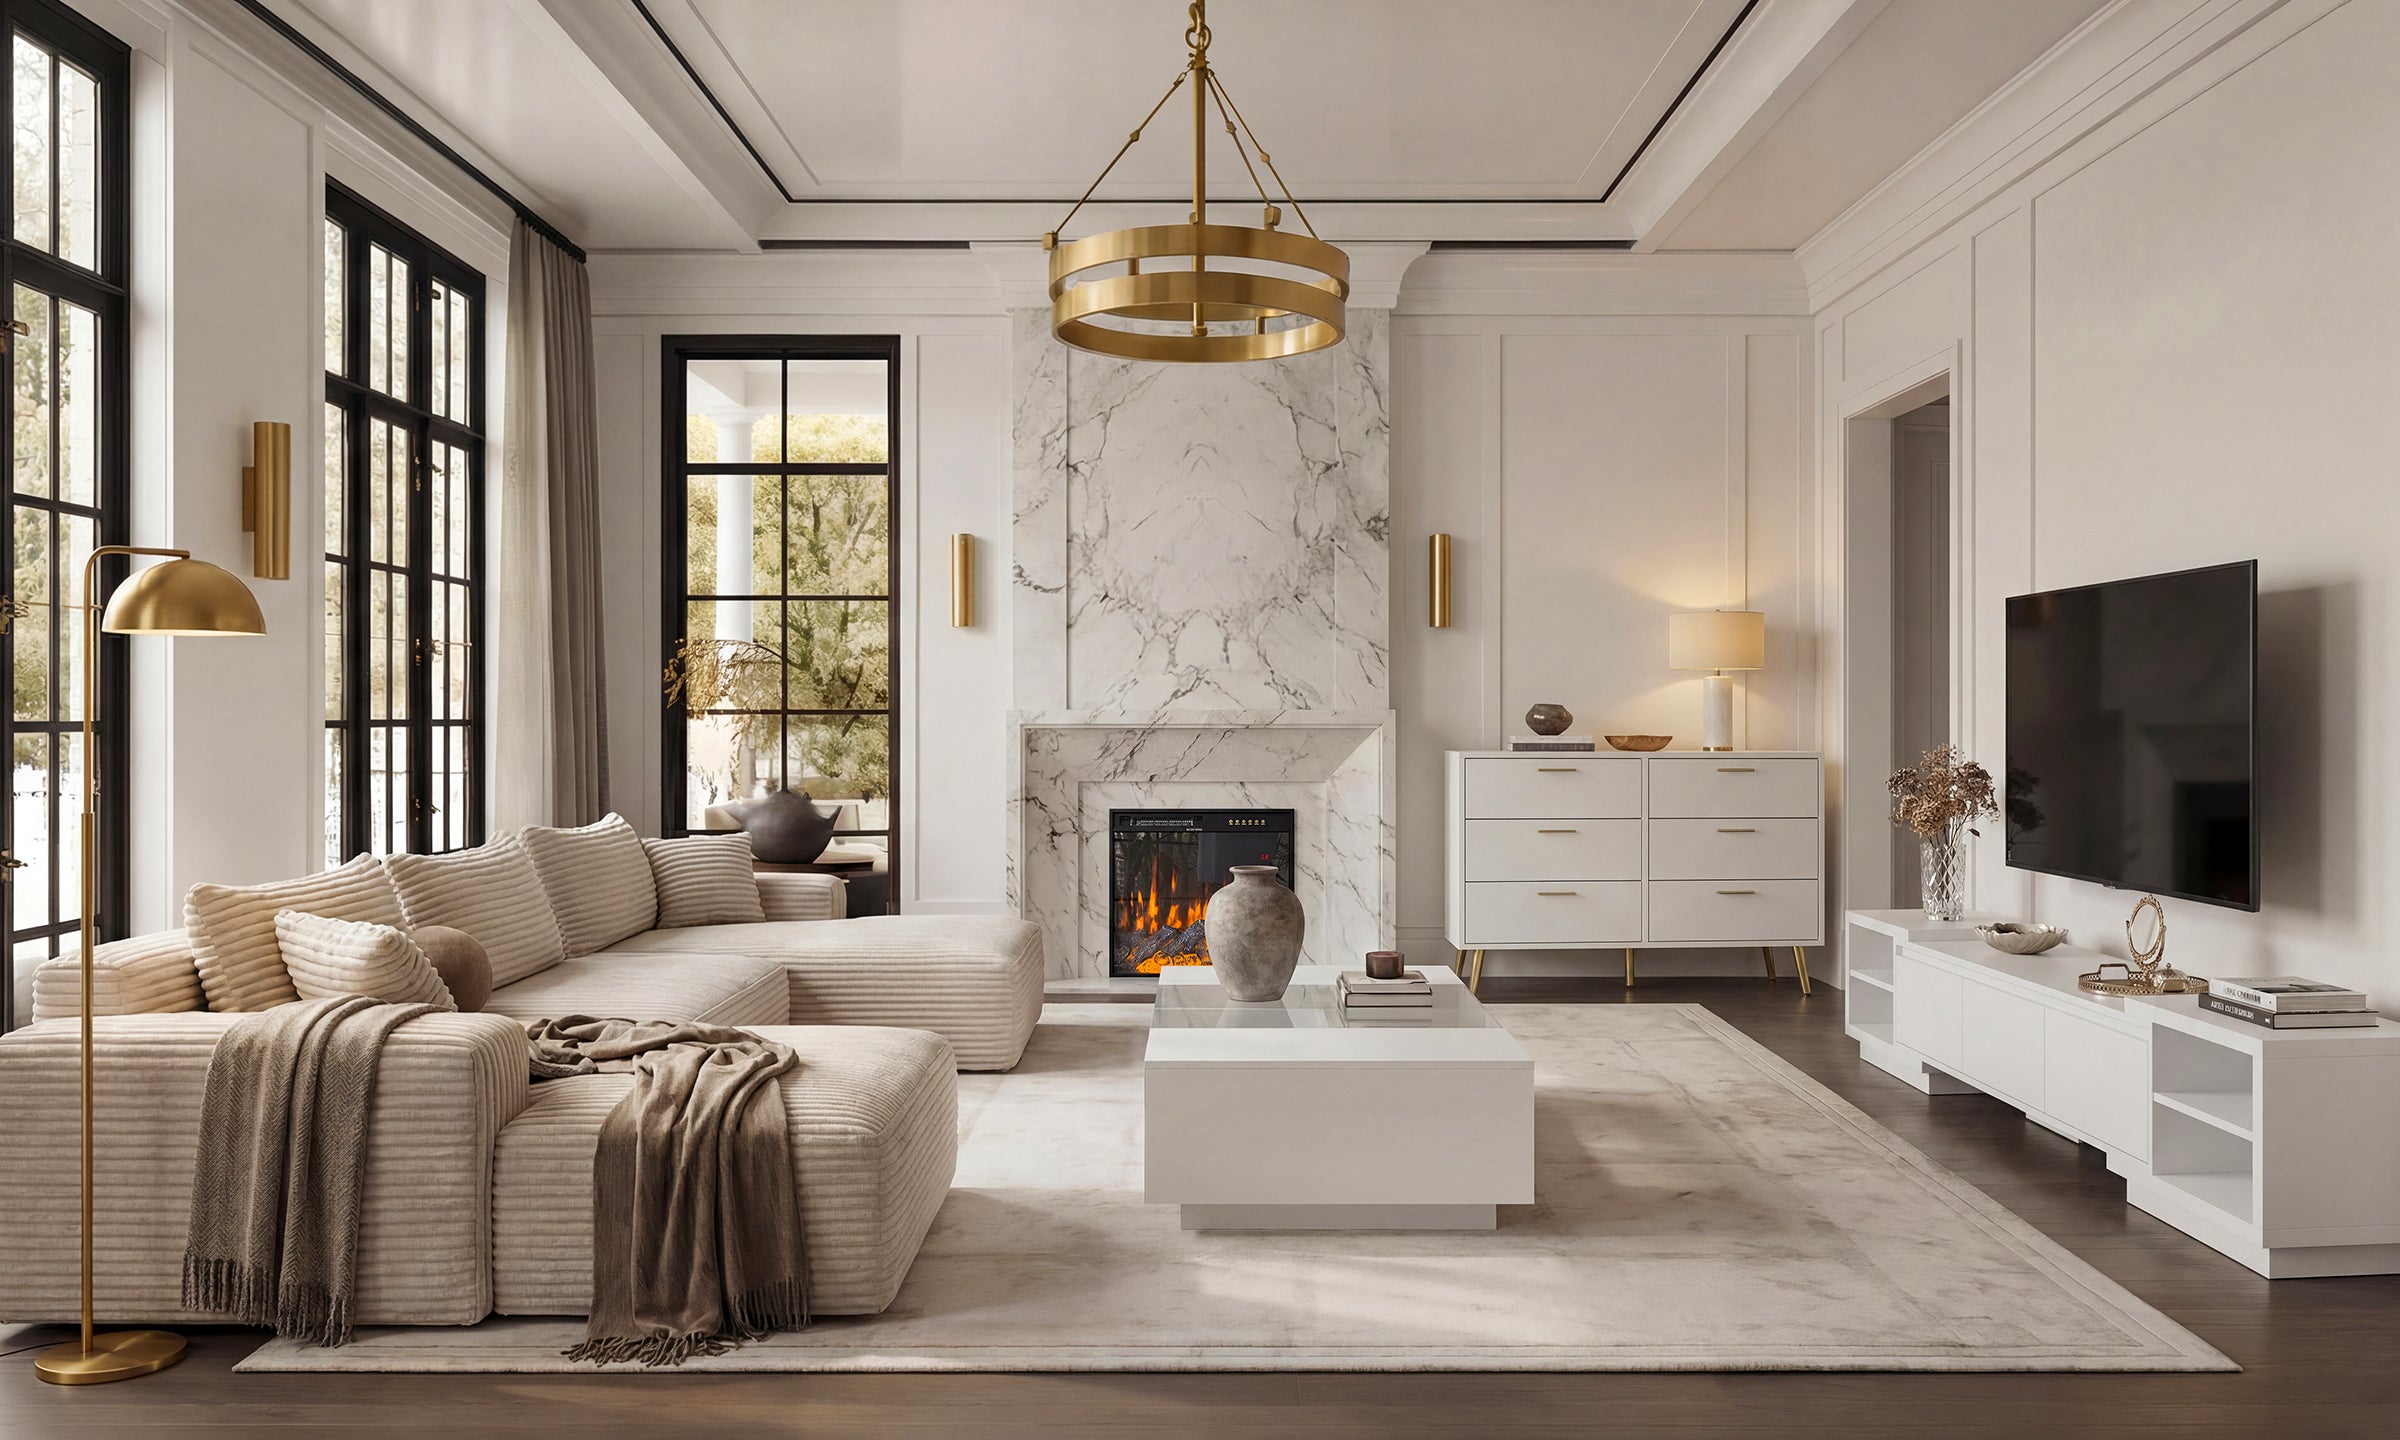
There is a specific kind of madness that takes over when you decide a standard console isn't enough. You want the hearth, the shelves, and the hidden wires that make your home look like a high-end hotel. Incorporating a fireplace has become the ultimate way of redefining living rooms, turning a flat wall into a focal point that actually does something. But let’s be real: a tv stand with fireplace diy project is a massive time sink.
I chose the hard way because I have a specific wall width that no standard furniture could fill perfectly. If you have a standard-sized room and you aren't comfortable using a miter saw or a pocket-hole jig, skip the custom build. It took me roughly 60 hours from start to finish. If you don't have that kind of time, the 'custom' look might not be worth the literal headache of breathing in sawdust for a month. However, if you want that seamless, floor-to-ceiling architectural detail, there is no substitute for building it yourself.
The payoff is incredible, but the middle part is a slog. You’ll be living with a construction zone in your main relaxation space. My wife didn't find the 'exposed stud' aesthetic particularly charming after the first six days. Make sure you’re prepared for the mess before you tear into your drywall.
The Blueprint: Don't Wing Your Fireplace TV Stand Plans
The biggest trap in DIY is the 'close enough' measurement. When you are looking for diy entertainment center plans with fireplace integration, you have to account for the 'real' dimensions of lumber. A 2x4 isn't actually 2 inches by 4 inches, and if your plans don't reflect that, your fireplace insert won't fit the hole you built for it. I learned this the hard way when I had to shave down a structural stud with a wood rasp because I was off by an eighth of an inch.
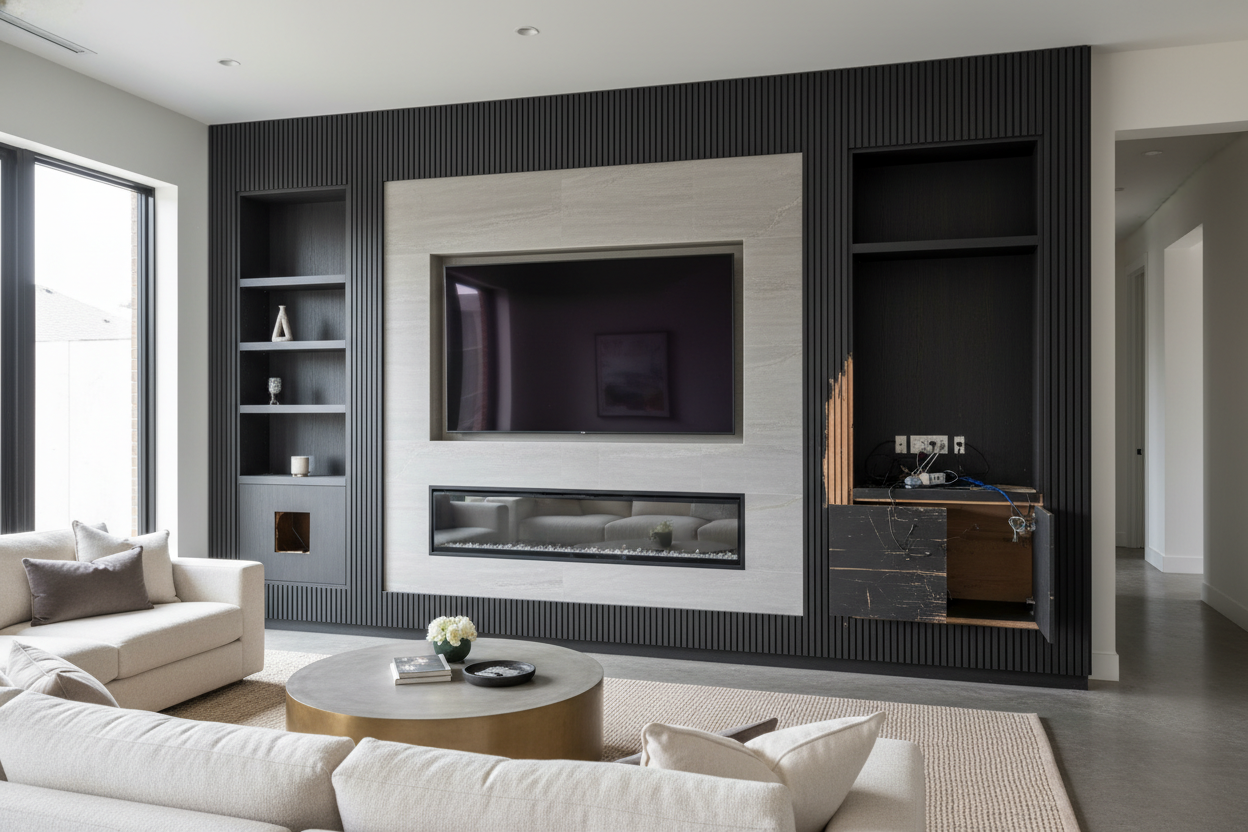
Start by measuring your TV, then add at least four inches of breathing room on all sides. You might want an 85-inch screen in three years, and you don't want to rebuild the entire wall to accommodate it. Your fireplace tv stand plans should also include a recessed 'niche' for the TV so it sits flush with the front of the built-ins. This prevents that awkward 'floating' look where you can see all the mounting brackets from the side.
Draw everything out on the wall with painter's tape first. It sounds like an extra step, but seeing the physical footprint of the unit in your room changes your perspective. I realized my original plan was way too deep and would have choked the walkway. Tape is cheap; rebuilding a frame is not.
Framing the Beast: How to Build a Built-In Entertainment Center With Fireplace
Framing is where the project gets serious. When learning how to build a built-in entertainment center with fireplace, you aren't just building a box; you're building a structural skeleton. I used 2x4 framing for the base and the main fireplace housing. You need to secure this frame directly into the wall studs using 3.5-inch lag bolts. If you just screw it into the drywall, the weight of the TV and the millwork will eventually pull the whole thing forward.
For the TV area, I built a 'header' similar to what you'd see over a window or door. This ensures the weight of the upper shelves and the TV itself is distributed down the sides of the unit rather than resting on the fireplace insert. Speaking of the insert, build the box for it about 1/4 inch larger than the manufacturer's 'rough opening' suggests. You can always fill a tiny gap with trim, but you can't easily stretch a wooden frame.
Wiring is the other framing hurdle. I ran a dedicated 20-amp circuit for the fireplace because those heaters pull a lot of juice. Don't just plug it into a power strip with your TV and Xbox. I also installed a 2-inch PVC pipe inside the wall from the TV niche down to the side cabinets. This 'smurf tube' allows you to fish HDMI and power cables through later without cutting more holes. If you forget this, you'll be staring at a stray black wire against your beautiful white paint forever.
Venting and Clearances: The Most Boring (But Crucial) Step
This is where most electric fireplace cabinet plans fail. People focus so much on the pretty trim that they forget these units are actual heaters. Even if you’re doing a faux fireplace tv stand diy, if that insert has a blower, it needs a way to pull in cool air and push out the hot stuff. Most inserts vent from the front, but some need rear or top clearance. If you box it in too tight, the internal thermostat will trip, or worse, you’ll start a fire.
Before you commit to a design, you need to choose the perfect tv stand with fireplace insert that matches your venting capabilities. I chose a front-venting model so I could seal the top and sides with decorative molding. If you buy a unit meant for a freestanding mantel and shove it into a custom built-in, you’re asking for trouble. Check the manual for the 'clearance to combustibles'—usually, it’s about 6 to 12 inches from the heat output to the bottom of your TV.
I actually mounted a heat-deflecting mantel between my fireplace and the TV just to be safe. It’s a piece of solid oak that sticks out about 4 inches. It looks like a design choice, but its real job is to keep the rising heat from cooking my OLED screen. Don't skip this. Electronics hate heat, and a $2,000 TV is a high price to pay for a design oversight.
Finishing Touches: Making MDF Look Like Expensive Millwork
The difference between a 'DIY project' and 'custom millwork' is about 10 tubes of caulk and a lot of sanding. I used MDF for the skin of the unit because it’s perfectly flat and takes paint better than cheap plywood. However, MDF edges are porous. If you don't seal them with a bit of wood filler or specialized primer, they will soak up paint and look fuzzy. I spent two whole days just sanding between coats of primer.
Trim is your best friend. I used baseboard molding around the bottom to tie the unit into the rest of the room and crown molding at the top to hit the ceiling. This 'anchors' the piece and makes it look like it was built with the house. Use a pneumatic brad nailer for this—trying to hammer finishing nails by hand will just result in a bunch of dents in your wood that you’ll have to fill later.
Finally, choose a high-quality cabinet paint. I used a water-based alkyd urethane. It levels out like an oil paint (meaning fewer brush marks) but cleans up with water. It dries to a hard, durable shell that won't peel when you slide decor across the shelves. It’s more expensive than the stuff you use on your bedroom walls, but for a high-traffic piece like an entertainment center, it’s non-negotiable.
Not Handy? The 'Fake Built-In' Shortcut I Almost Took
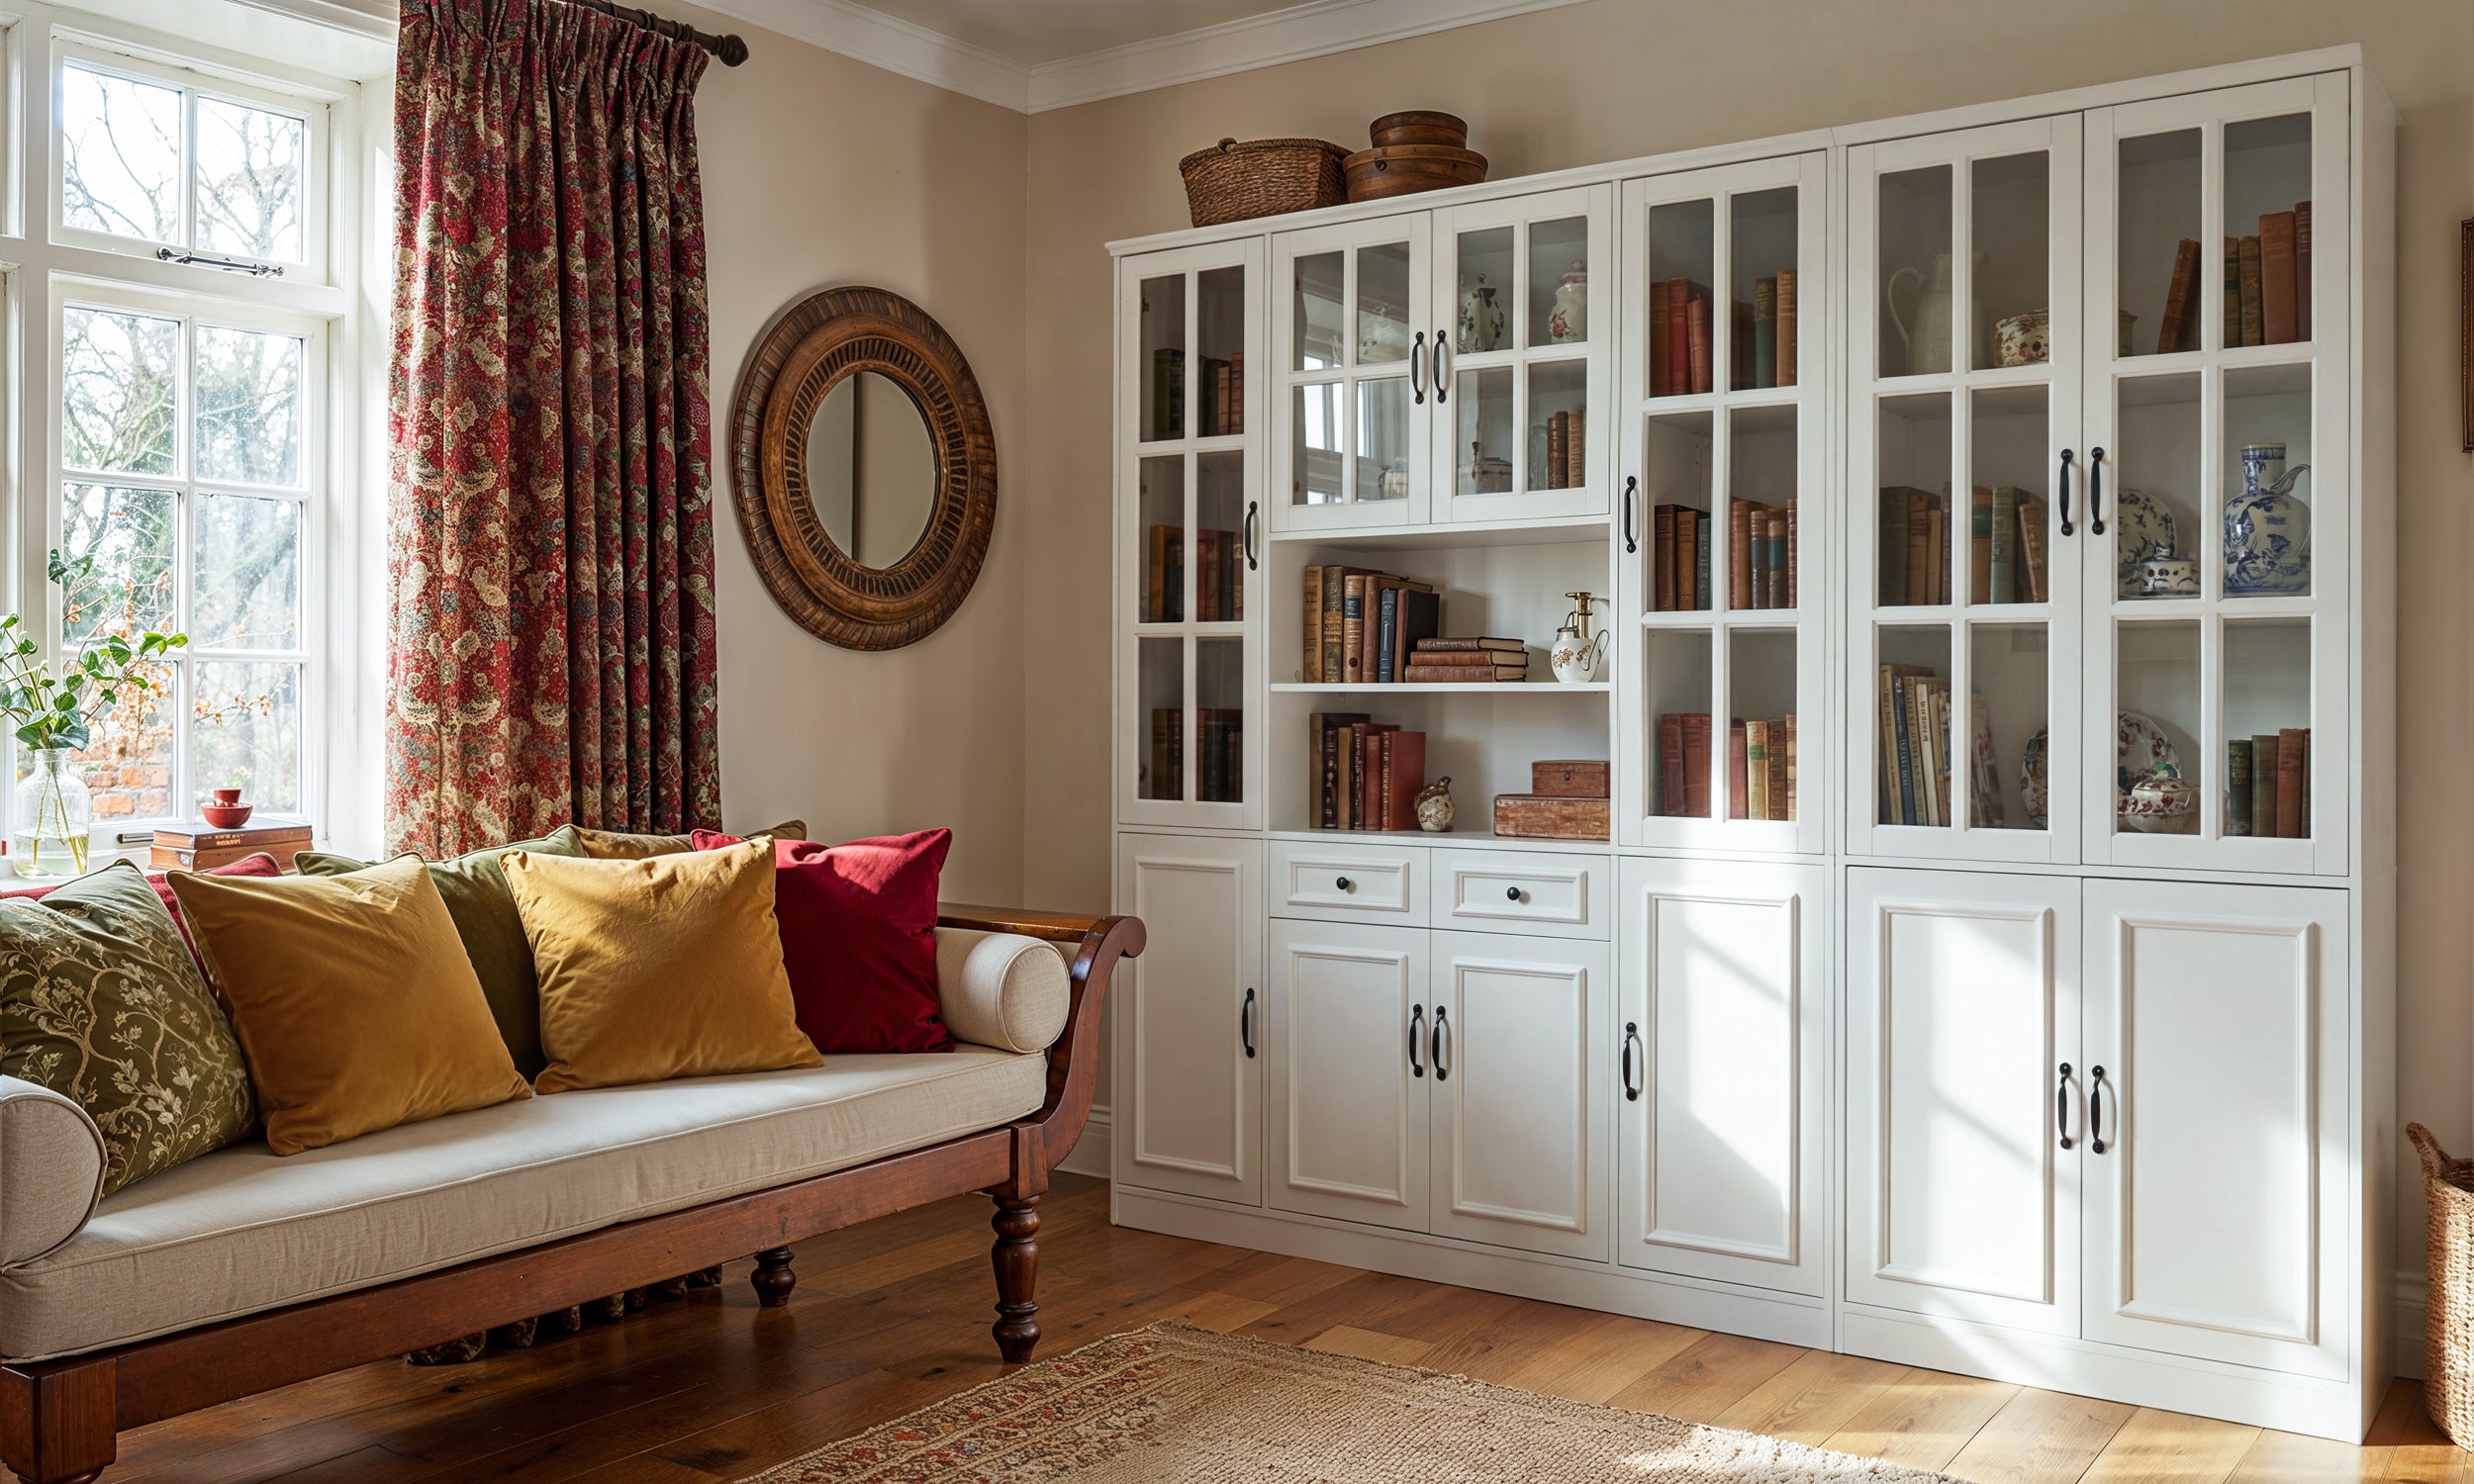
If you’ve read all this and your palms are sweating, don't feel bad. This is a hard project. There were several points where I almost threw in the towel and went the 'semi-custom' route. You can get 90% of the look by purchasing a massive, high-quality unit like a 109-inch wide media console with an electric fireplace and simply adding matching bookshelves on either side.
If you go that route, you just have to add a bit of crown molding across the top of all three pieces to bridge the gaps. It's a classic 'ikea hack' style move that saves you the structural framing headache. For those in modern apartments or condos where you can't exactly build a permanent wall, a minimalist electric fireplace unit is a much smarter play. It gives you the vibe without the commitment of a 2x4 skeleton.
Ultimately, whether you build it from scratch or customize a pre-made unit, the goal is the same: a cozy, functional center for your home. Just remember to measure twice, vent properly, and never trust a stud finder 100%.
FAQ
Do I need a special permit to build a fireplace wall?
For an electric fireplace, usually no. Since there’s no gas line or chimney venting, it’s treated like a piece of furniture or a minor cosmetic wall addition. However, if you’re adding new electrical outlets, that might require a quick permit depending on your local city codes.
Can I use real wood instead of MDF?
You can, but be careful. Real wood expands and contracts with humidity. If you build a giant wall unit out of solid pine, you might see gaps open up in the winter. MDF is much more stable for large, painted expanses. If you want a wood look, use furniture-grade plywood with hardwood edge banding.
How high should the TV be above the fireplace?
The 'standard' is eye-level when seated, but with a fireplace, you’ll likely be a bit higher. Try to keep the center of the screen about 42 to 48 inches from the floor. Any higher and you’re in 'TV Too High' territory, which leads to some serious neck strain.

Leave a comment
This site is protected by hCaptcha and the hCaptcha Privacy Policy and Terms of Service apply.