


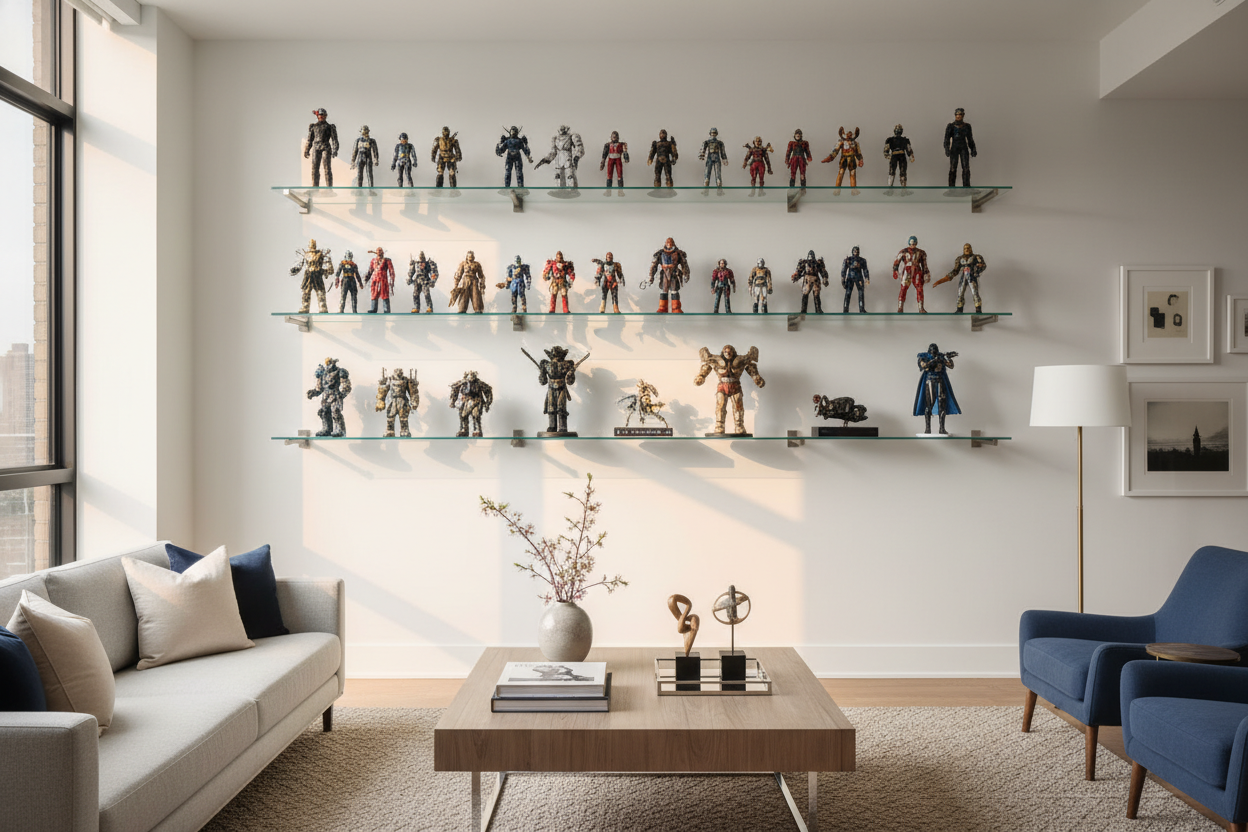
I was staring at 47 browser tabs at 1 AM, trying to find a way to house my vintage lens collection without spending more on the glass case than I did on the actual glass. Everything looked like a hospital specimen container or a high school trophy case. I finally settled on a basic cheap display box that looked, frankly, depressing in the product photos.
When it arrived, it was exactly what I expected: thin 1/8-inch acrylic, wobbly seams, and hardware that felt like it came out of a gumball machine. But after a weekend of tinkering, my interior designer friend actually asked if I’d sourced it from a gallery in SoHo. You don’t need a custom fabrication budget; you just need to fix the obvious corners the manufacturer cut.
- Swap silver or plastic hardware for solid brass or matte black.
- Add hidden LED strips to create depth and eliminate shadows.
- Line the base with high-quality fabric like velvet or linen.
- Use museum wax to keep items from shifting on the shelves.
The Problem With Budget Enclosures (And Why I Bought One Anyway)
Let’s be real: most cheap display cases are built for utility, not aesthetics. They use the thinnest possible materials to save on shipping costs, which leads to that annoying 'flex' every time you walk past the shelf. The seams are often visible, and the 'crystal clear' finish usually has a slight blue or yellow tint that makes your collectibles look a little sickly.
I bought one anyway because I refuse to pay $300 for a box. The bones of these budget units are usually fine; it’s the finishing touches that fail. If you can look past the flimsy hinges and the 'made in a factory' smell, you’ve got a perfectly functional skeleton that’s just waiting for a glow-up. It’s about spending $40 to make a $30 item look like $200.
Step 1: Ditch the Factory Hardware Immediately
The fastest way to spot a budget piece is the hardware. Manufacturers love those shiny, chrome-plated plastic knobs because they’re cheap and light. I took a screwdriver to mine within ten minutes of unboxing. Replacing those with heavy, solid brass pulls or even a sleek matte black handle adds weight—literally and visually.
I found that 3-inch center-to-center pulls fit most medium-sized cases. If the holes don't align, don't panic. You can fill the old holes with a tiny bit of acrylic filler and drill new ones. The tactile experience of opening a heavy, cold metal handle versus a light plastic one is what tricks the brain into thinking the whole unit is high-end.
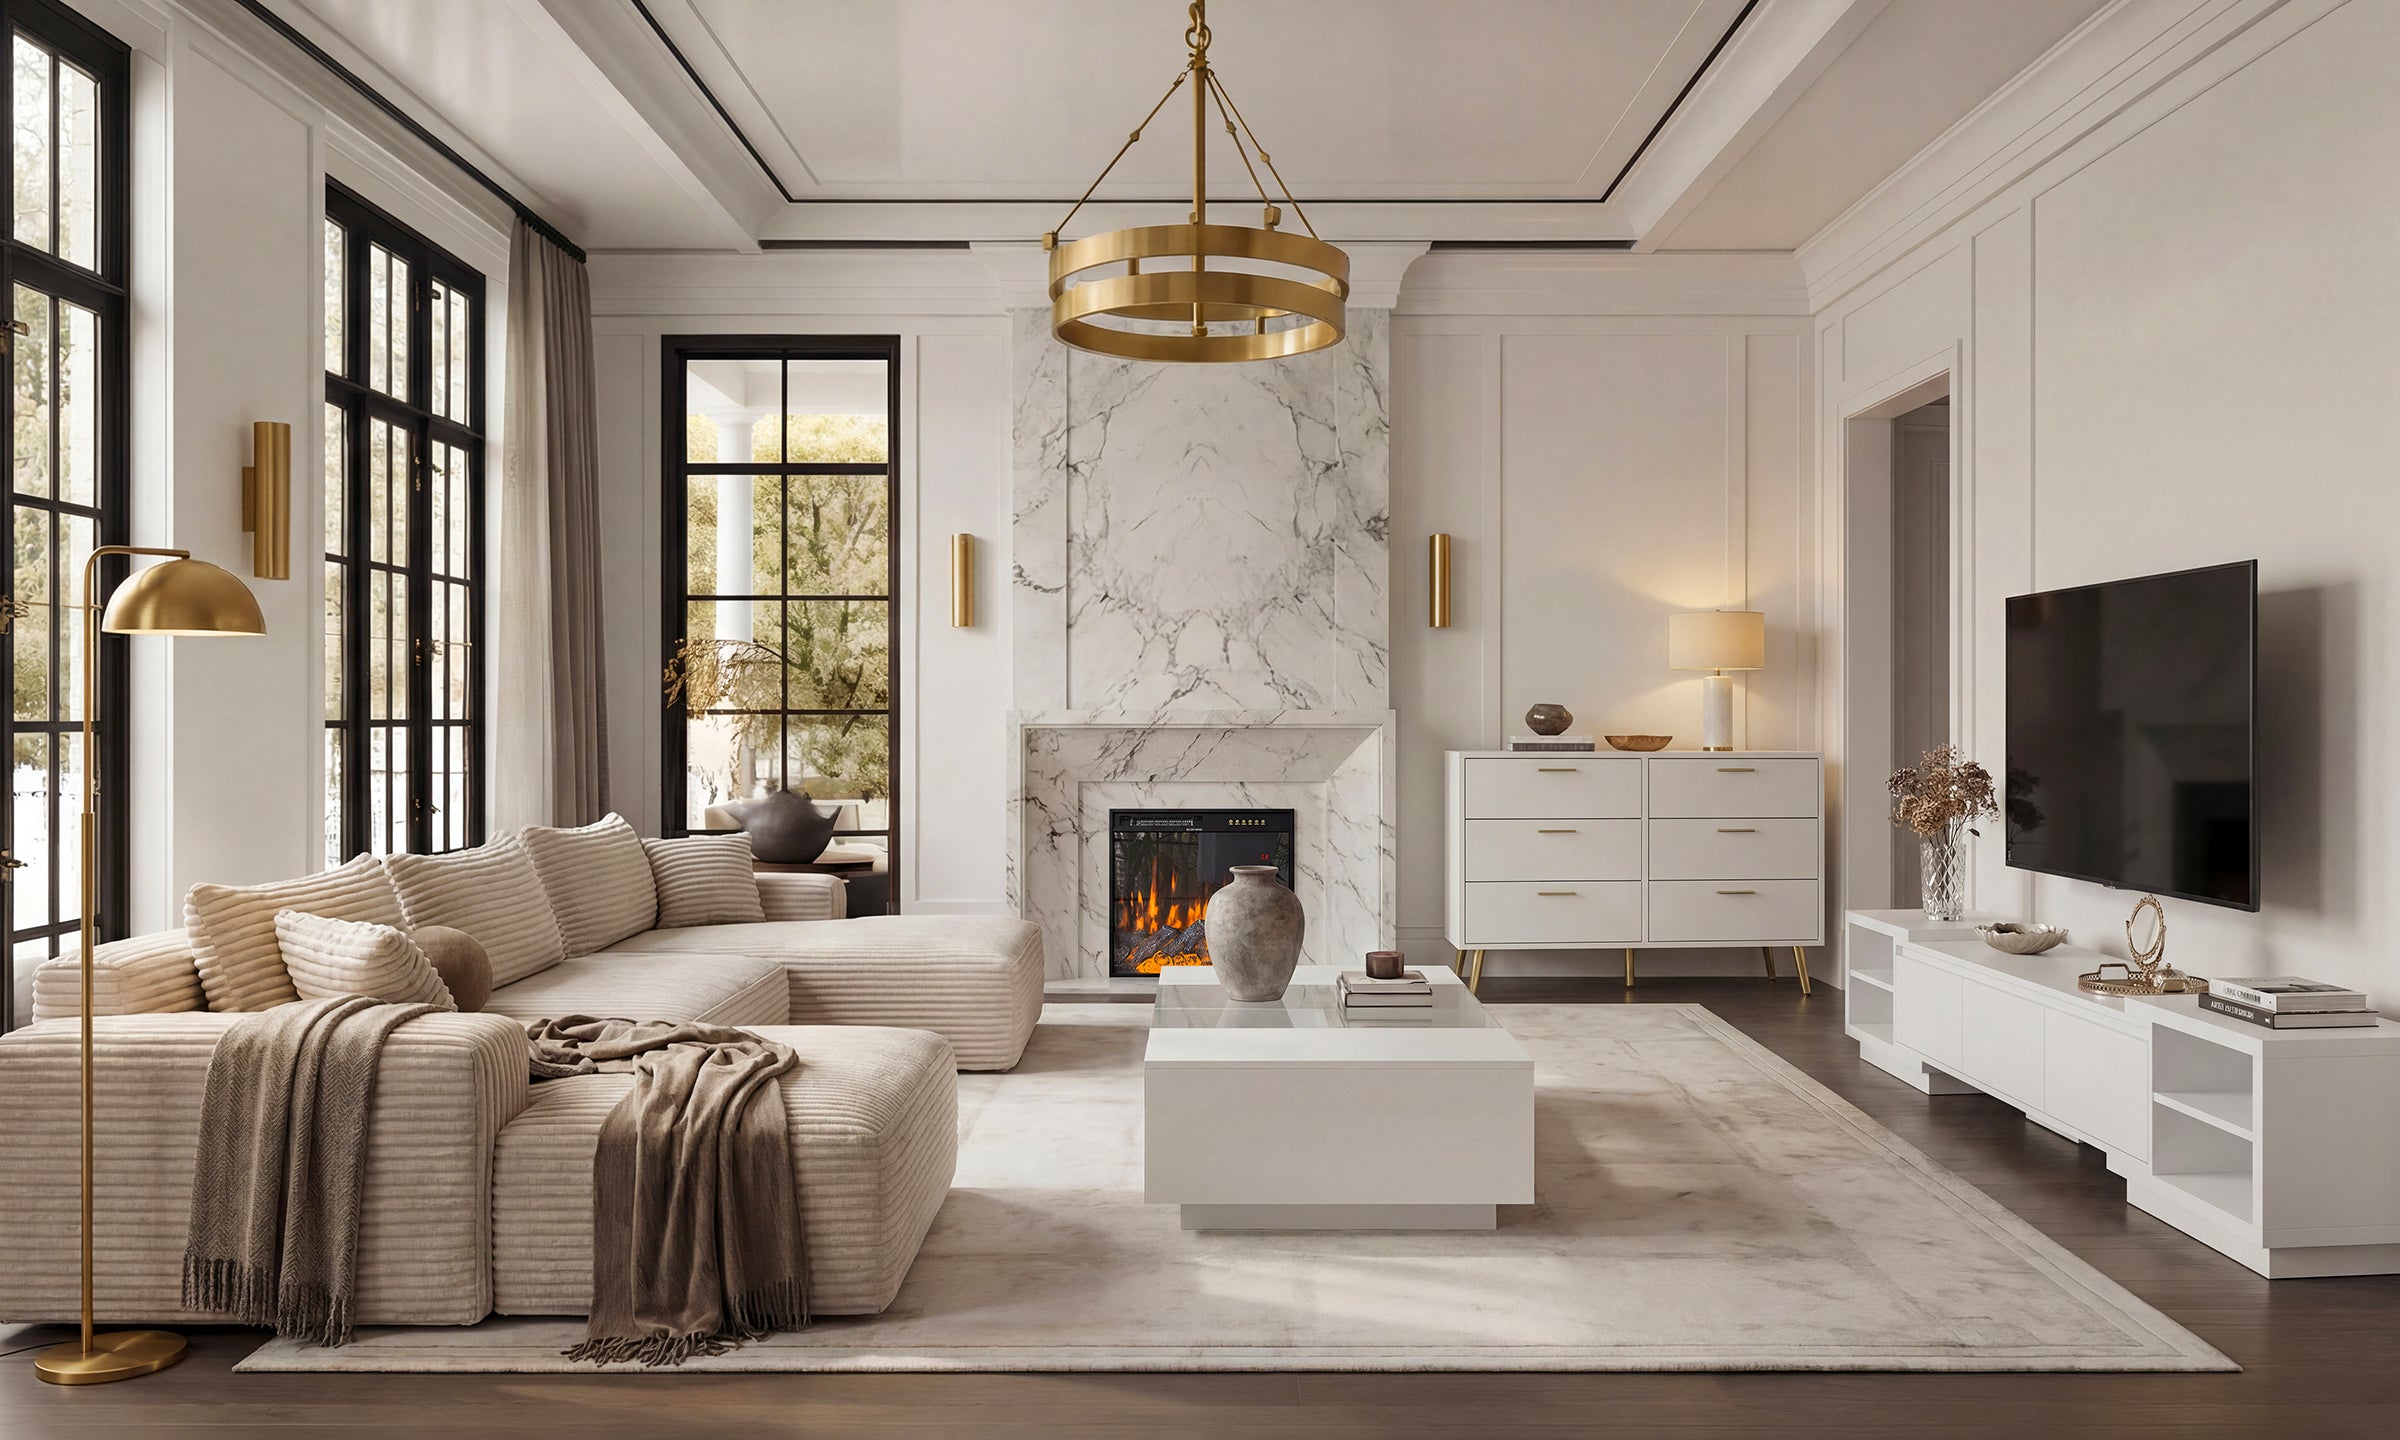
Step 2: The Magic of Hidden Lighting
If your display is dark, it’s just a storage bin. Professional galleries use directional lighting to create drama. I bypassed the expensive hardwired options and went with ultra-slim, rechargeable LED strips. I tucked them right behind the front frame so the light source is invisible, but the glow hits the items perfectly.
While buying a pre-built display case with LED light is definitely the easier path if you hate wires, you can DIY a similar effect for much less. The key is color temperature. Avoid the 'cool white' LEDs that look like a convenience store fridge; go for 3000K warm white. It makes wood tones pop and gives glass a soft, expensive sparkle.
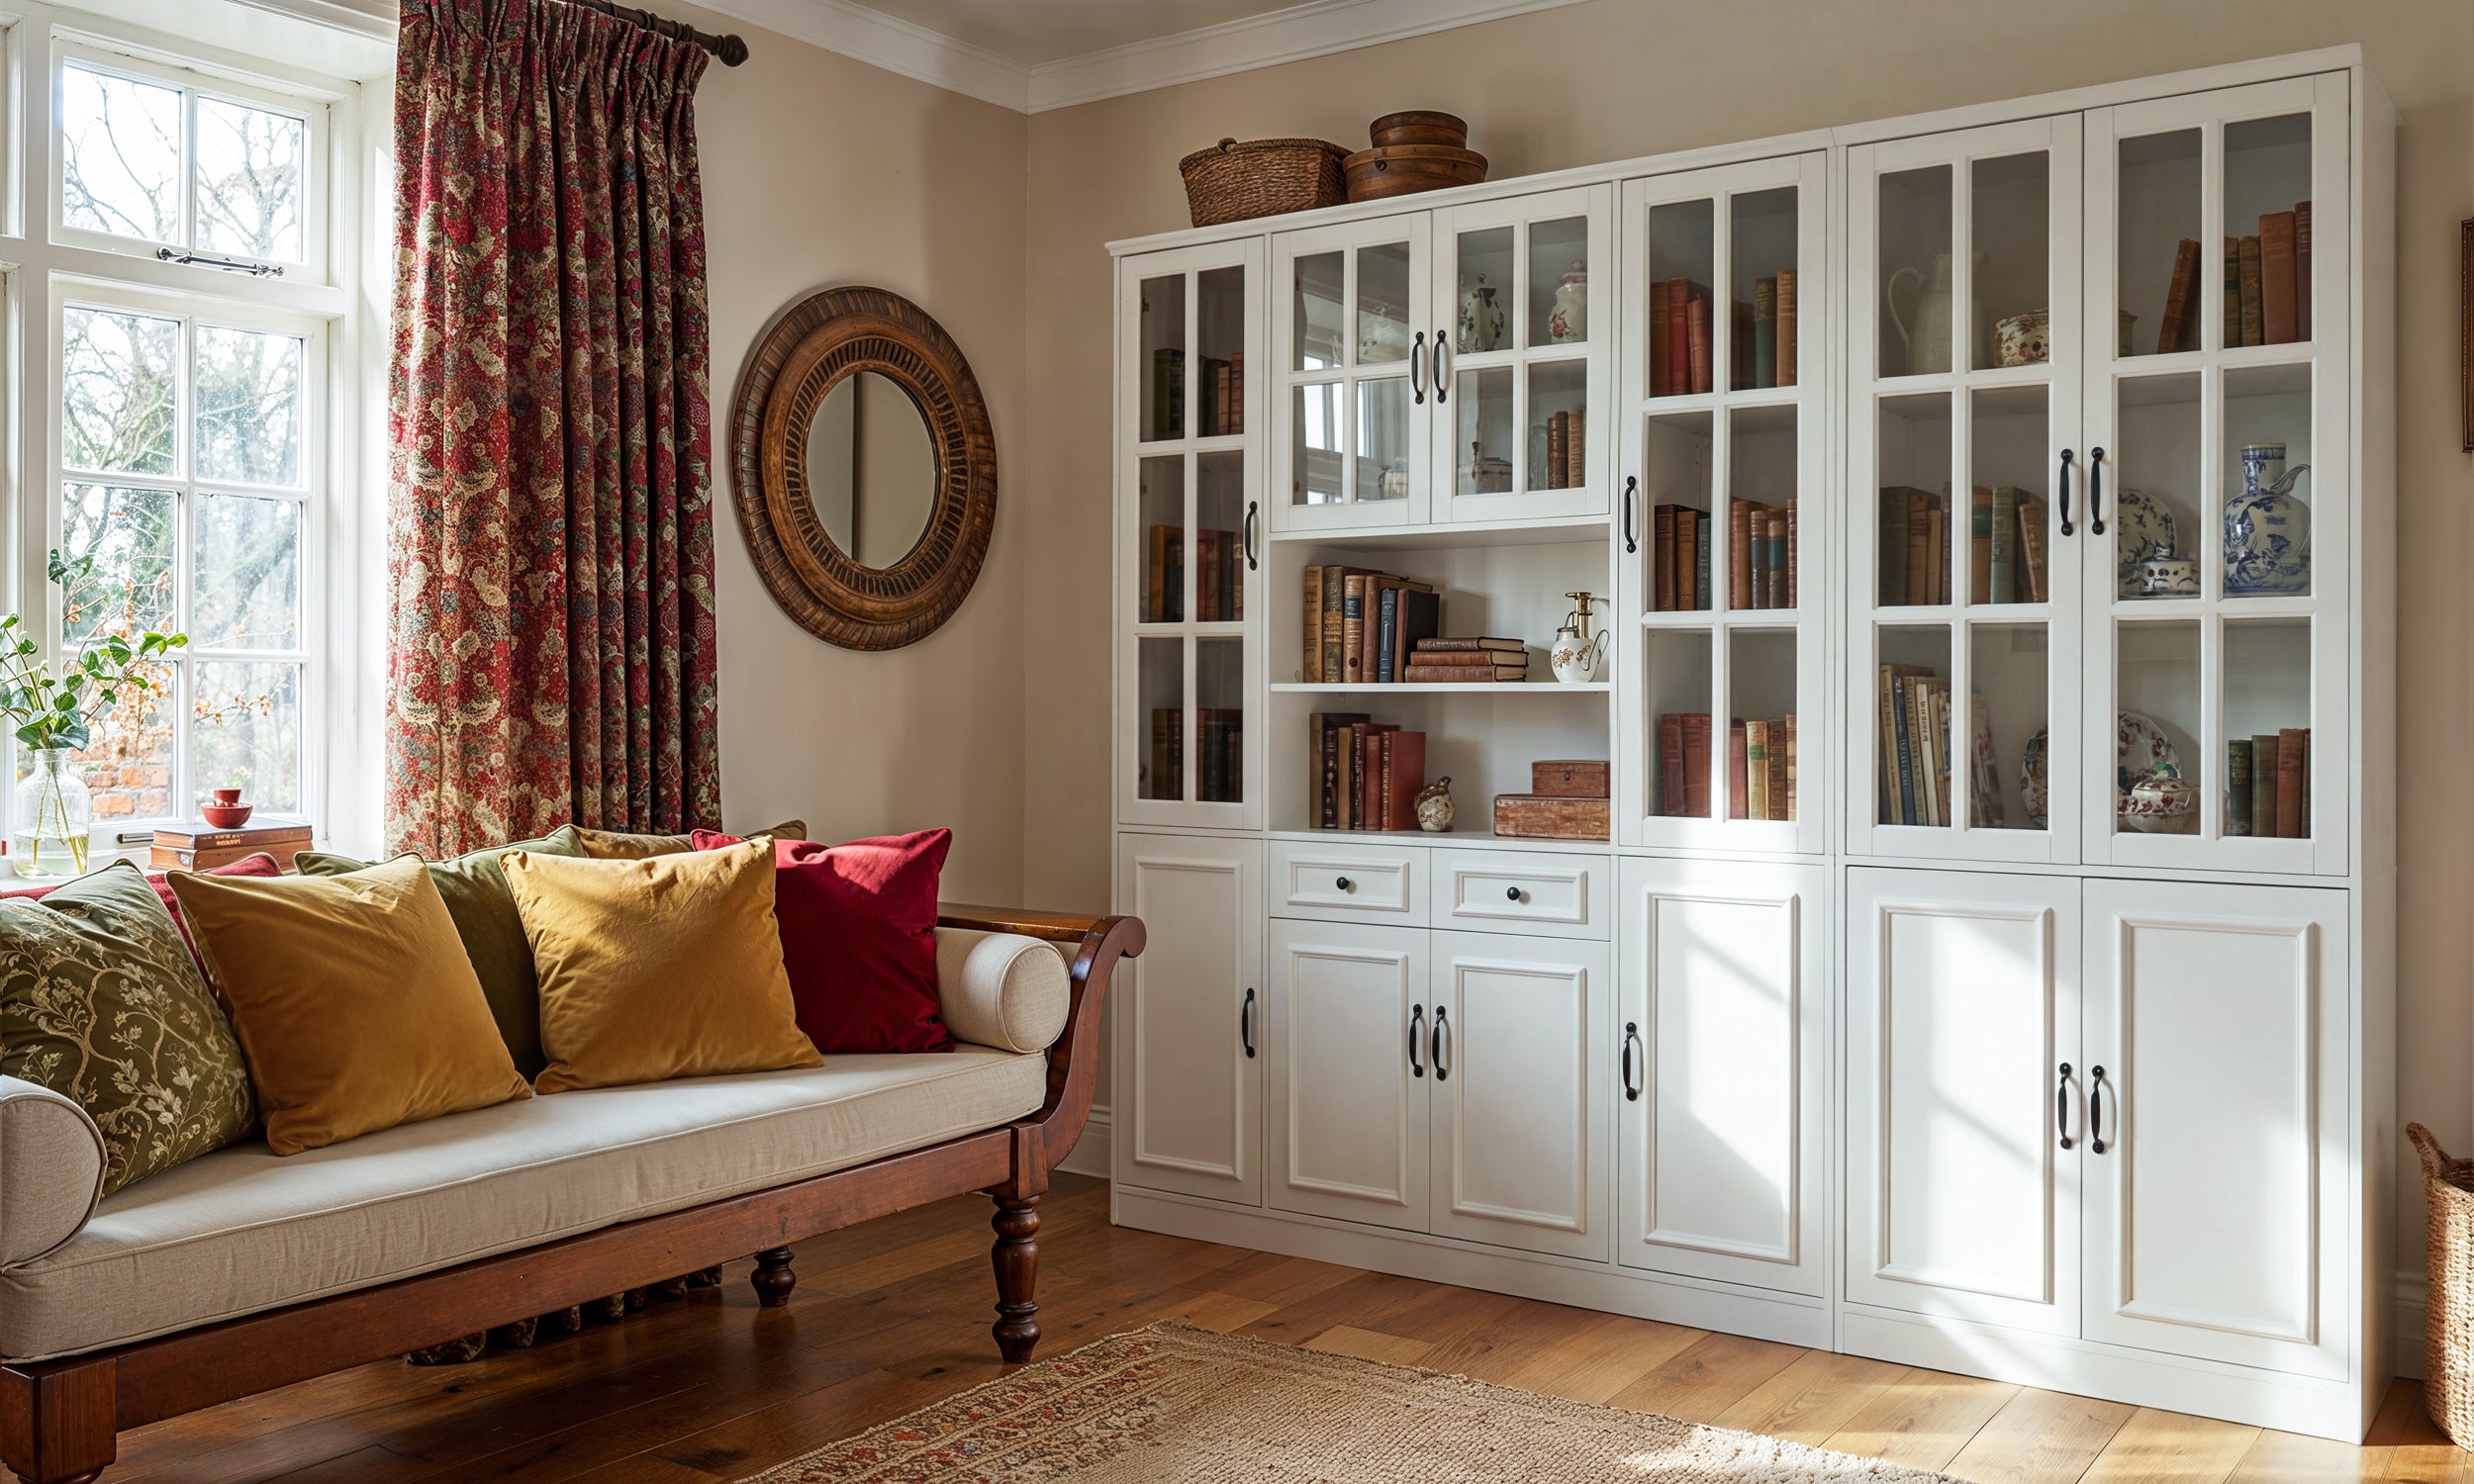
Step 3: Lining the Bottom with Velvet or Linen
Nothing says 'mass-produced' like a cold, scratched plastic floor inside your case. I went to a local fabric store and grabbed a remnant of navy blue velvet. Using a piece of thin foam board cut to the exact dimensions of the base, I wrapped the fabric around it and secured it with spray adhesive. This 'false floor' just drops right into the bottom.
Linen is another great option if you want a more modern, Scandi look. It covers up the mounting screws and the inevitable scratches that happen during assembly. Plus, it provides a high-contrast background that makes whatever you’re displaying—whether it’s Lego sets or heirloom watches—look like a deliberate choice rather than a cluttered shelf.
When to Hack It vs. When to Just Buy a Better Case
I’ll be the first to admit that DIY-ing a cheap display case has its limits. If you are trying to fill a specific architectural gap, like a corner, hacking a square box will always look awkward. In those cases, you are much better off just buying a purpose-built corner display case that actually fits the footprint of your room.
Also, consider your time. If you’re planning to spend $60 on fabric, $30 on hardware, and $40 on lighting, you’ve just spent $130 plus four hours of your Saturday. Sometimes it’s smarter to just buy a figure display box that doesn't look cheap from the jump. But for those of us who get a kick out of the 'thrift-flip' energy, these small upgrades are the ultimate interior design cheat code.
Is acrylic better than glass for cheap cases?
Acrylic is lighter and less likely to shatter during shipping, but it scratches if you even look at it wrong. Glass feels more premium and stays clear longer, but it’s heavy and usually more expensive to ship. If you go acrylic, keep a microfiber cloth nearby.
How do I hide the wires for DIY lighting?
Use clear command clips or small bits of white gaffers tape along the inner corners of the frame. If you use battery-powered pucks, you don't have to worry about wires at all, though you'll be swapping batteries every few months.
Can I paint the frame of a plastic display box?
Yes, but you need a primer specifically made for plastics. Sand the surface lightly with 220-grit sandpaper first, or the paint will peel off in sheets the first time you bump it. Matte black spray paint is the most forgiving for hiding imperfections.
Leave a comment
This site is protected by hCaptcha and the hCaptcha Privacy Policy and Terms of Service apply.