











I recently spent three hours staring at a vintage 1960s rangefinder camera I found at a flea market. It’s beautiful, but it was also a dust magnet sitting on my bookshelf. When I looked up custom acrylic boxes online, I was quoted $140 plus shipping. For a plastic box? No thanks. That is when I decided to learn how to make your own display case without spending a fortune or losing a finger to a table saw.
Quick Takeaways
- Order your acrylic pre-cut to size; never try to score and snap it yourself if you want clean edges.
- Use acrylic cement (solvent), not super glue or hot glue, for a professional bond.
- The secret is 'capillary action'—the glue literally pulls itself into the joint.
- Always build a base to hide the raw bottom edges and give it some weight.
The Moment I Refused to Buy Another Expensive Acrylic Box
Custom display cases are a total racket. If you have something awkwardly shaped—like my camera or a specific LEGO build—retailers charge a premium because they know you can't find a stock size. I realized that these 'museum-quality' cases are really just five pieces of plastic held together by chemistry.
I’m not a woodworker. I don't own a workshop, and the idea of cutting plexiglass in my apartment makes my skin crawl thinking about the static-y plastic shards. But I found a loophole: online plastic distributors will cut sheets to the exact millimeter for a few bucks. Once I realized I could just order the 'puzzle pieces,' the project became about assembly, not construction.
What You Actually Need for a DIY Model Display Case
To build a diy model display case, you need to skip the hardware store's 'general purpose' section. Do not use epoxy. Do not use super glue. They will cloud the plastic and look like a third-grade art project.
Here is your shopping list: five pieces of 1/8-inch or 1/4-inch clear acrylic (top, front, back, and two sides), a bottle of Weld-On 4 solvent, a needle applicator bottle, and a couple of 90-degree corner clamps. The solvent isn't actually glue; it’s a chemical that temporarily melts the edges of the plastic so they fuse into one solid piece. It’s permanent, clear, and incredibly satisfying to use.
Step-by-Step: How to Make Your Own Display Case (Without Screwing Up)
First, keep the protective paper film on the acrylic as long as possible. I only peel back the edges where the joints will meet. Set up your first two pieces in the 90-degree clamps. You want them perfectly flush. If one side sticks out even a hair, the whole box will be wonky.
The magic happens with the needle applicator. You don't squeeze glue onto the edge and then press them together. Instead, you hold the pieces together dry and run the needle along the seam. The liquid solvent is pulled into the joint by capillary action. It looks like a little wave of water traveling down the crack. Give it about five minutes to set before moving to the next side.
Once the five-sided box is finished, you can decide if it’s a tabletop piece or if you want to hang a wall display case safely. If you're wall-mounting, you'll need to bond a small acrylic cleat to the back, but for most of us, a simple base is the way to go.
Adding a Base (Because Raw Acrylic Looks Unfinished)
A clear box sitting on a shelf looks okay, but a box sitting on a weighted base looks like a gallery piece. I usually go to the craft store and buy a pre-cut piece of basswood or a thick slab of MDF. Sand it, hit it with some matte black spray paint or a dark walnut stain, and you're done.
I like to route a small groove into the wood so the acrylic box 'seats' into the base, which prevents it from sliding off if someone bumps the shelf. If you want to go all out, you can hide a battery-powered LED puck light in the base. It’s a lot cheaper than buying a high-end glass door display case with integrated lighting, though the DIY version is better suited for single items rather than an entire collection.
Wait, Should I Just Buy One Instead?
I’ll be honest: if you have 50 model cars to display, do not build 50 individual boxes. You will lose your mind. The cost of ordering custom-cut acrylic for dozens of small projects adds up fast. At that point, you’re better off buying a freestanding corner display case to house everything in one go.
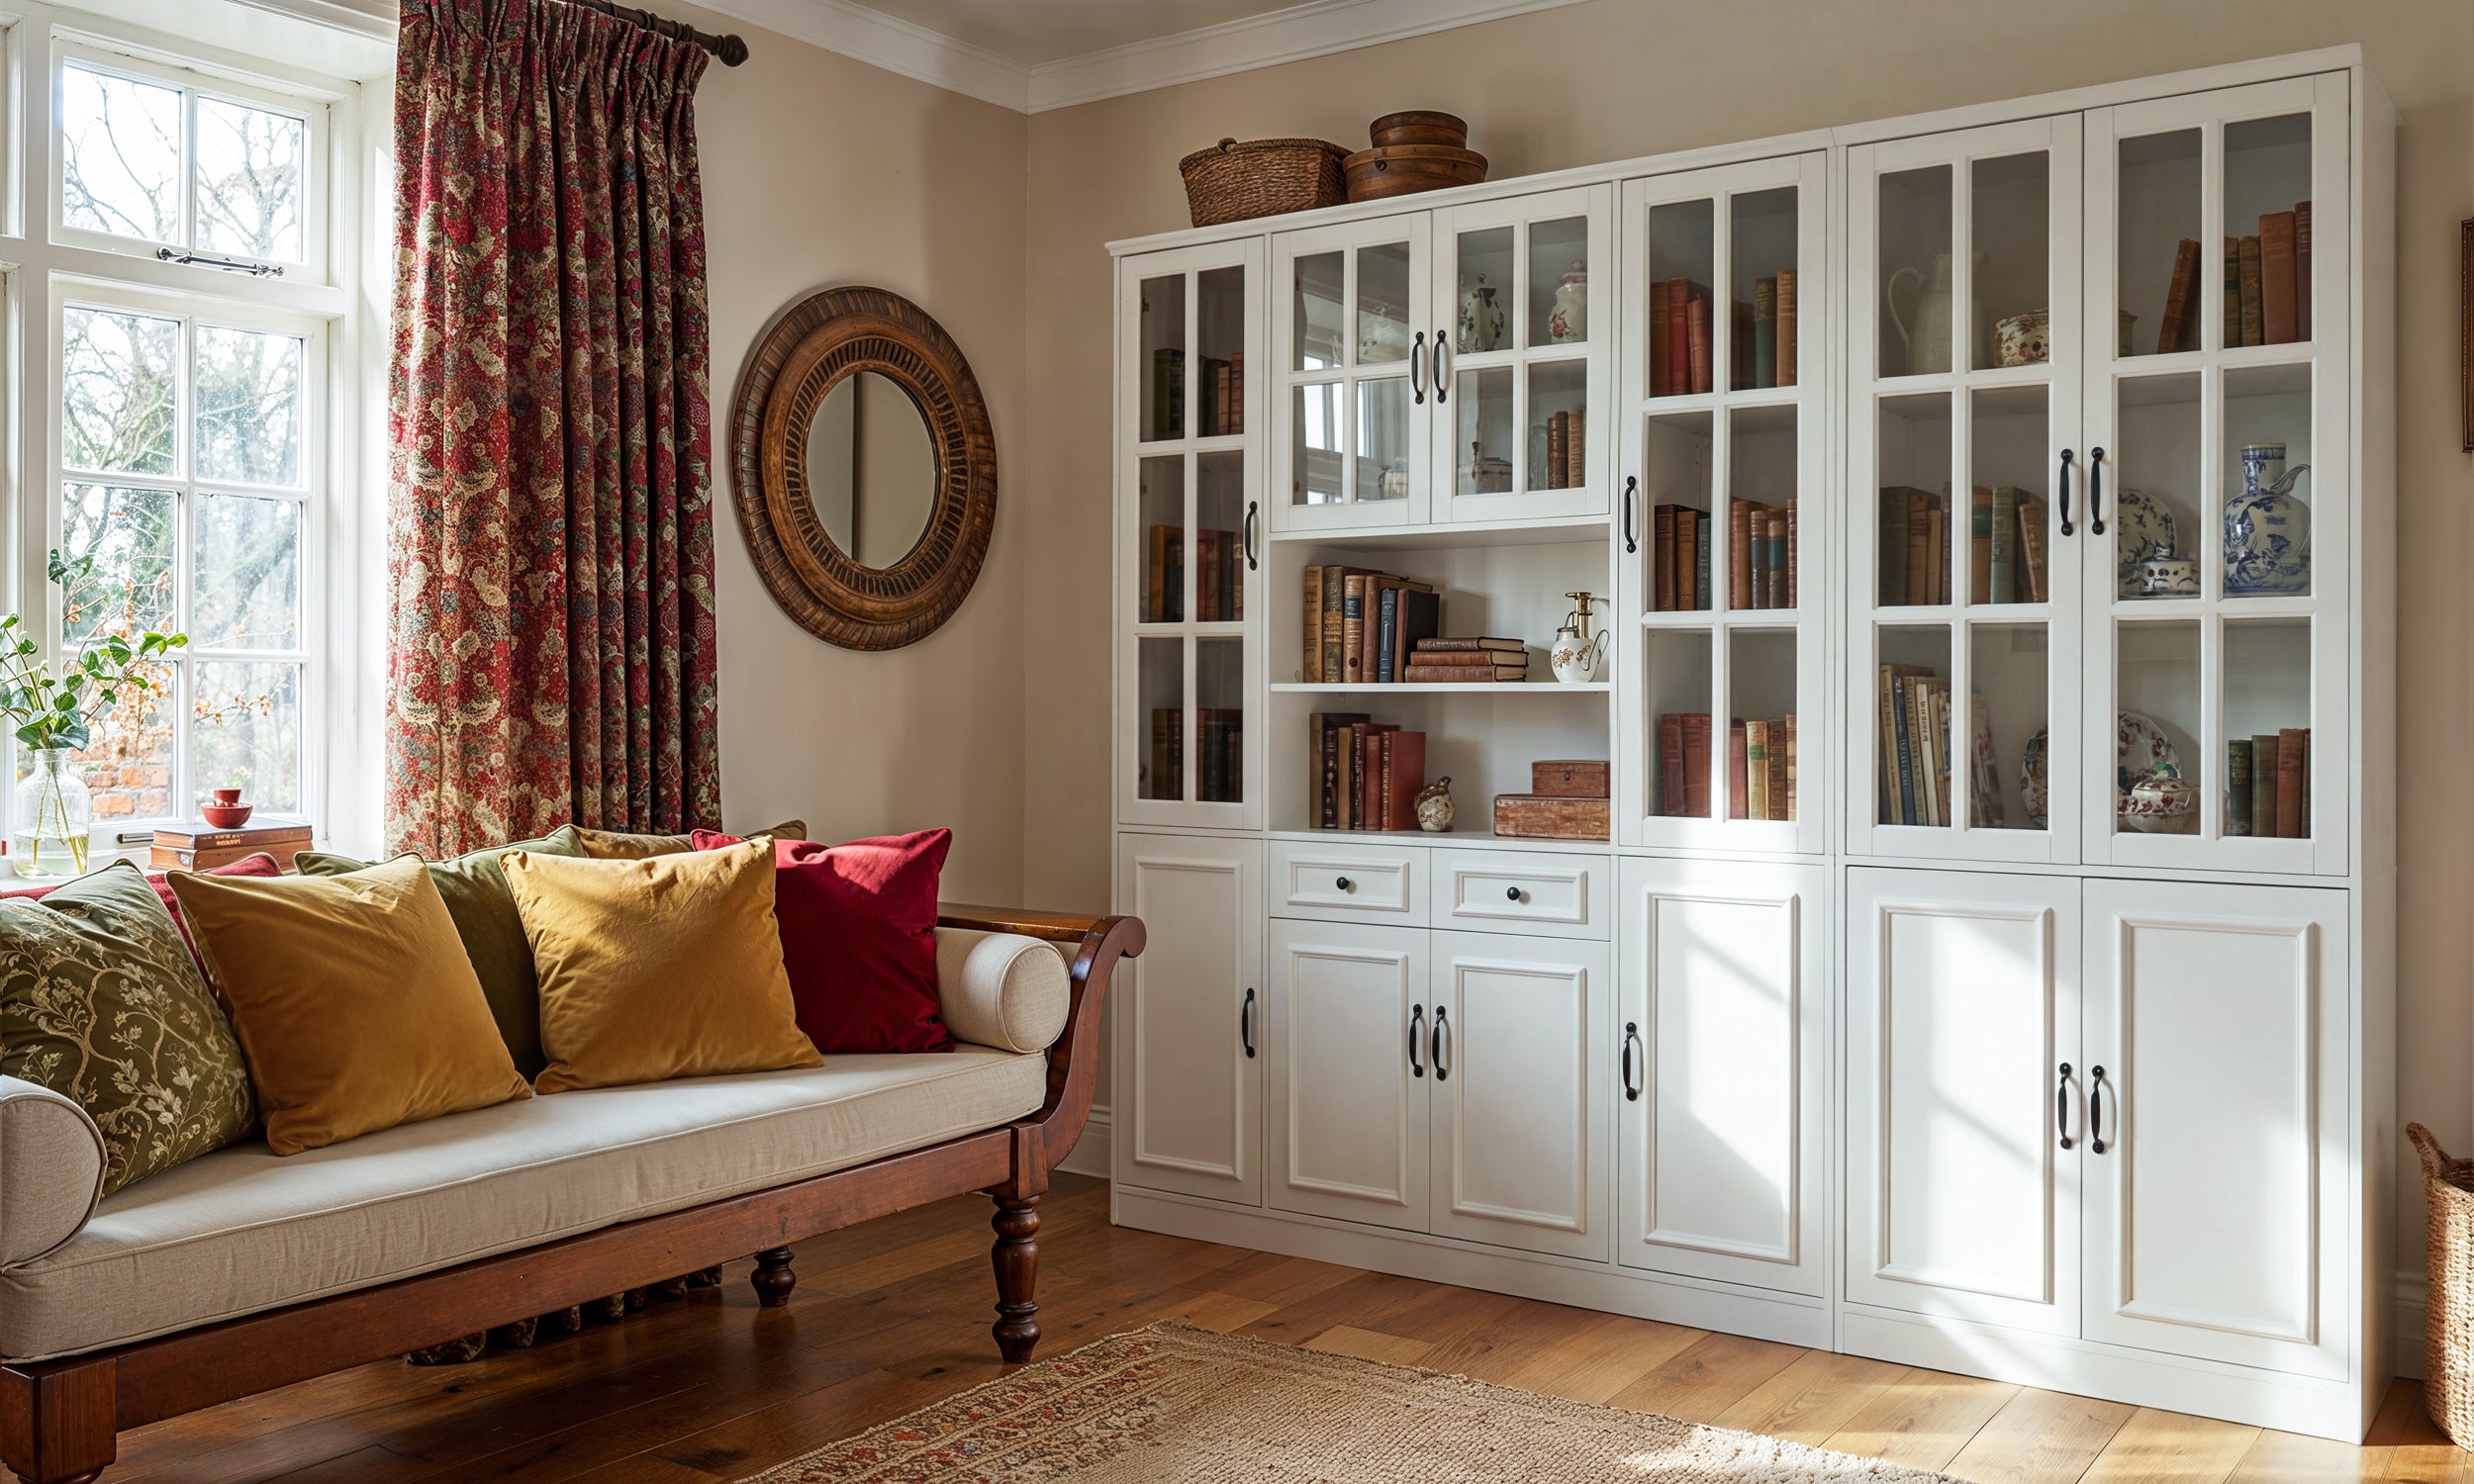
DIY is for the 'special' stuff. It’s for the heirloom watch, the signed baseball, or the weird clay sculpture your kid made. If you just need mass storage, a tall white glass curio cabinet is going to save you forty hours of labor and probably a few bucks in the long run. Use DIY for the items that deserve a spotlight, not the items that just need a home.
FAQ
What is the best thickness for a display case?
For anything under 12 inches, 1/8-inch (3mm) acrylic is plenty strong and looks sleek. If you're building something huge, like for a large-scale ship model, bump it up to 1/4-inch so the walls don't bow outward.
How do I clean the case without scratching it?
Never use Windex or paper towels. Ammonia cracks acrylic over time (it's called crazing), and paper towels are abrasive. Use a microfiber cloth and a dedicated cleaner like Novus No. 1.
Can I use glass instead of acrylic?
You can, but glass is heavy, fragile, and requires silicone or UV-cured adhesive. For a DIY project without power tools, acrylic is much more forgiving and significantly lighter for shelving.


Leave a comment
This site is protected by hCaptcha and the hCaptcha Privacy Policy and Terms of Service apply.