
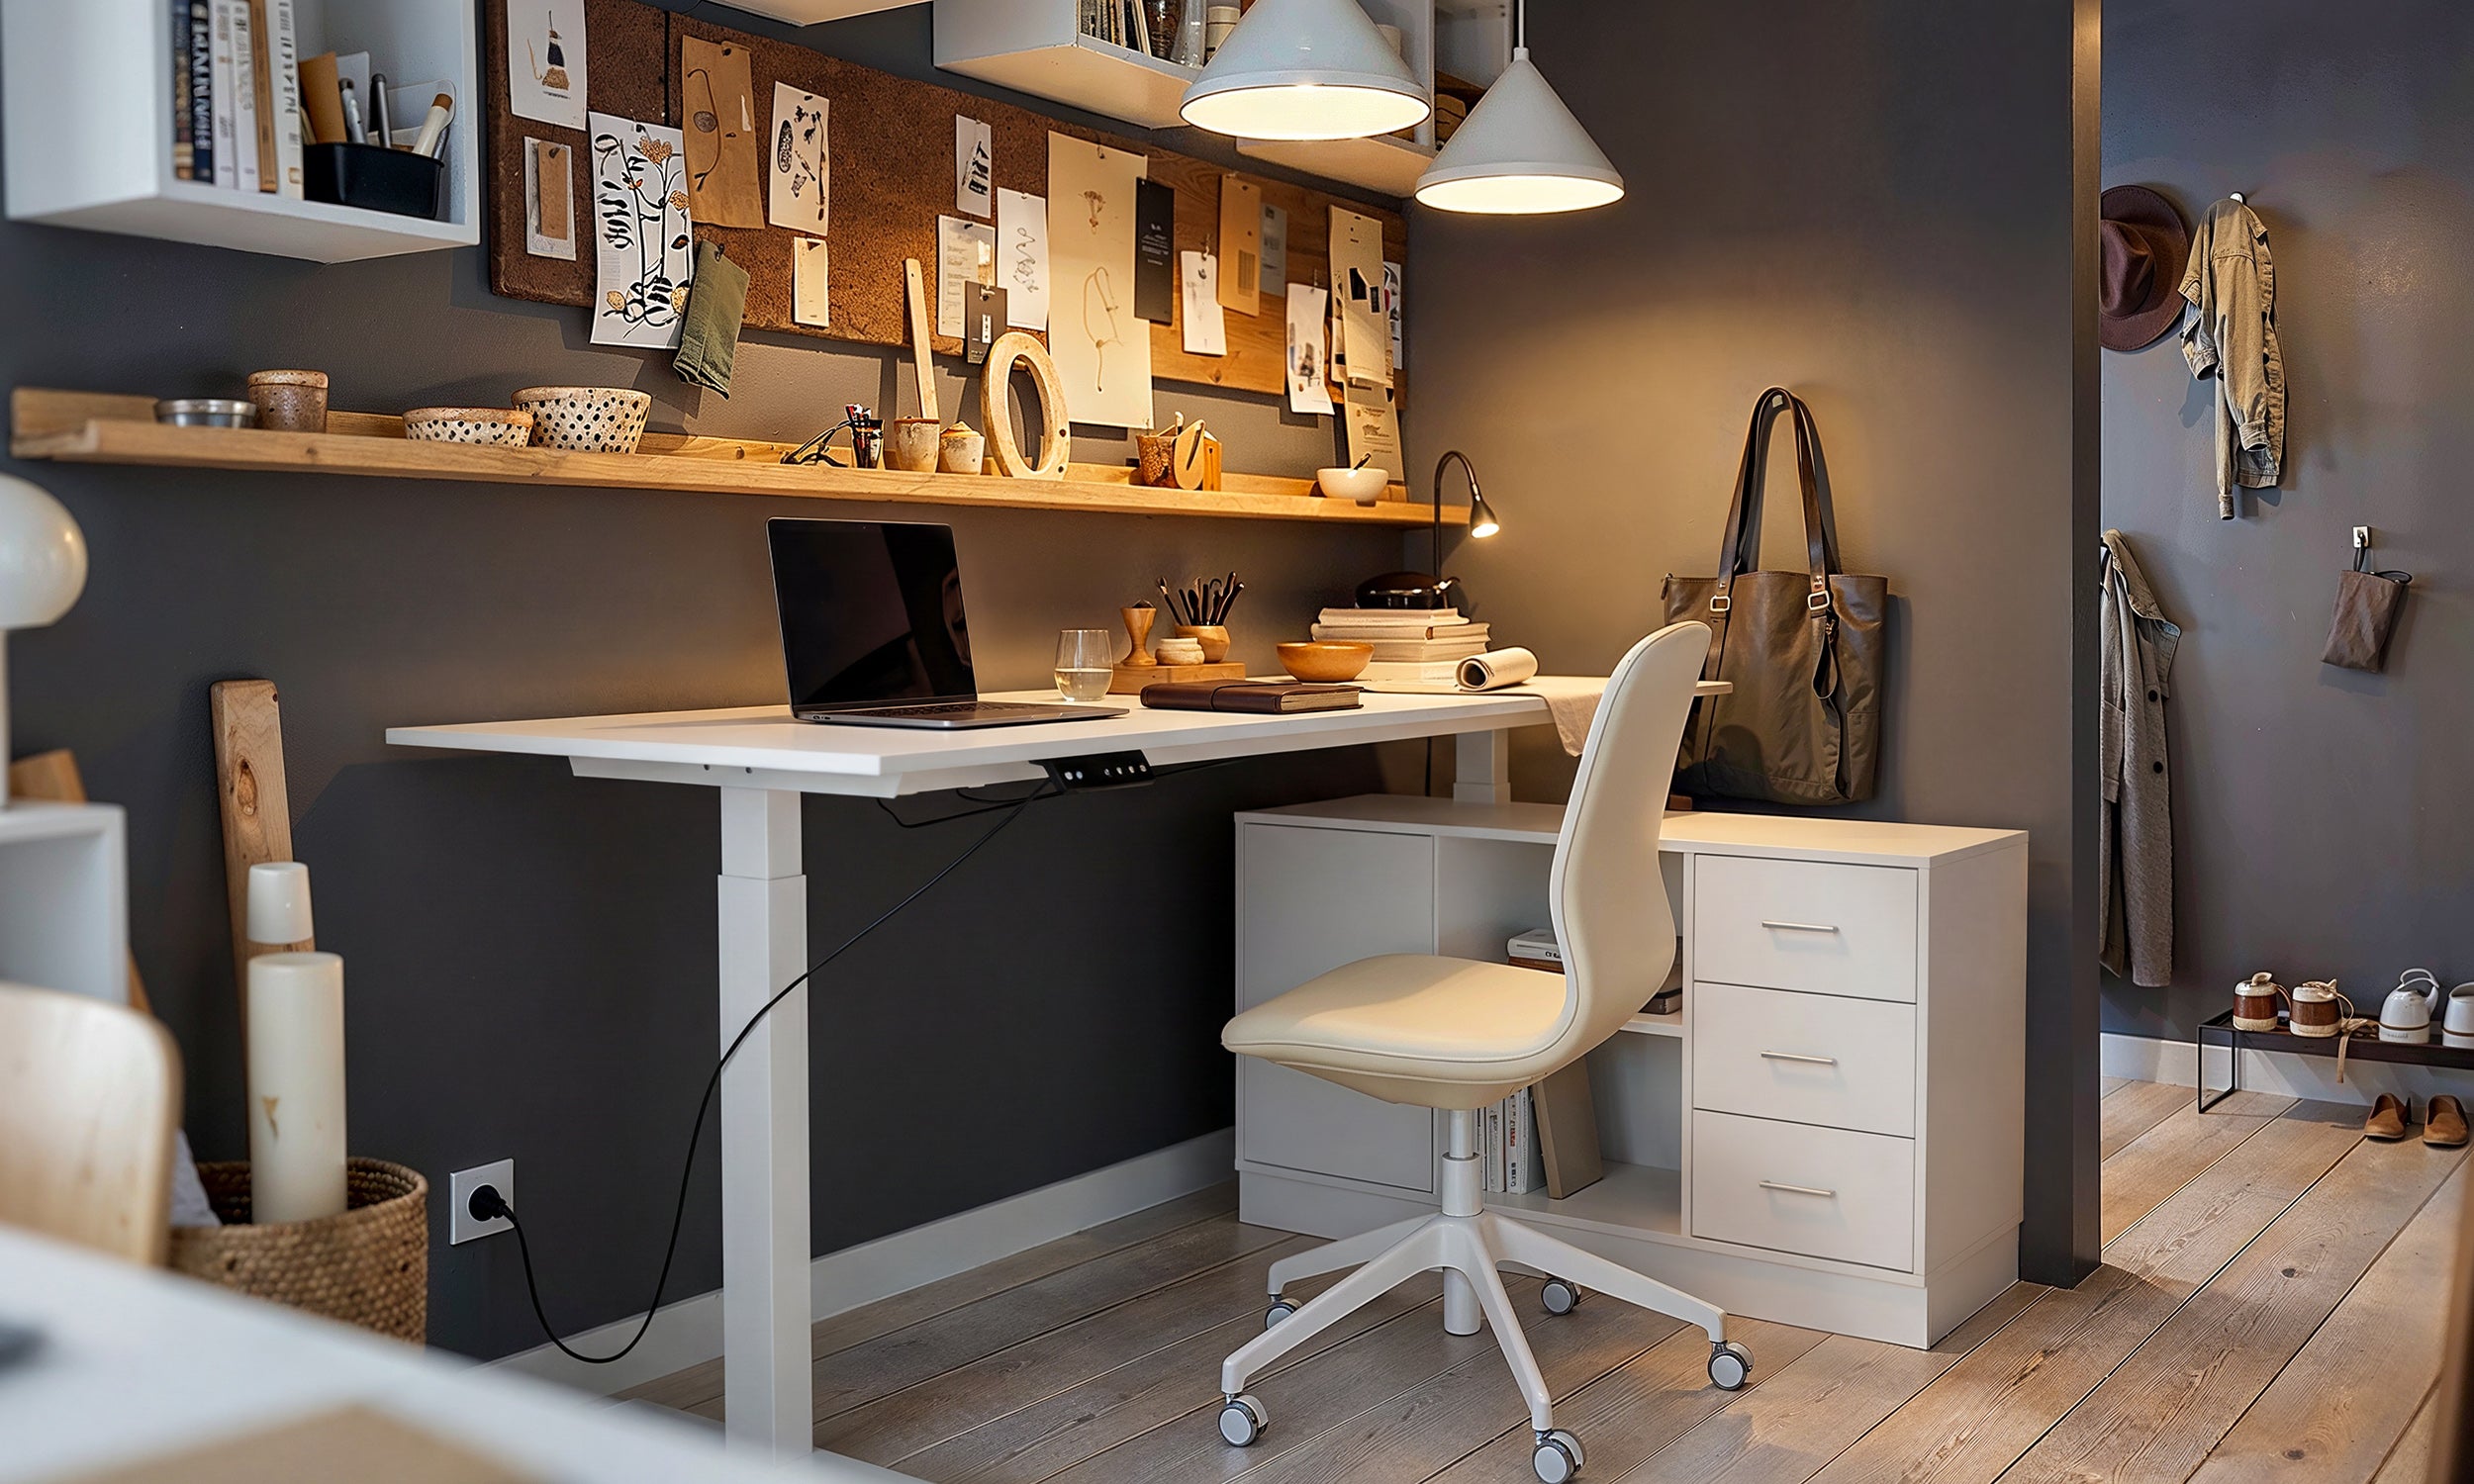
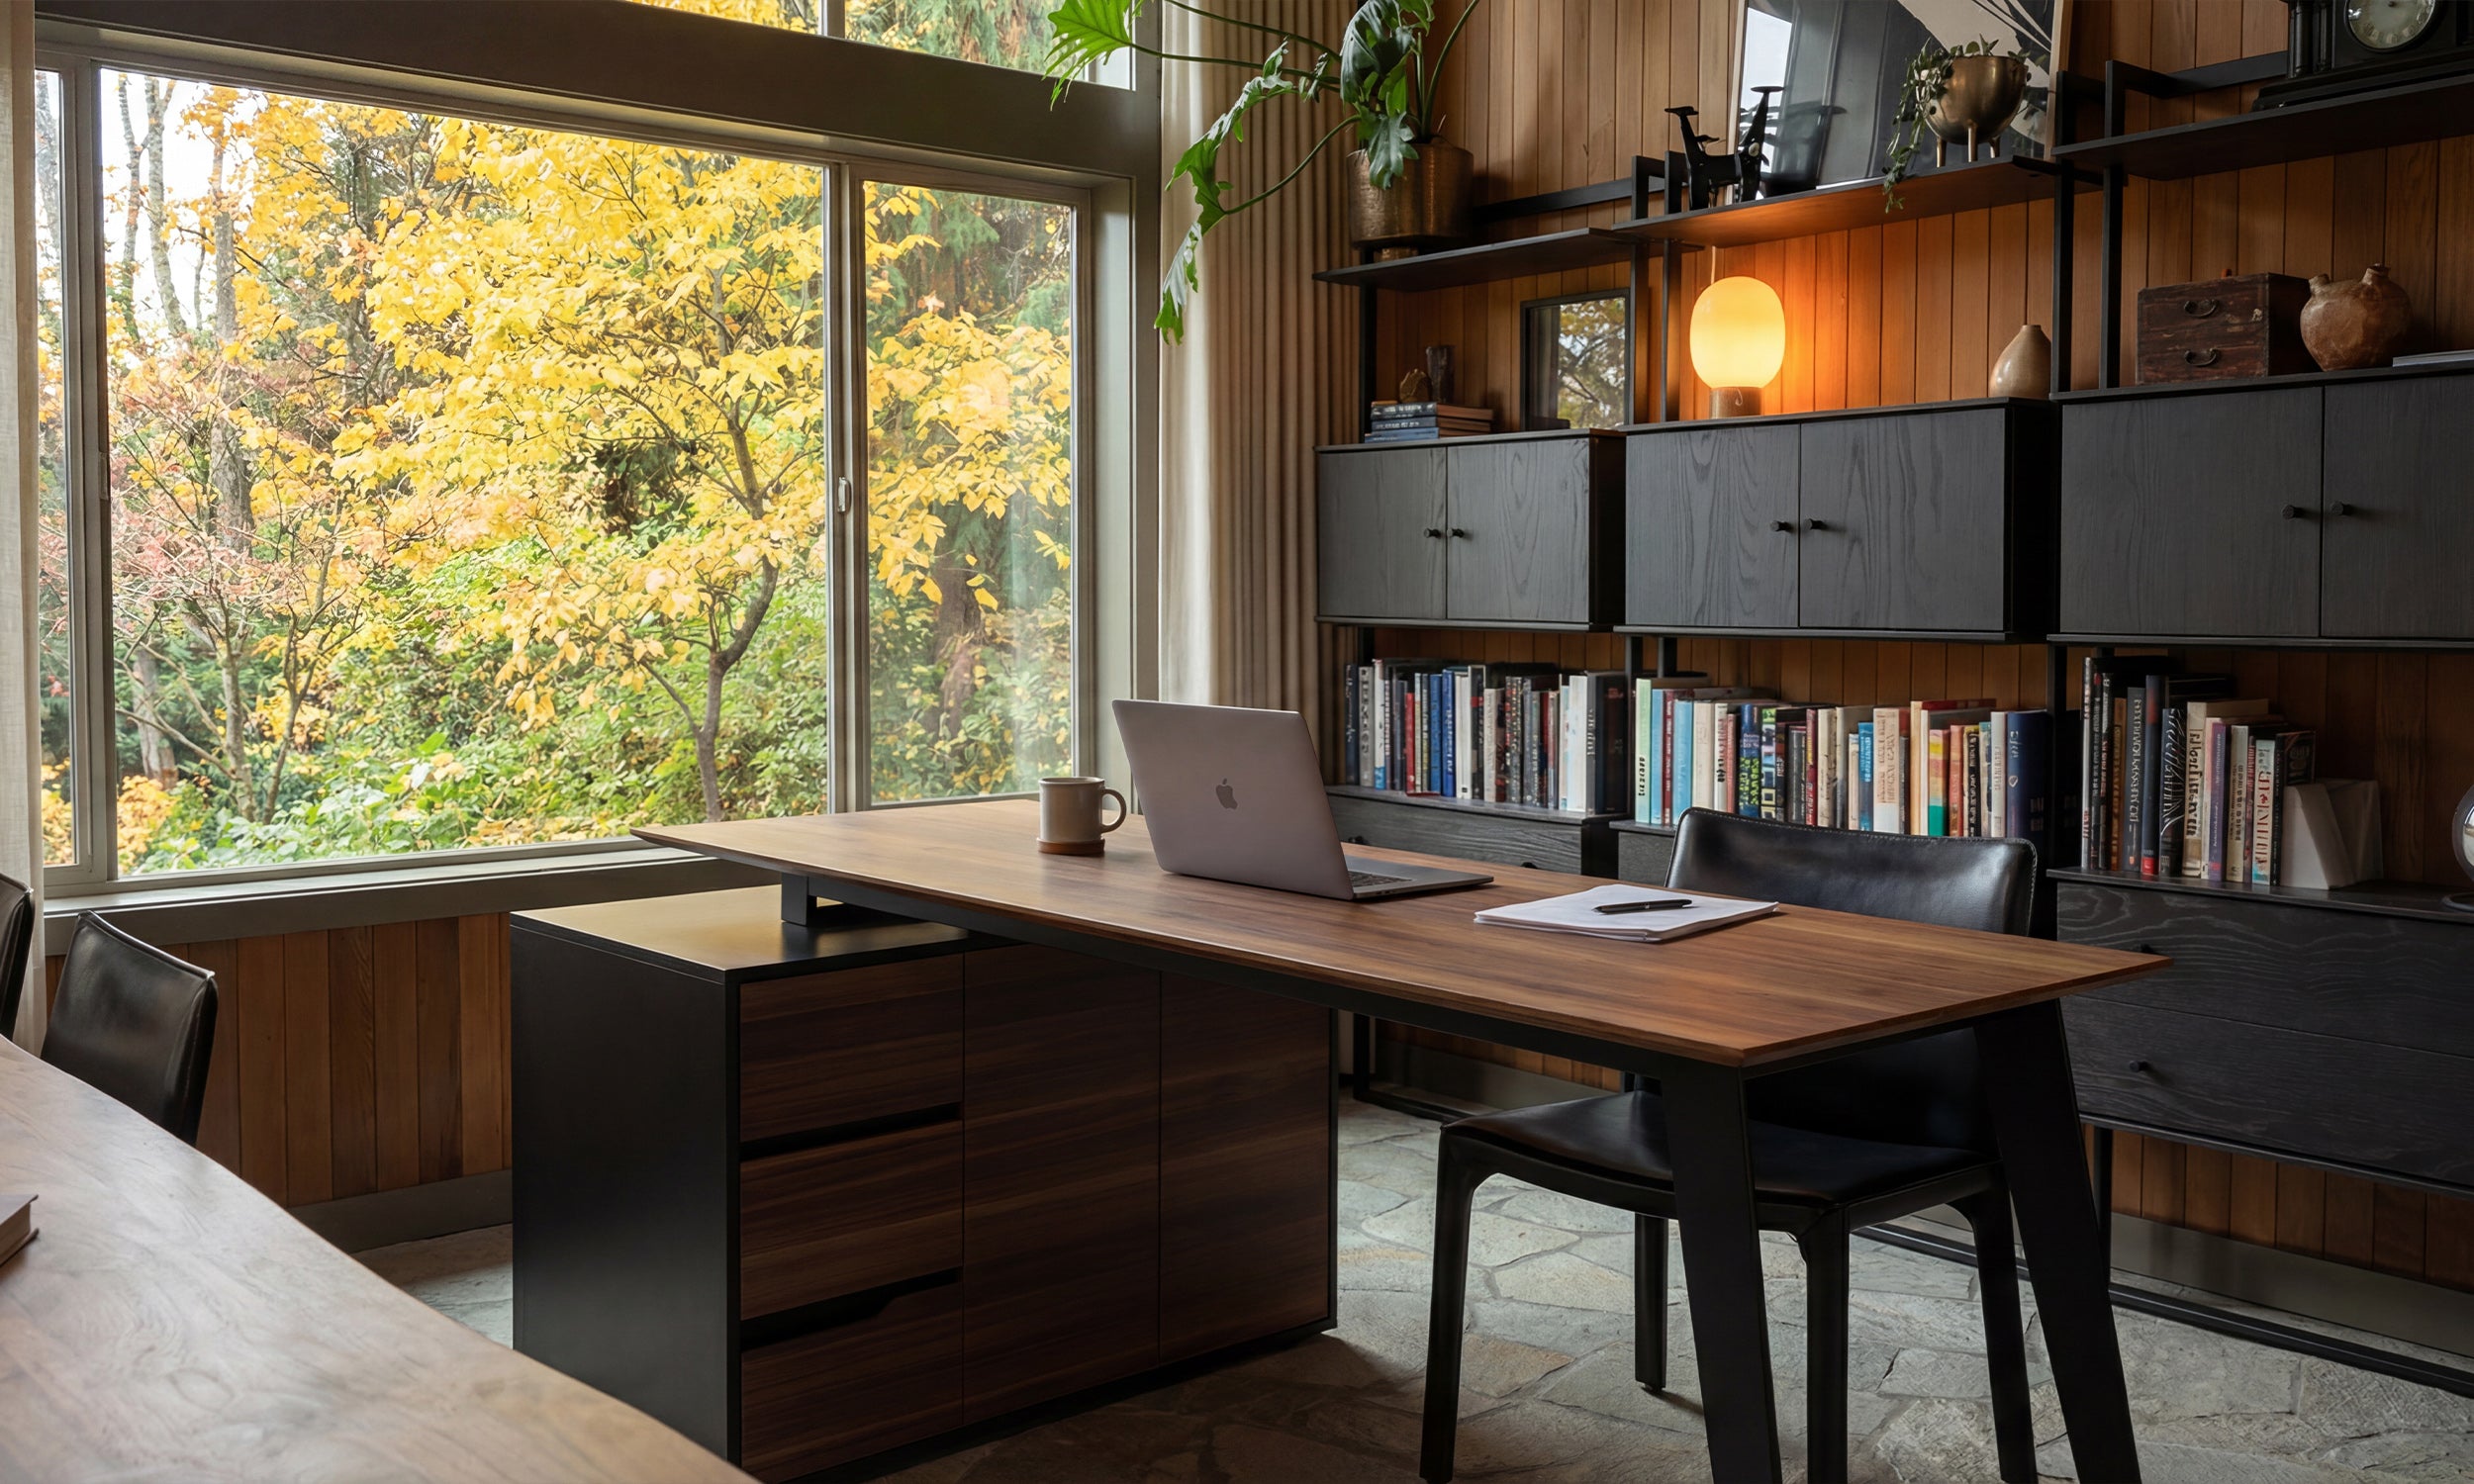


We often romanticize the act of shooting—the golden hour light, the click of the shutter—but the reality is that the magic is finalized during hours of sedentary work. If you are editing on a cramped surface with poor lighting, your creative output suffers. A purpose-built photography desk is not merely furniture; it is the command center where raw files become art. This guide explores how to curate a workspace that balances the technical demands of post-production with the aesthetic need for a clear mind.
Key Features to Look For
- Surface Depth: Aim for at least 30 inches to accommodate color-calibrated monitors without straining your eyes.
- Material Density: Solid wood or high-density laminate is essential to prevent wobble when using heavy monitor arms.
- Finish Texture: Matte or satin finishes are non-negotiable to prevent distracting reflections and glare.
- Cable Management: Integrated grommets or trays to handle the complex web of drives, tablets, and peripherals.
- Ergonomics: Adjustable height options to combat the fatigue of marathon editing sessions.
Choosing the Right Material and Finish
As a designer, I often see photographers prioritize the silhouette of a desk over its tactile utility. However, for a photo editing desk, the finish is critical. You want to avoid high-gloss lacquers or glass tops. These surfaces reflect your monitor's light and ambient window light, causing eye strain and interfering with color perception.
Opt for solid walnut, oak, or a high-quality matte laminate. These materials ground the photography office design, offering visual warmth without the visual noise of reflection. Furthermore, solid wood provides the necessary tensile strength to clamp on heavy dual-monitor arms or microphone booms without the risk of the material cracking—a common issue with hollow-core honeycomb desks.
Ergonomics: The Editor's Posture
The "editor’s hunch" is a real occupational hazard. When planning a photographer desk setup, ergonomic flow is paramount. The desk height should allow your elbows to rest at a 90-degree angle while your eyes align with the top third of your monitor.
Sit-Stand Functionality
Integrating a sit-stand mechanism is one of the best photography home office ideas you can implement. The ability to alter your posture keeps blood flowing during 8-hour retouching sessions. If you dislike the industrial look of standard standing desks, look for bespoke options that conceal the motors within timber legs for a more residential, sophisticated aesthetic.
Lighting and Color Theory in Your Layout
Your photography home office relies heavily on controlled lighting. Placing your desk directly facing a window can cause backlighting issues, while placing it with a window behind you creates glare. Ideally, position the desk perpendicular to the light source.
Additionally, consider the color of the desk surface itself. In professional color grading suites, neutral greys or muted wood tones are preferred. A bright red or yellow desk can cast a subtle color cast onto your peripheral vision, potentially skewing your white balance adjustments. Keeping the immediate desk photography environment neutral ensures what you see on screen is true to life.
Storage and The "Clean Desk" Philosophy
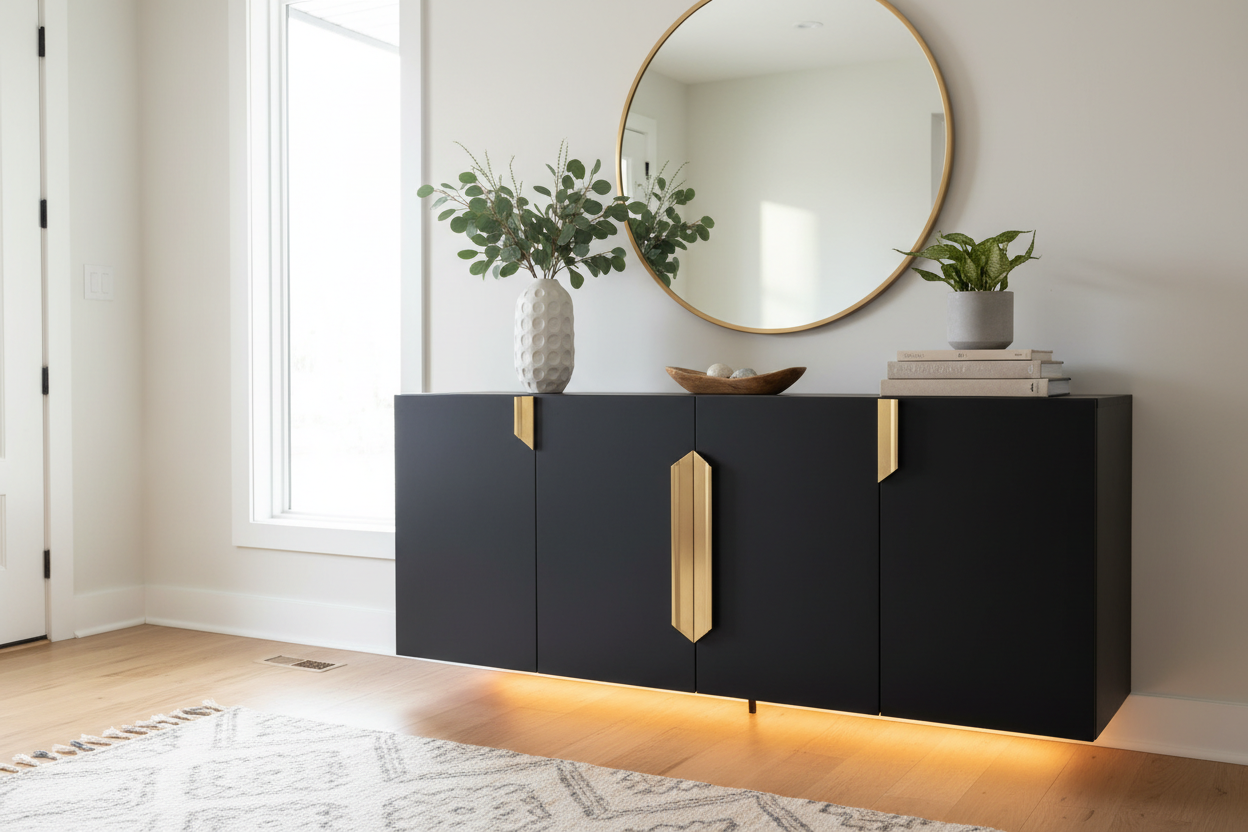
A cluttered visual field leads to a cluttered mind. A photographers office requires rapid access to hard drives, card readers, and Wacom tablets, but these shouldn't permanently occupy your negative space. Look for desks with deep drawers or invest in a sidebar credenza. The goal is to have a clean surface that allows you to focus entirely on the image, or even clear space for product photography flat lays right on the desktop.
Lessons from My Own Projects
I learned the importance of desk stability the hard way during a consultation for a commercial photographer in Chicago. We initially selected a sleek, minimalist desk with thin metal legs because it looked incredible in the renderings. It had a "floating" aesthetic that fit the loft perfectly.
However, two weeks after installation, the client called me. Every time he made vigorous strokes on his drawing tablet during retouching, the monitor on the VESA arm would shake slightly. It was subtle, but over hours of editing, it was inducing motion sickness. We had to swap it out for a desk with a heavy, solid wood base and cross-bracing. It taught me that for a photographer desk, mass and rigidity are just as important as style. You need a desk that absorbs the energy of your work, not one that reverberates it.
Conclusion
Designing the perfect workspace is an investment in your craft. By selecting the right materials, prioritizing ergonomics, and controlling your lighting environment, you create a home office photographer setup that disappears, allowing you to focus entirely on the image in front of you. Build a space that honors your workflow.
Frequently Asked Questions
What is the ideal desk depth for a dual-monitor setup?
A minimum depth of 30 inches (approx. 76cm) is recommended. This allows you to position large, color-accurate monitors at an arm's length, reducing eye strain and leaving room for a keyboard and graphics tablet in front.
Should a photographer's desk be dark or light colored?
Mid-tones or dark matte finishes are generally better. Very white desks can reflect too much light back into your eyes, while very dark desks can create too much contrast. A mid-tone grey or natural wood is often the sweet spot for visual comfort.
How do I manage cables in a photography setup?
Look for desks with built-in cable trays or grommets. If your desk lacks these, mount a J-channel raceway underneath the rear edge. This keeps power bricks for monitors and raids off the floor and out of sight.


Leave a comment
This site is protected by hCaptcha and the hCaptcha Privacy Policy and Terms of Service apply.